- Home
- Cable Stitches
Knitting Cable Stitches for Beginners: Library of Stitches
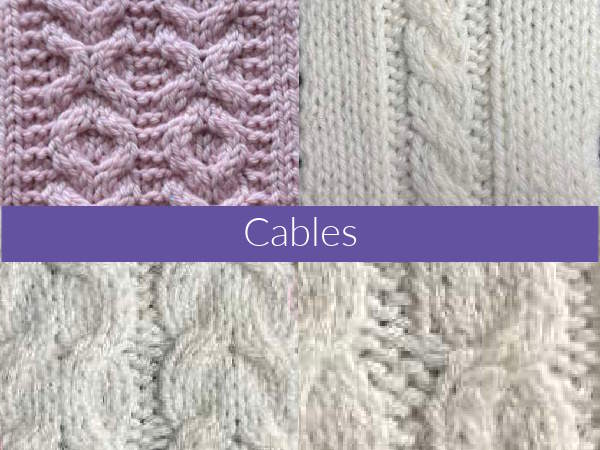
Cable stitches may look intricate and intimidating, but they’re actually much easier than they appear — and perfect for adventurous beginners looking to add beautiful texture to their knitting. If you know how to knit and purl, you already have the foundation needed to start cabling.
In this guide, you’ll learn exactly what cable stitches are, how they work, and what tools you need to begin. We’ll also cover common cable abbreviations, offer tips for success, and introduce some of the easiest cable stitches to try first.
You’ll find step-by-step tutorials for each stitch (linked below), along with beginner-friendly projects to help you practice. Whether you want to knit a simple cabled headband or build your confidence with swatches, this page is your starting point for knitting cable stitches with confidence and clarity.
Frequently Asked Questions
Are cable stitches hard to knit?
Are cable stitches hard to knit?
No, they are just knit and purl stitches. Cable stitches look impressive, but the technique is easy. If you already know how to knit and purl, you can knit basic cables. All you are doing is changing the order of stitches.
Do I need a cable needle to knit cables?
Do I need a cable needle to knit cables?
A cable needle is helpful (especially for beginners), but it’s not absolutely required. Some knitters use a spare double-pointed needle, a bent paperclip, or even cable without a needle once they’re more comfortable.
Can beginners really learn cable knitting?
Can beginners really learn cable knitting?
Yes. Many cable stitches are very complicated, but there are plenty easy ones that beginner knitters can successfully learn cables after just a few basic projects. Starting with a simple cable stitch like C4F (Cable 4 Front) or a mock cable is a great way to build confidence. Swatching first helps you get the feel before tackling a larger project.
What’s the easiest cable stitch to try first?
What’s the easiest cable stitch to try first?
The easiest cable for beginners is C4F. It creates a small, left-leaning twist using just 4 stitches. It’s often used in beginner headbands, cowls, and scarves. You can find a step-by-step tutorial linked on this page.
What Is a Cable Needle?
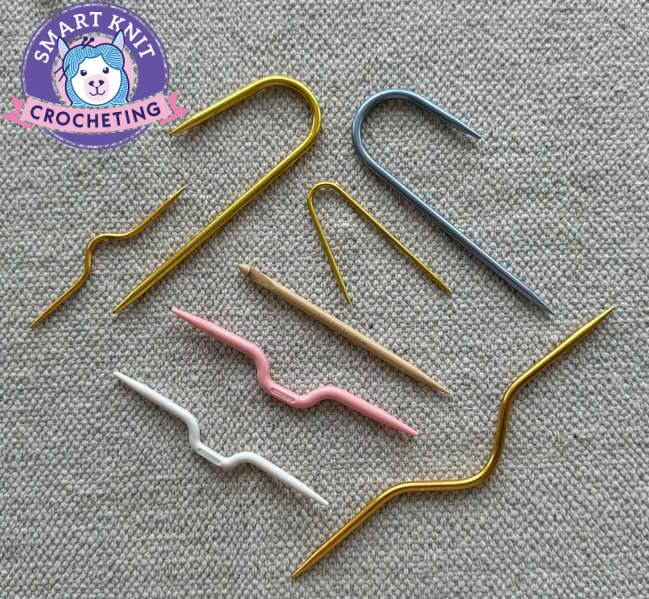
A cable needle is a short, often curved or notched needle used to temporarily hold stitches while you create a cable cross.
It allows you to move a small number of stitches either to the front or back of your work, making it easier to knit the remaining stitches in order and form that signature twist.
Cable needles should be about the same size or smaller than the regular needles you are using.
Don't worry if you don't have a cable needle. You can always use something else:
- Double-pointed needle (DPN)
- A bent paperclip
- A bobby pin,
- Anthing that can hold a couple of stitches
How Cable Stitches Work
Cable stitches are made by changing the order of your stitches. Basically you cross one group of stitches over another. This is what creates the twisted, rope-like patterns that cables are known for. The actual knitting is still just knit and purl stitches. Here is an example of two basic cable stitches.
- C4F (Cable 4 Front). First, you slip two stitches to the cable needle and hold them in front of your work. Next, you knit the next two stitches from the main needle. Finally, you knit the two stitches from the cable needle. This creates a cable that leans to the left.
- In a C4B (Cable 4 Back), you slip two stitches to the cable needle and hold it behind your work before knitting. Then, you knit the two stitches on the main needle. Finally, you knit the two stitches on the cable needle. By holding your stitches in the back, your cable will lean to the right.
Common Cable Terminology You Will Encounter
One of the most confusing aspect of knitting is the number of different ways things are worded. Cables seem to have their own language and getting used to the many ways instructions are either written or charted just takes time. For example, let's take the directions provided above on the C4F and C4B cable patterns. You may find that these instructions can also be written like this:
- 2/2 LC: Still another way you might see C4F written. This means that you are to slip 2 stitches onto the cable needle and hold in front. Knit the next two stitches on the needle and then finally knit the 2 stitches on the cable needle.
- 2/2 RC: Another way to write C4B. In this case you slip 2 stitches onto the cable needle and hold in the back. Knit the next two stitches on the regular needle and then finally knit the two stitches on the cable needle.
Cable Knitting Glossary
| Abbreviation | Name | Meaning |
|---|---|---|
| C4F | Cable 4 Front | Slip 2 sts to cable needle and hold in front, knit 2 from left needle, then knit 2 from cable needle. |
| C4B | Cable 4 Back | Slip 2 sts to cable needle and hold in back, knit 2 from left needle, then knit 2 from cable needle. |
| C6F / C6B | Cable 6 Front / Back | Cross 3 stitches over 3, held in front or back to lean left or right. |
| T2F / T2B | Twist 2 Front / Back | Cross 1 stitch over 1 for a small twist, often used in faux cables. |
| LC / RC | Left Cross / Right Cross | Generic terms often used in charts, describing the direction of the cross. |
| Cross | Stitch Cross | Changing the order of stitches to make a twist or cable — always done on the right side. |
| Cable Panel | Repeated Cable Section | A vertical section of cables that is often framed by purl stitches or ribbing. |
Easy Cable Stitch Patterns
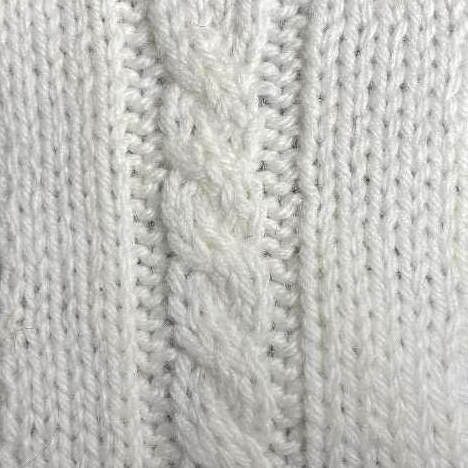
- Mock Cable Rib
- Cable-look without a cable needle
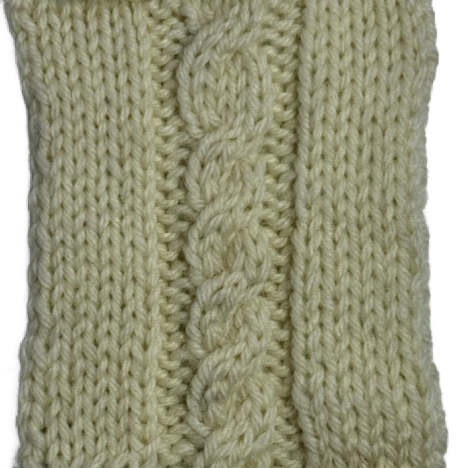
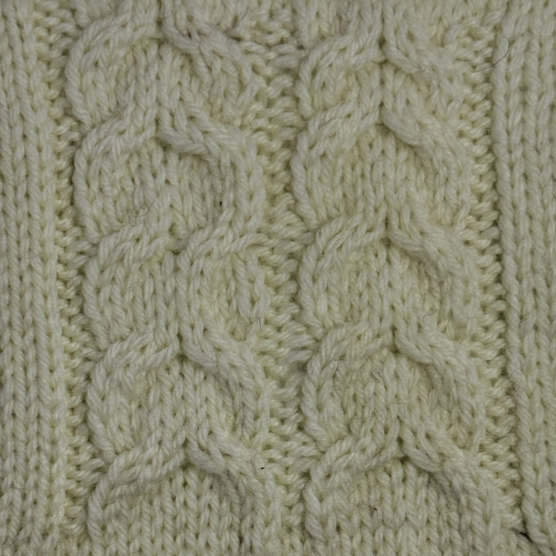
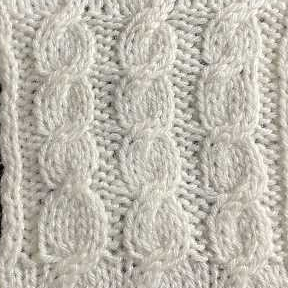 Rope Cable
Alternating C4F + C4B
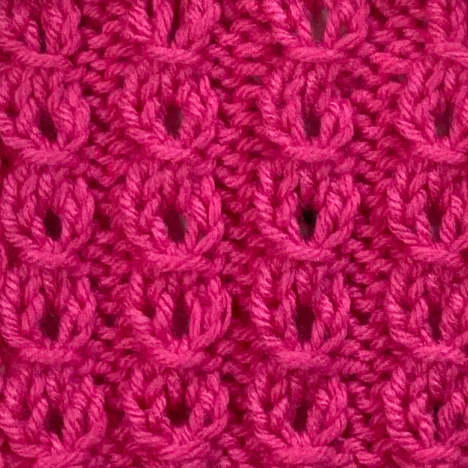
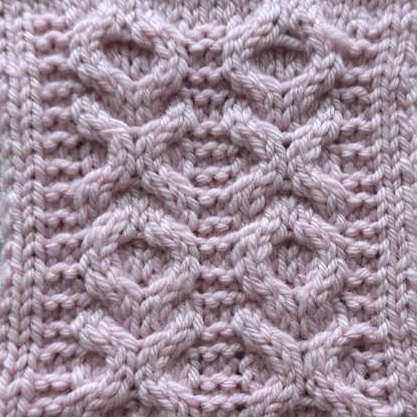 XOXO Cable Pattern
Pro Tips for Knitting Cables (Even as a Beginner)
Even though cable stitches are simple once you understand the concept, they can feel awkward at first, especially when working with a cable needle. Here are a few things that I learned along the way to help me make cables a little better.
1. Loosen Up Your Cable Stitches
Cable crossings can pull your fabric tight if you knit too snugly. Try to knit the stitches before and after a cable cross slightly looser than usual. It’ll make inserting the needle easier.
2. Mark Your Cable Panel
To help keep your place easier, place a stitch marker before and after your cable section. It helps you stay focused on where the cables go and makes it easier to count rows between repeats.
3. Use a Row Counter or Tally Sheet
Cables are often worked every 4, 6, or 8 rows, so keeping track is important otherwise you might work your cable before it should be worked. Use a row counter, app, or simple pen-and-paper checklist to avoid mistakes. ( I always keep a pad of sticky notes and a pencil in my knitting bag. It works great as a row counter.
4. Practice on a Swatch Before Starting a Project
If you are working on a project that contains cables, try working a small section of the project as a practice swatch. Cable stitches feel very different from regular knit/purl texture. Swatching lets you focus on technique and rhythm without the pressure of shaping or sizing a real project.
5. Choose the Right Cable Needle (or Substitute)
This one is really important and can be a game changer. My first cable project was worked on size 6 needles and I had a nice fat cable needle. I couldn't understand why my cables looked awful.
Cable needles should be the same size or smaller than your regular needle. If you like knitting directly from the cable needle, use a regular cable needle or a double pointed needle. If you prefer to place the stitches back on your regular needles, you can improvise with a stitch holder or a bent piece of wire.
Cable needles come in different shapes, curved, straight, notched or even flexible cable needles — whichever feels best in your hand. You can also experiment with substitutes like DPNs, bobby pins, or eventually try cabling without a needle (once you’re more confident!).
Last Words
Cable stitches can feel intiminating at first, but with a little practice you can feel confident in adding cables to your repertoire of successful knitting projects. Start small by practicing some of the cables on this page and before you know it, you'll be cabling like a pro.
