- Home
- Types of Knit Stitches
- Reversible Knit Stitch Patterns
Reversible Knit Stitch Patterns: How to Create Fabric The Same on Both Sides
Reversible Knit Stitches by Janice Jones
Reversible stitches create gorgeous fabrics on both sides, making them practical for projects where the front and back of the fabric show.
Want to continue reading about reversible knit stitch patterns? Great. But if not, you can jump directly to the index of reversible knit stitches.
Disclosure: This article may contain affiliate links. If you purchase through them, I may receive a small commission at no extra cost to you. As an Amazon Associate, I earn from qualifying purchases. Thank you for supporting Smart-Knit-Crocheting!
Why Choose Reversible Knit Stitch Patterns?
Not only do reversible knit stitch patterns create fabrics with a consistent appearance, but they also add an extra layer of polish and professionalism to your knitting projects especially where you want the public and nonpublic side of the fabric to show..
Best Projects for Reversible Stitches
- Scarves, Cowls, and Shawls
- Blankets and Throws
- Washcloths, Placemats, Coasters, Potholders
- Accessories such as headbands, fingerless gloves
Exploring Reversible Knit Stitch Patterns for Beginner Knitters
Reversible Knit Stitch Patterns
Table of Contents
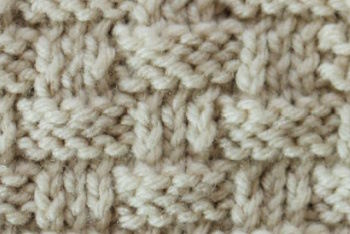
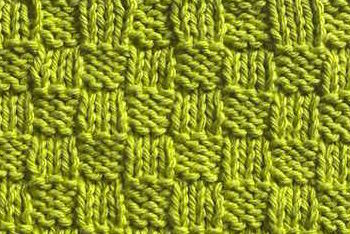
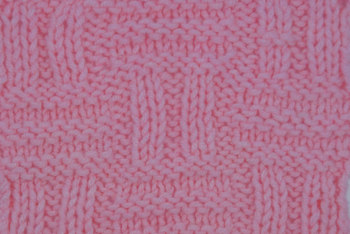
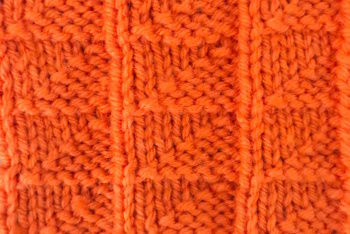
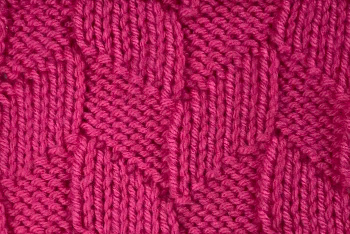
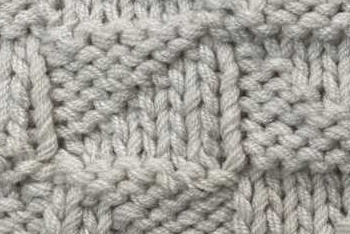
It is apparent why it is called the basketweave stitch, and the nice thing about this stitch is that you can create it in many variations.
Box Stitch Pattern
This is a reversible knit stitch that is truly beginner friendly, just knits and purls with a four-row repeat.
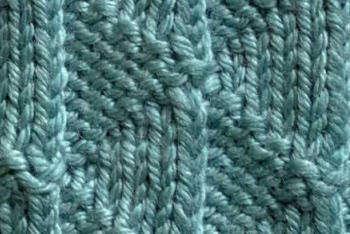
Brioche Knitting
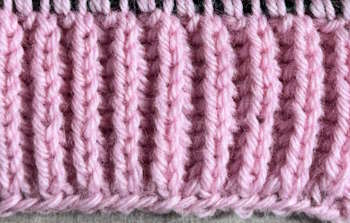
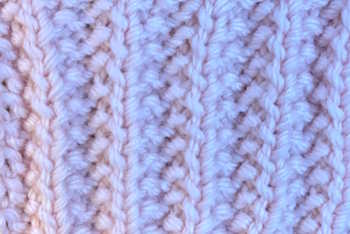
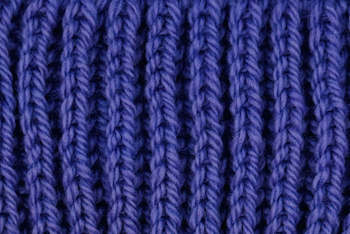
This looks like one by one ribbing but is Brioche. Creating this squishy fabric is easier than you think.
Broken Rib Knit Stitch (AKA Ribbed Garter Stitch.)
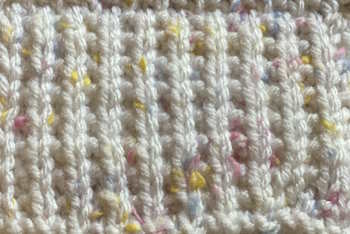
This rib stitch adds a little texture to the regular 1x1 rib stitch.
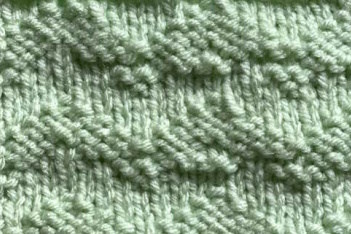
The Bumpy Knit Stitch is a simple 4-row repeat that is worked on an odd number of stitches, created by working knit and purl stitches.
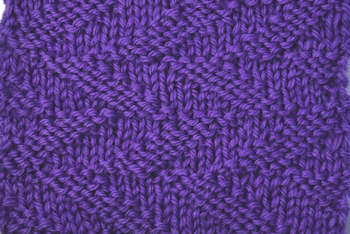
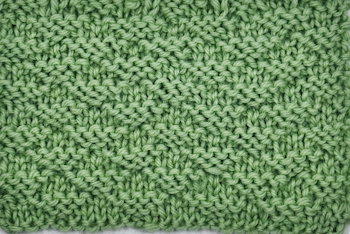
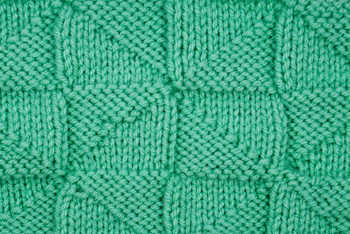
This is an 8-row, 12-stitch multiple that creates a subtle chevron pattern that lies flat and is worked with only knit and purl stitches.
The Close check reminds me a little of the basketweave stitch becuase it consists of little boxes of stitches. Stockinette stitches alternate between reverse stockinette stitches to create a geometric pattern.
The Condo stitch is rather unusual because it is worked as if you were making the garter stitch pattern, but uses different-sized needles, making the stitches in one row larger than the next.
The Cut Diagonals stitch pattern is a striking 12-row textured pattern made with simple knits and purls. Perfect for dishcloths, scarves, and blankets.
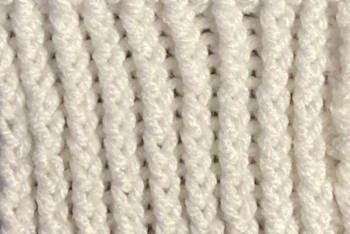
The Diagonal Spiral Rib Stitch is a slightly stretchy rib that provides an interesting texture using only knit and purl stitches.
The double basket stitch is a stretchy-textured pattern that is worked with knit and purl stitches on an 18-row repeat.
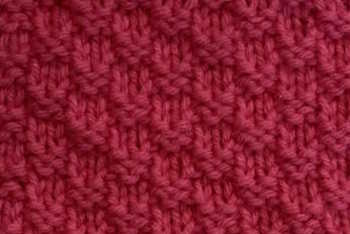
The Double Moss Knit Stitch is a beginner-friendly pattern that relies on only knits and purls. It's perfect for any project where the right and wrong sides will show prominently.
With just the addition of a few slipped stitches, you can turn the normal stockinette into a double sized fabric.
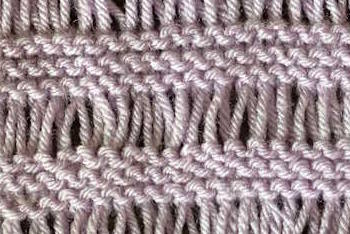
While dropping a stitch is typically considered a mistake, in this case, it is done purposefully to create an eye-catching knit stitch pattern.
The Farrow Knit Rib Stitch is an easy pattern with only knits and purls. Its easy two-row repeat design makes it ideal for the beginner knitter.
The Fisherman's Rib Knit Stitch Pattern is a classic ribbing technique that creates a thicker, double-knit texture.
The Flag Stitch, worked on a 6-row repeat, creates a fabric that resembles little triangular flags.
If you like geometric patterns, you are going to love the Flying Geese Stitch. This pattern often reminds me of the wild geese flying in formation
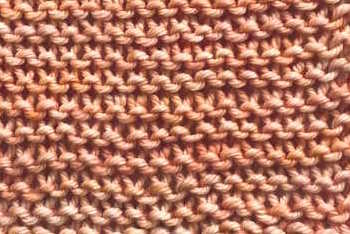
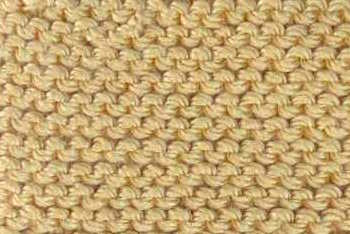
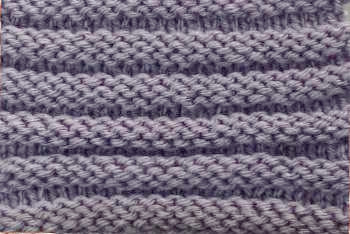
The garter stitch pattern is often overlooked as a reversible knit stitch, but it indeed looks the same on both the public and private side.
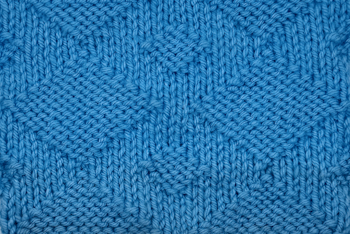
This textured stitch shows large and small diamonds and is identical on both sides. Worked entirely of knit and purl stitches.
The Grid Knit Stitch is an easy reversible knit stitch pattern that requires you know knits and purls only.
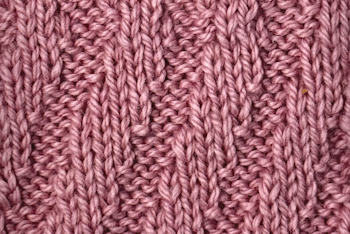
Here's another popular rib stitch that is stretchy but stretchy in a vertical way as opposed to traditional ribs that stretch horizontally.
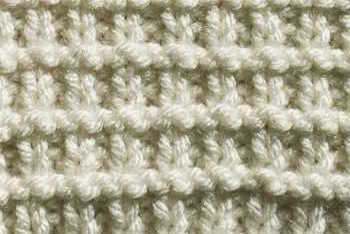
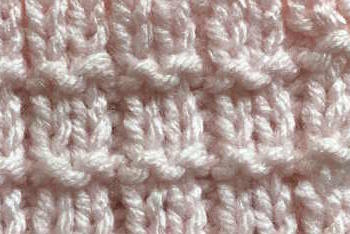
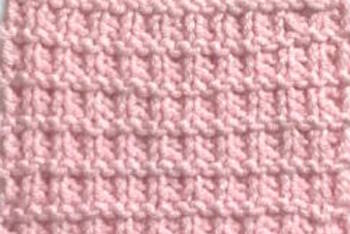
If you are wondering how it got it's name, the two rows of knit stitches form "hurdles" which look like obstacles or barriers that horses jump over or dogs in an agility course.
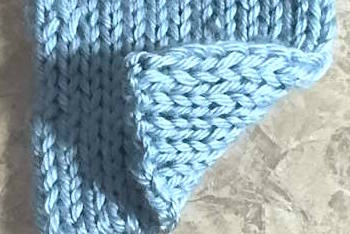
This pattern is not completely reversible, the front and back both display a stretchy rib stitch where one side looks more like a 1 x 1 and the other side looks like a 2 x 1 rib.
The reverse side is the mirror image of the right side, making it perfect for projects where you want both sides to look great, such as scarves and baby blankets.
The Knit Linen Stitch is not entirely reversible but both sides look very good. The front side looks like linen fabric and the wrong side resembles seed stitch.
The mistake rib stitch is an easy pattern with offset stitches that give it the characteristic name. It's works like the 2 x 2 rib, but adding an extra stitch causes it to look like a mistake
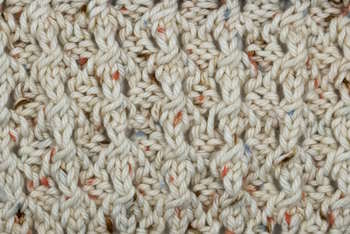
This is a great pattern that resembles a real cable stitch without the need for cable needles. There is one twist to make on row two that creates the look of a cable.
This 4-Row Repeat Knit Stitch Pattern features a combination of knits and purls, creating a reversible fabric that is both easy to make and visually appealing.
While this pattern requires knowledge of knits and purls, I don't consider this one to be a beginner-friendly pattern. It requires concentration and completion of a 16-row repeat.
This 22-Row Repeat creates many little pinwheels perfect for projects that need that geometric look. All purls and knits make it appropriate for adventurous beginners.
The Pique Rib stitch is super easy to do, and very beginner-friendly. Like most of the stitches on this page, it only requires you to know how to work knit and purl stitches.
If you're looking for a highly textured rib stitch, this is the one for you. Made with knits and purls and a couple of increases and decreases, this one is perfect for the adventurous beginner.
Similar to the Parallelogram Stitch, it's not difficult as all you need to know is how to make knits and purls, but requires concentration and careful attention to counting and it is a 14-row repeat.
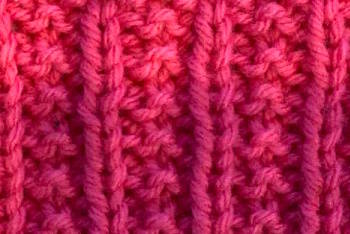
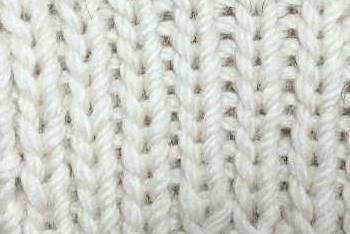
The ridged rib stitch pattern is a lovely, stretchy knit, beginner-friendly rib. It requires a 4-row repeat and a stitch count of two plus one stitch.
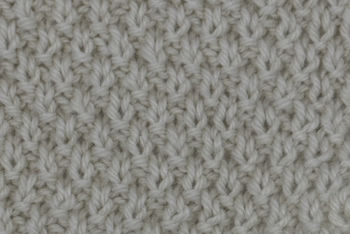
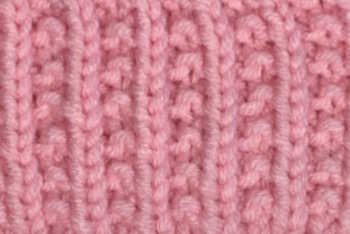
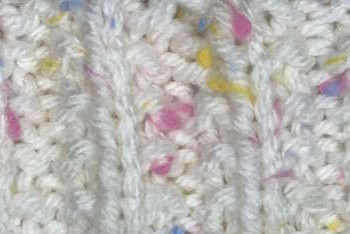
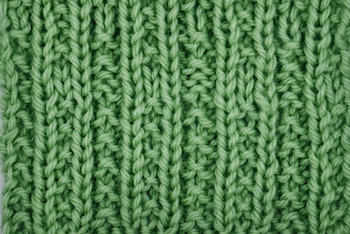
The sand stitch results in a lovely textured fabric that looks like little grains of sand. The specks of sand are visible on the right side of the fabric, but on the wrong side, it looks like ribbing.
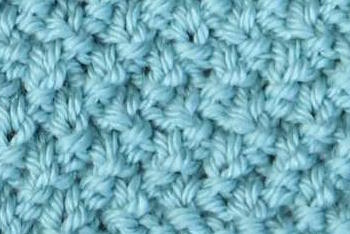
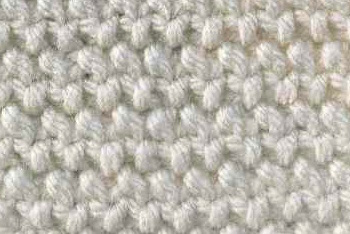
Seed stitch patterns are possible for both even and odd stitches. It's one of those beginner-level stitch patterns often learned soon after one masters the knit and purl stitch.
The Seeded Rib Stitch Pattern produces thick, textured rows. It is created by combining simple knits and purls, resulting in a visually appealing fabric.
This is a very stretchy, thick rib that is made using the K1B (Knit One Below) technique. It's very similar yet different from the Brioche Stitch or the Fisherman's Rib Stitch Pattern.
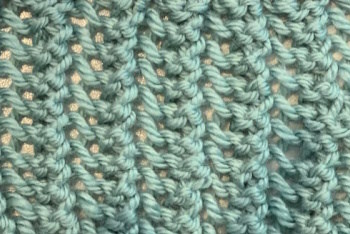
Straight Knit Lace falls into the categories of lace stitches and reversible knit stitches, but it is still a very easy stitch that beginners can master.
The twin rib stitch is reversible and is also a knit and purl stitch, and a great stretchy rib stitch.
This very stretchy rib pattern is created by working into the back loops of knit and purl stitches.
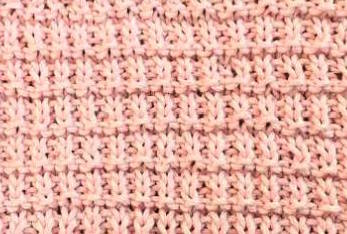
This pattern is one of several that is considered to be a welt stitch. According to Wikipedia, welting is the opposite of ribbing.
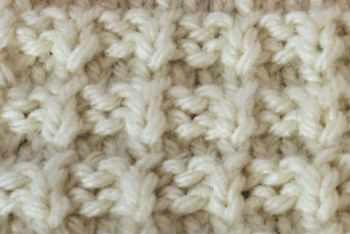
The Waffle Stitch is yet another tremendously simple beginner stitch that creates a fabric with bumps that looks like tasty waffles. What do you think?
A stitch worked by making one knit and then one purl across the row. All rows follow the same pattern.
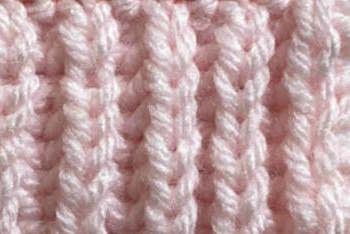
Also know as Knit Two, Purl Two (K2,P2). This very stretchy rib is a very beginner-friendly stitch.
If your knitting skills are at the easy or beginner stage, have no fear, these stitch patterns are an excellent choice for learning different stitches and creating some lovely textured patterns.
For the best results as you work through these reversible stitches, I recommend using either worsted-weight or chunky yarn. (CYC #4 – 6)
Choose solid colored yarns or experiment with different colors and yarn brands. Practicing these textured patterns makes you a more confident knitter, and as a bonus, you learn more about different yarns.
Whenever there is a slight difference, I provide photographs of both sides of the work. The best news is that the following free-knit patterns require a simple combination of knits and purls.
Don't worry if many row repeats make you crazy. Many of the stitches below represent a two-row repeat pattern.
Abbreviations and Skill You Will Need for These Patterns
K1B = knit one below (see how-to-directions with the Fisherman's Rib Pattern.
YO 2x = Yarn over twice. (See Drop Stitch for more explanations)
kfb = Knit front and back (knit increase)
k2togk1 = k2tog, but do not slip the stitches off the needle, then knit the first stitch again, then finally, slip both stitches off the needle.
wyif = with yarn in front.
wyib = with yarn in back.
* * = Work the stitches between the two astericks the given number of times or across the row. See the pattern for exact instructions.
Getting Started with Reversible Knit Stitch Patterns: Knitting Techniques
Reversible knit stitches cover a wide range of patterns and techniques, each with its own unique characteristics and level of difficulty.
While some patterns may require more advanced techniques, many reversible knit stitches, such as knit and purl, can be achieved using basic knitting stitches.
If you are new to knitting, consider practicing basic stitches such as the garter pattern, before attempting more intricate patterns.
Tips for Achieving Success with Reversible Knitting Stitch Pattern Fabrics
To ensure that your reversible knit stitches create beautifully balanced fabrics, here are some helpful tips:
- Maintain consistent tension: Consistent tension is crucial for achieving an even and balanced fabric. Pay attention to the tightness of your stitches to ensure they are uniform throughout the project. Sometimes tension problems occur between knit and purl stitches. I'm very guilt of this one.
- Block your finished project: Blocking gently shapes and stretches the knitted fabric to its desired dimensions. It helps even out the stitches and enhances the overall appearance of the fabric.
- Experiment with different yarn weights and fiber types: Different yarn weights and fiber types can significantly impact the look and feel of your reversible knit fabric. Try experimenting with various yarn options to achieve different textures and effects.
Conclusion: Learn to Love the Versatility of Reversible Knit Stitch Patterns
Reversible knit stitch patterns offer endless possibilities for creating beautifully versatile fabrics. Whether you want to add texture, depth, or visual interest to your knitting projects, incorporating reversible knit stitches can elevate your creations to a new level.
Don't be afraid to explore different stitch patterns, experiment with yarn choices, and try out diferent yarn weights. Remember the old adage, practice makes perfect.
My Favorite Yarns for Practice Swatches
If you are making a gauge swatch before beginning your project (which you should do, but you already know that), always use the same yarn and needles you plan to use for your project.
However, if you are learning and practicing your knitting, creating practice swatches is a great way to hone your skills. If that is the case, I'd like to share some of my favorite yarns:
1. Wool Choice: Knit Picks Wool of the Andes: A nice, affordable 100% Wool that comes in a large variety of light colors, perfect for practicing. It knits up quickly, provides excellent stitch definition, and has a lovely drape. Plus, it is easy to block.
2. Acrylic Choice: Knit Picks Brava: Affordable yet high quality, Brava is hypoallergenic if you can't tolerate wool, yet soft and gentle on your hands. I love it for all sorts of projects where machine washing is a must.
3. Cotton Choice: I love Lion Brand's 24/7 100% cotton. It is not as stiff as some, but it is still strong enough for heavy-duty projects such as dishcloths. Learning to knit with cotton can be a challenge for some new knitters, but this yarn makes it easy.
Click the Links to check prices and Availability on Amazon.
Reversible Knit Stitch Patterns: Pin for Future Use
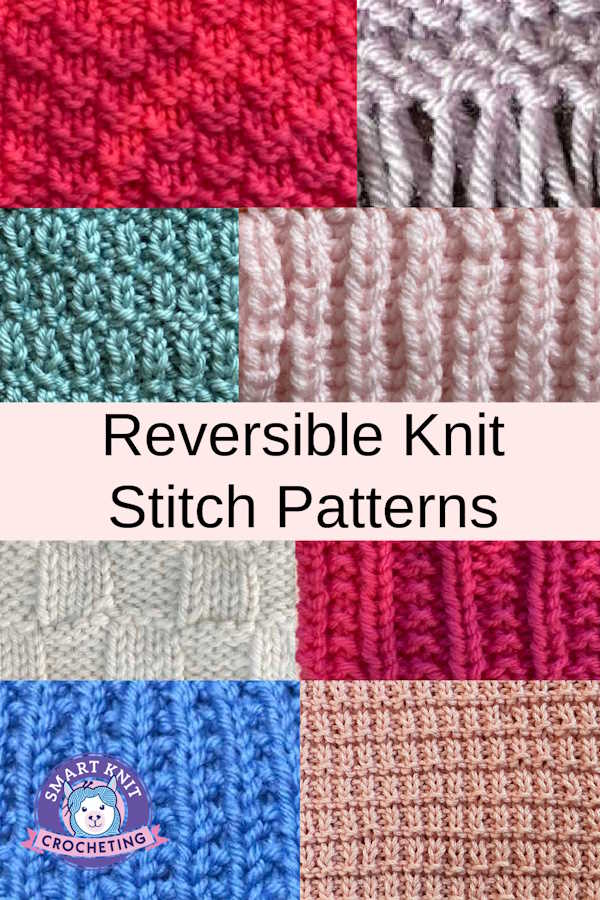 Pin this image on Reversible Knit Stitch Patterns for ready reference when you're ready to create a new knit stitch.