- Home
- How to Crochet
- How to Crochet the Second Row
How to Crochet The Second Row
Crochet the Second Row by Janice Jones Updated December 17, 2025
Crocheting the second row is one of the most confusing moments for beginners.
You’ve made your foundation chain, worked your first row—and suddenly everything looks different.
Don’t worry. This is entirely normal. When I learned how to crochet, everyone who knew more than I did told me something different. Does that sound familiar? It wasn't apparent, and it took me years to figure it all out.
In this guide, I’ll show you exactly how to crochet the second row, where to place your hook, how to turn your work, and how to avoid the most common mistakes beginners make.

What You Need Before Starting Row Two
Before you crochet the second row, make sure you have:
- Yarn (light-colored yarn is best for beginners)
- Crochet hook appropriate for your yarn
- A completed foundation chain and first row
- A comfortable, relaxed tension
If your first row feels very tight, that’s okay. The second row often feels easier once you understand where to place your hook.
Quick Review: What Is the Second Row?
The second row is the first row worked back across your stitches instead of into a chain.
Instead of inserting your hook into chain loops, you’ll now crochet into actual stitches, which have:
- Two top loops (forming a small “V”)
- A front and a back side
This is where crochet really starts to look like fabric.
Anatomy of a Crochet Chain
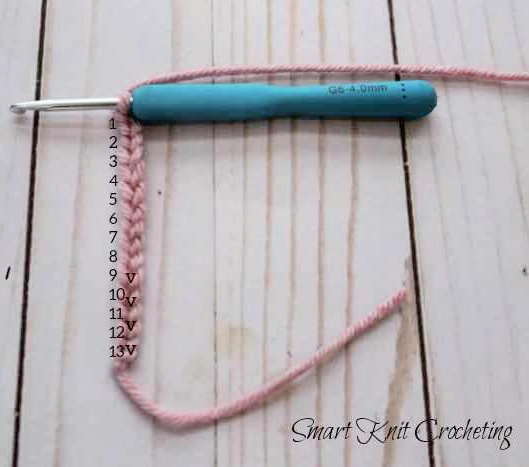
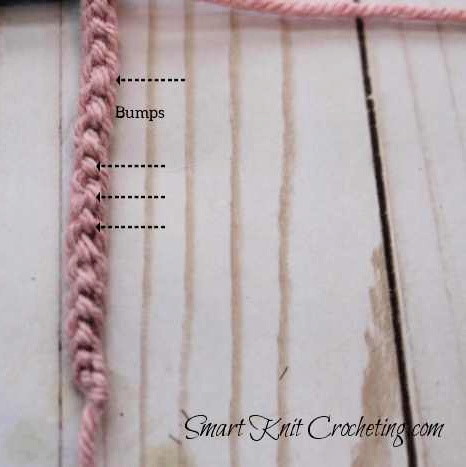
Where to Insert Your Hook When You Crochet the Second Row
Before you can crochet the second row, you need to make a chain of stitches and work the first row. To work the first row, you will need to decide where you first insert your hook.
- Insert the hook into the top two loops
- Insert the hook into one of the two loops
- Insert the hook into the bump on the back of the chain
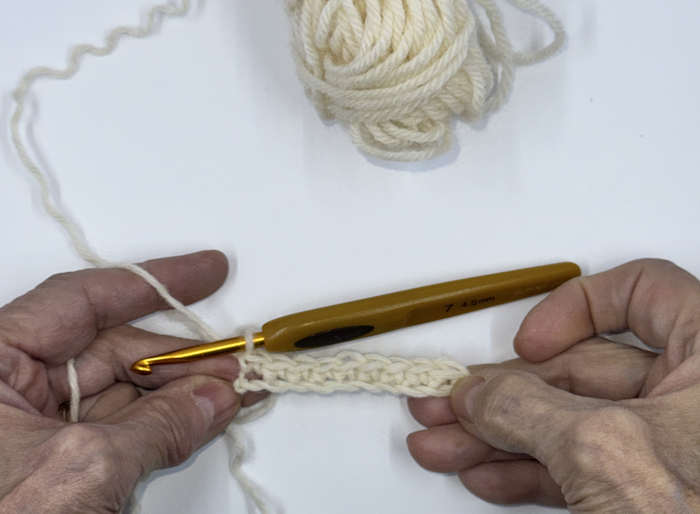
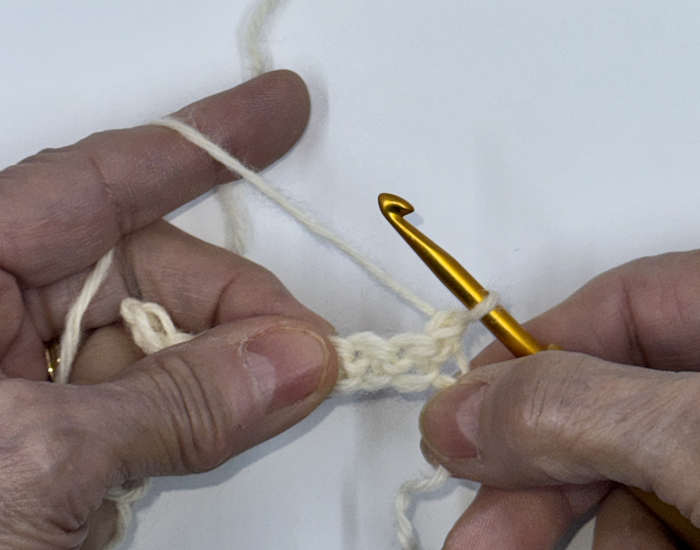
1. Turn Your Work Correctly
At the end of your first row:
- Turn your work from right to left, just as you would turn a page in a book.
- The working yarn should now be positioned on the right side of your hook (for right-handed crocheters).
Turning your work keeps your stitches aligned and your edges straight.
Step 2: Make the Turning Chain
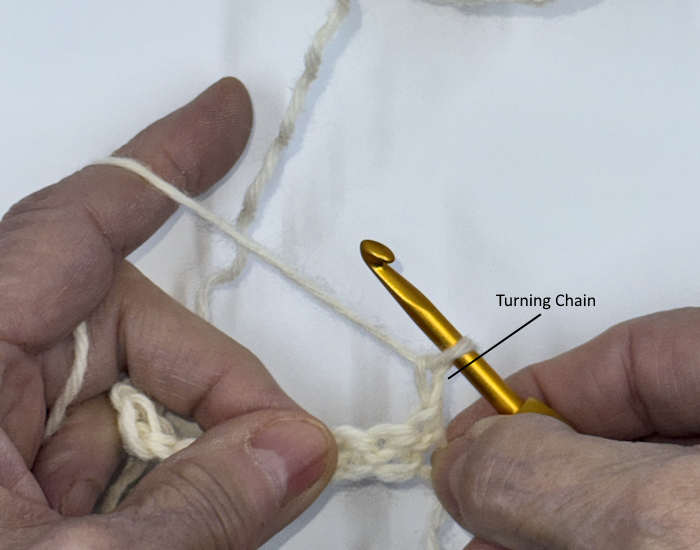
The turning chain raises your yarn to the correct height for the next row.
Use the turning chain that matches your stitch:
- Single crochet: chain 1
- Half double crochet: chain 2
- Double crochet: chain 3
In many patterns, the turning chain counts as the first stitch. Always check your pattern instructions.
Step 3: Identify Where to Insert Your Hook
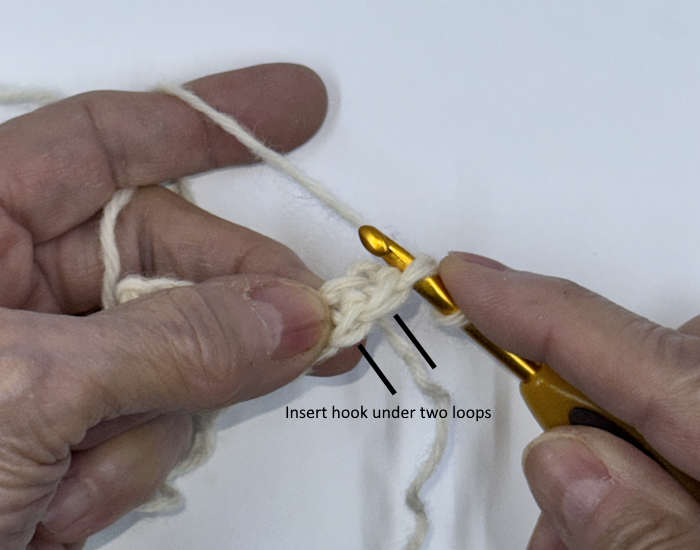
Look at the top of the stitches from your first row.
You’ll see a row of small V shapes. Each V represents one stitch.
For beginner patterns, insert your hook under both top loops of the stitch unless the pattern says otherwise.
How to Crochet the Second Row Depends on the Stitch Type.
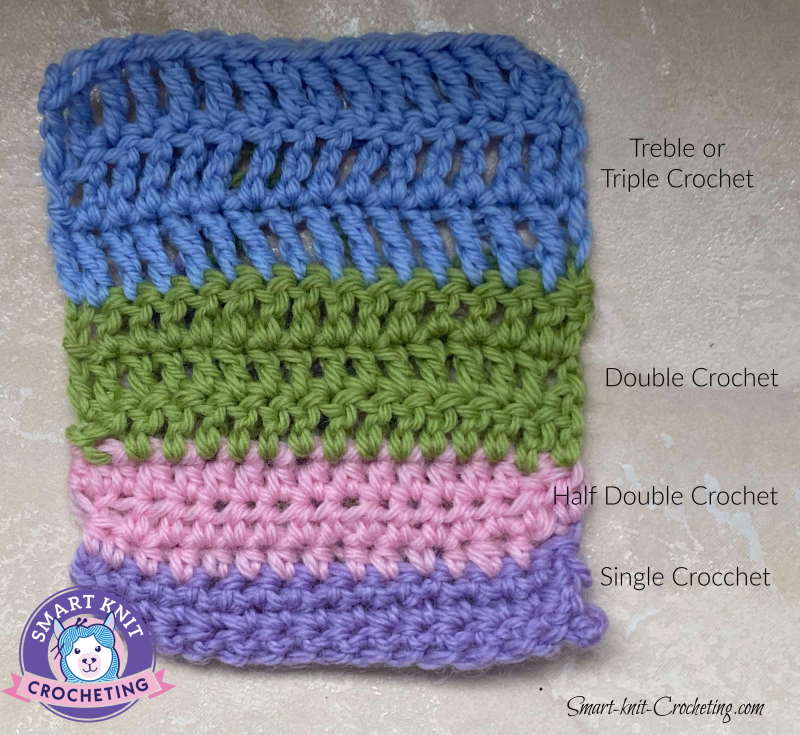
Now that we have covered where to place your hook for the second row, let's take a deeper look at how to do it based on the stitch you want to make. In this article, I am going to cover
- Single crochet
- Half double crochet
- Double crochet
- Treble crochet
Single Crochet – Second Row
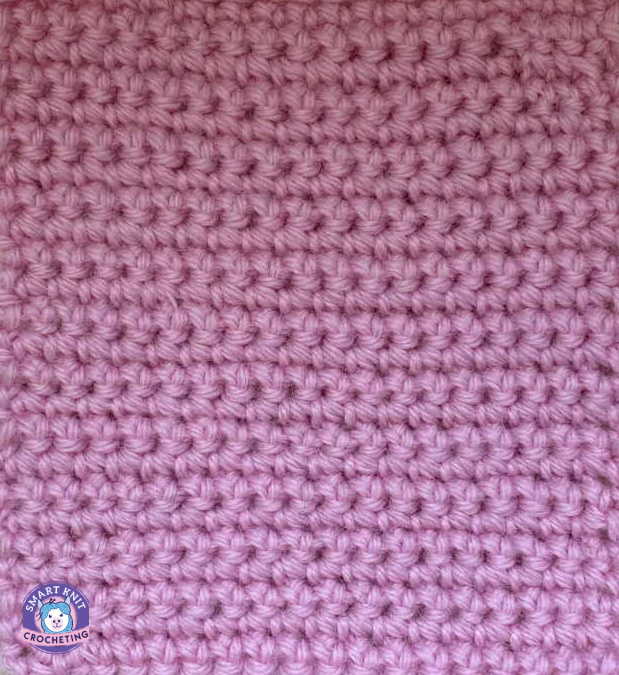
- Chain 1 and turn.
- Insert your hook into the first stitch (or second stitch if your turning chain counts).
- Yarn over, pull up a loop.
- Yarn over, pull through both loops.
- Repeat across the row.
Quick Reference for Single Crochet
- Abbreviation: sc
- Work into the second chain from the hook when you crochet the second row
- Chain one before subsequent rows
For more help, please check out my post on single crochet stitches.
Half Double Crochet – Second Row
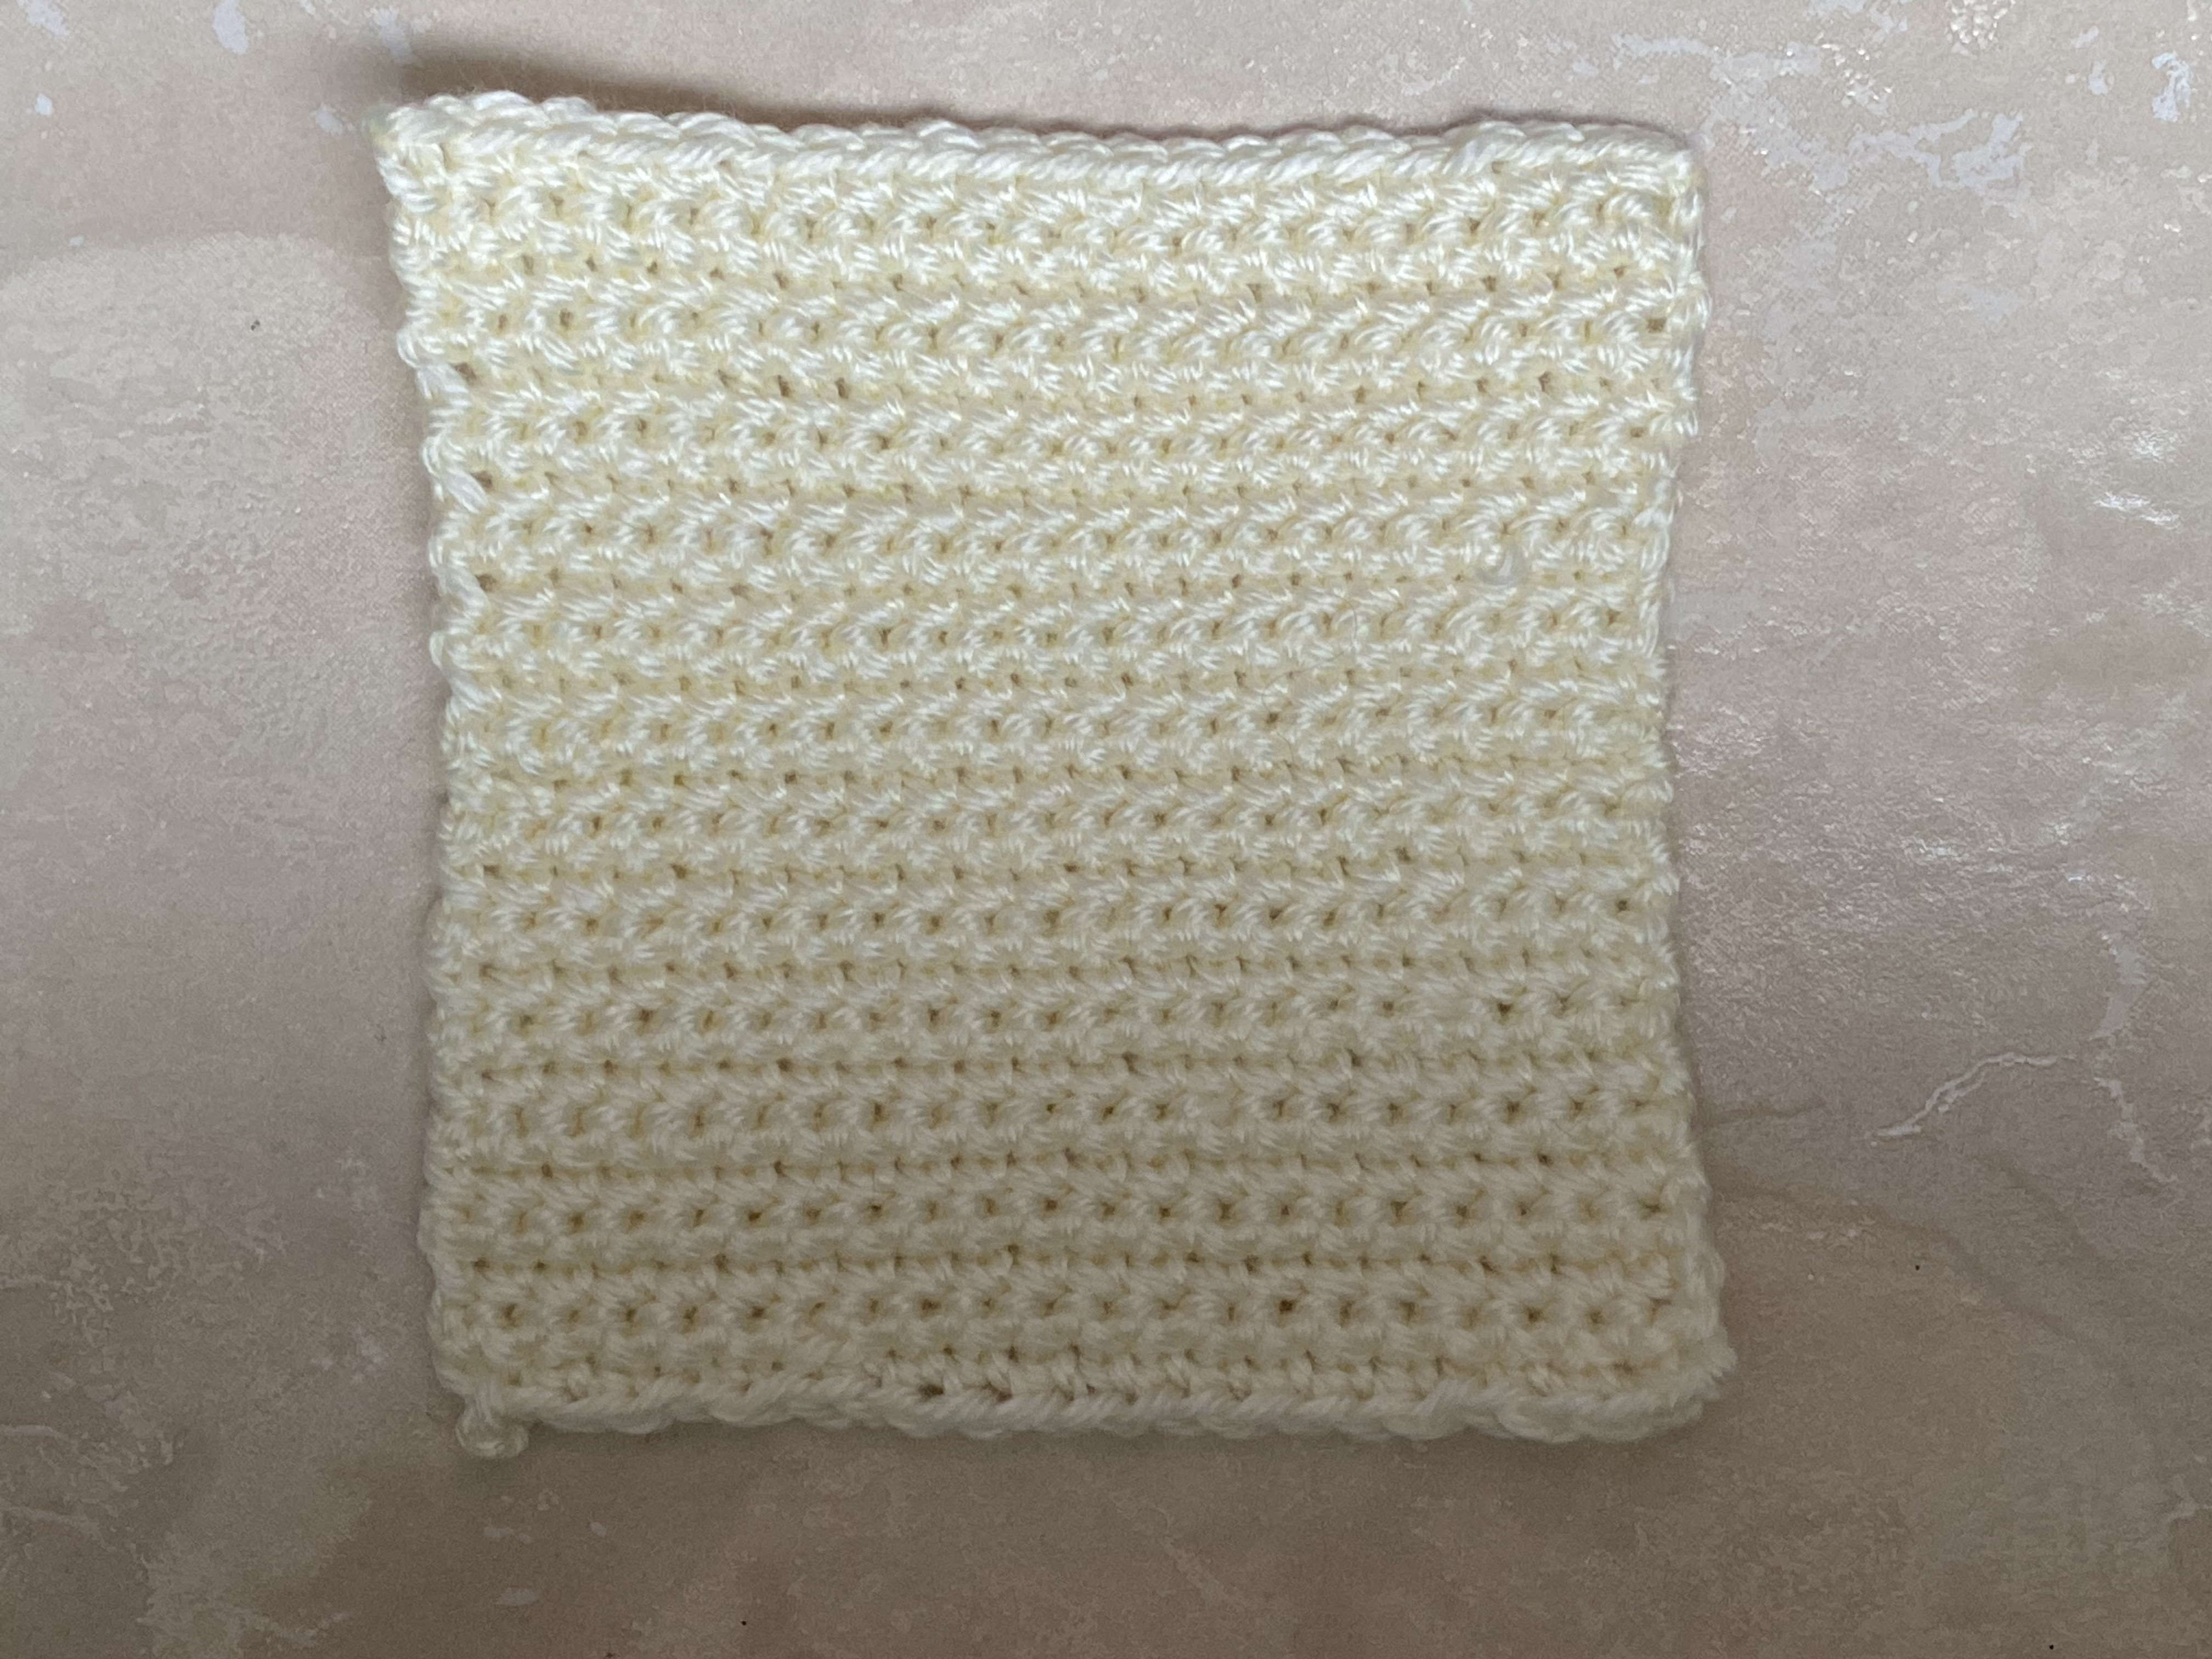
- Chain 2 and turn.
- Yarn over.
- Insert hook into the next stitch.
- Yarn over, pull up a loop (3 loops on hook).
- Yarn over, pull through all loops.
- Repeat across.
Quick Reference: Half Double Crochet
- Abbreviation: hdc (US terms)
- In British terms, the half double crochet is called half treble (htr)
- Requires two turning chains, which count as a half-double crochet stitch
- Worked in the 3rd chain from the hook on the first foundation row of half double crochet.
Please check out this crochet tutorial for more information on the half-double crochet.
Double Crochet – Second Row
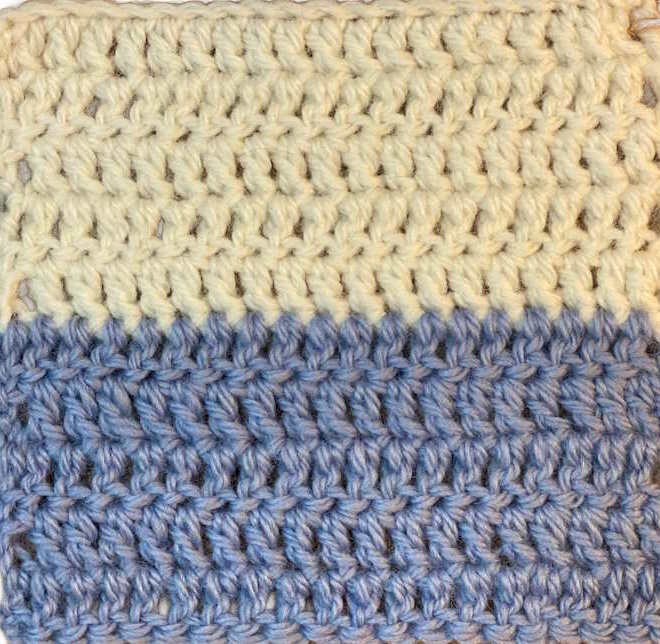
- Chain 3 and turn.
- Yarn over.
- Insert hook into the next stitch.
- Yarn over, pull up a loop.
- Yarn over, pull through two loops.
- Yarn over, pull through remaining loops.
- Repeat across.
Quick Reference: Double Crochet
- Abbreviation: dc
- In UK terms, this stitch is called the treble stitch (tr)
- Requires three turning chains before you make the first stitch
- Turning chains count as the first dc
- Insert the hook into the 3rd chain from the hook for the second row
- Insert the hook into the second from the last stitch of the previous row.
For more information, check out my post on the double crochet.
Treble or Triple Crochet Stitch
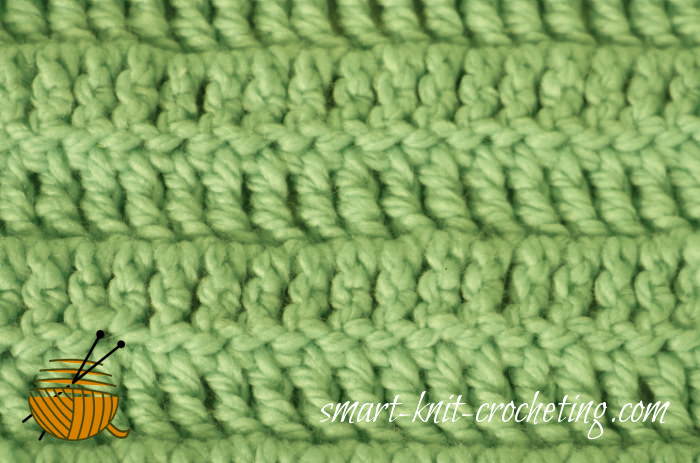
- Chain 4 and turn.
- Yarn over twice.
- Insert hook into the next stitch.
- Yarn over, pull up a loop.
- Yarn over and pull through two loops.
- Yarn over and pull through two loops.
- Yarn over and pull through two loops.
Quick Reference
- Abbreviation: tr
- In the UK, the stitch is called double treble
- Requires four turning chains
- Insert the hook into the fifth chain for the second row
- Insert the hook into the second from last stitch for all future rows
For more information, see my article on the treble crochet stitch.
Don’t Miss the Last Stitch
One of the most common beginner mistakes is skipping the last stitch.
- Always count your stitches
- The last stitch is often tight and easy to miss
- Insert your hook under both loops of the final stitch
This keeps your edges straight and prevents narrowing.
Common Problems (and Easy Fixes):
My edges look uneven
You may be:
- Skipping the first or last stitch
- Placing the turning chain incorrectly
✔ Count stitches every row until confident.
My work is curling
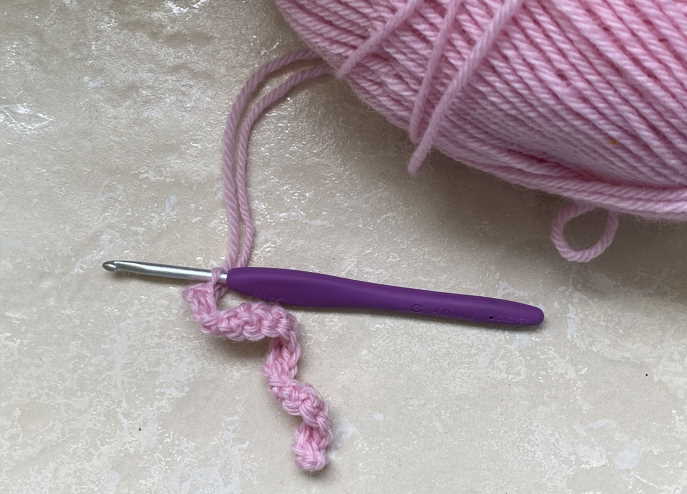
This often means:
- Your tension is too tight
- Your turning chain is too short
Try loosening your grip or using a slightly larger hook.
I can’t see the stitches
This is very common at first.
- Use light yarn at first
- Work under good lighting
- Feel for the top loops with your fingers
- Use magnification if necessary
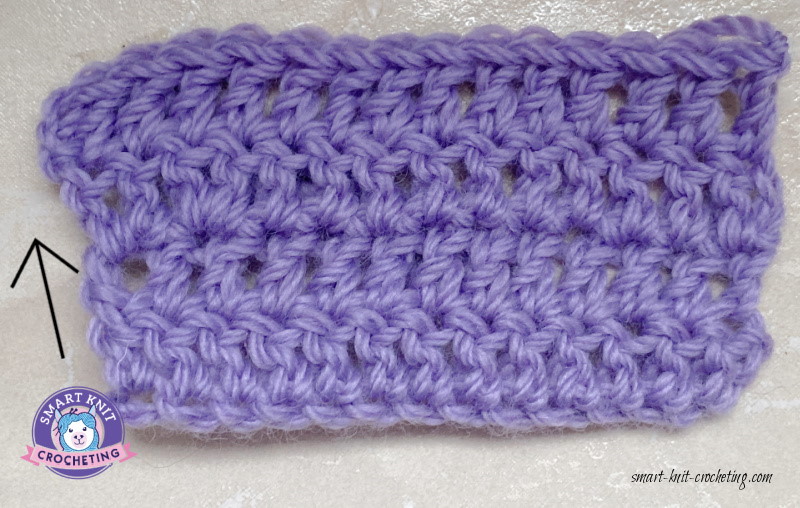
I can't get my hook into the chain stitches of my chain-stitch row.
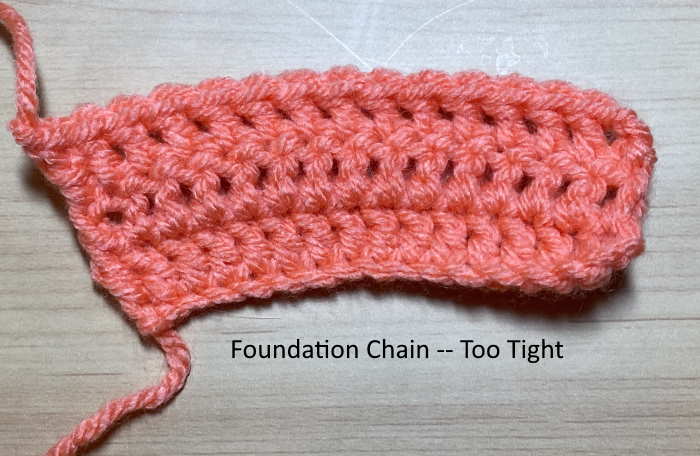
As the photo shows, making your chain too tight not only makes it difficult to work with but also creates a rather odd-shaped fabric. Try making them a bit looser, or go up one hook size for the chain row. So, for example, if you are using a US G hook, make your first chain row with a US H hook.
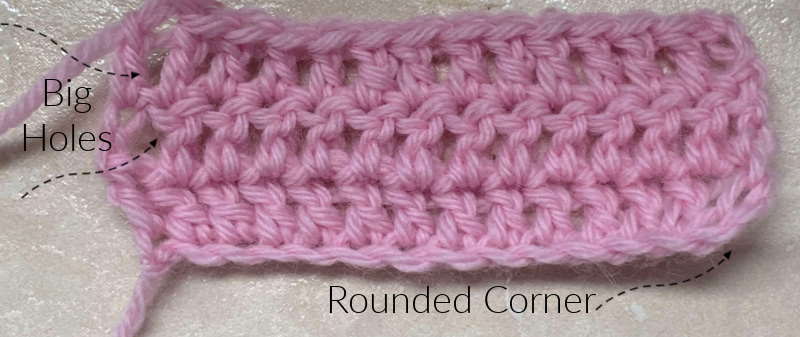
There are big holes on the edges where I made the turning chains.
Try chaining one less chain when doing your turning chain. For example, if you are working in double crochet, make a turning chain that contains only two chains.
Frequently Asked Questions
Why does the second row feel harder than the first?
Why does the second row feel harder than the first?
You’re learning to recognize stitches for the first time. This skill improves quickly with practice.
Does the turning chain count as a stitch?
Does the turning chain count as a stitch?
Sometimes. Many beginner patterns count it as a stitch, but not all. Always read the pattern notes. A typical example of this is the double crochet stitch
Do I always crochet under both loops?
Do I always crochet under both loops?
Most beginner patterns use both loops, but advanced stitches may use only the front or back loop. The pattern will tell you exactly where to insert your hook.
Why does my second row look looser or tighter?
Why does my second row look looser or tighter?
Tension often changes as you turn your work. This evens out as your hands learn the motion.
Final Thoughts
Learning how to crochet the second row is a huge milestone. Once this step clicks, everything else in crochet becomes easier.
Take your time, count your stitches, and don’t worry if it feels awkward at first—that’s part of learning.
Your Next Steps:
- Learn how to crochet multiple rows evenly
- Practice turning chains
- Explore basic crochet stitch patterns
You’re doing great—keep going
Pattern Chart Symbols Used in this Article
 Chain Stitch
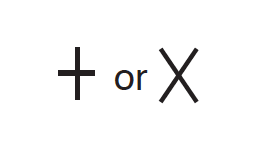 Single Crochet
 Half Double Crochet
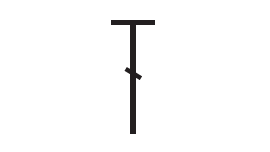 Double Crochet
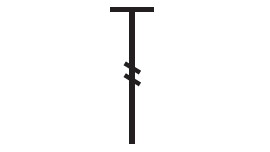 Treble Crochet