- Home
- How to Crochet
How to Crochet: Tips and Tutorials
How to Crochet, by Janice Jones
When you first learn to crochet, you might be overwhelmed by all the things you will need to learn, (I know I was) but the best news is that crochet is easy to learn and there are no written in stone rules, just general guidelines.
 How to Crochet
The other great thing about crochet is that it is very forgiving. Unlike knitting, if you make a mistake it is extremely easy to rip it out and begin again without worrying if you are losing stitches.
Crochet is also so versatile. It works up fast so crochet is great for making gifts and projects for yourself. From wearables to household items, even jewelry, the possibilities are endless. Couple that with the amazing array of beautiful fibers available today, you may decide you don't want to do anything else but crochet!
Where to Begin Your Crochet Journey?
There are some basics that everyone must master in order to produce a lovely crochet product. You've probably already figured that out, but I'll create a list for you just in case you may have forgotten somethin.
- What tools and supplies will you need?
- How to hold a crochet hook
- How to begin crocheting
- How to create different types of crochet stitches
- Terms and abbreviations
- How to crochet in rounds
- How to do increases
- How to create a gauge swatch and what does that even mean?
- How to Change Colors in Crochet
- How to Block Your Work
- How to Count Crochet Stitches
- How to read a pattern or a chart including all those
Needed Tools and Supplies for Crochet
Every craft has it's beginner list of supplies to obtain and crochet is no exception. The good news is that crochet is a relatively inexpensive hobby and you won't break the bank buying the few things you will need to learn.
You will need yarn, a crochet hook, a pair of scissors and a tapestry needle. That's it. But before you go shopping, may I suggest you read a couple of my beginner friendly articles to help you make your buying decisions easy.
Supplies and accessories you will need eventually
My article on the best yarn for beginning knitters also applies equally well to beginning crocheters. I would add though, that with crochet you can add cotton yarn to your list of yarns to try.
How to Crochet Basic Crochet Stitches
There are five basic stitches that beginners can learn, all of which are made in a similar way. You will also need to learn how to make a slip knot.
Chain (ch)
The chain stitch is the most basic and you will use this one on all projects you work.
Important note: Do not pull your yarn too tight because it will be difficult to get your hook through a very tight chain. Keep trying, it just takes practice.
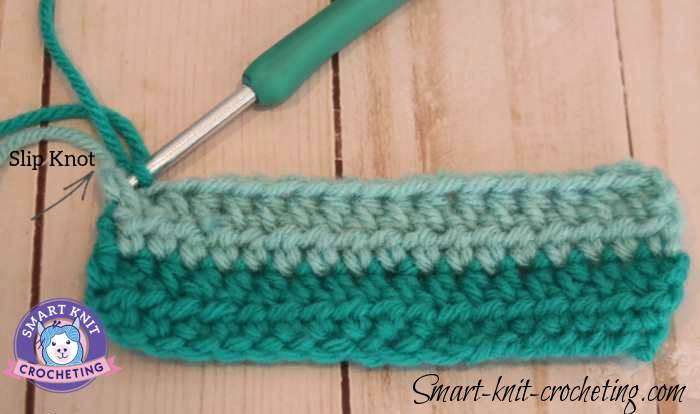
Step 1. Make a slip knot: cross the tail end of the yarn under the main length of the yarn coming from the ball.
Step 2. Insert the hook into the loop and grab the yarn with
hook. Draw the hooked yarn through slip knot and onto hook. This makes
one chain stitch. Pull the short tail, if necessary, to adjust the chain
stitch
Step 3. Repeat Step 2 until you have the required length of the chain.
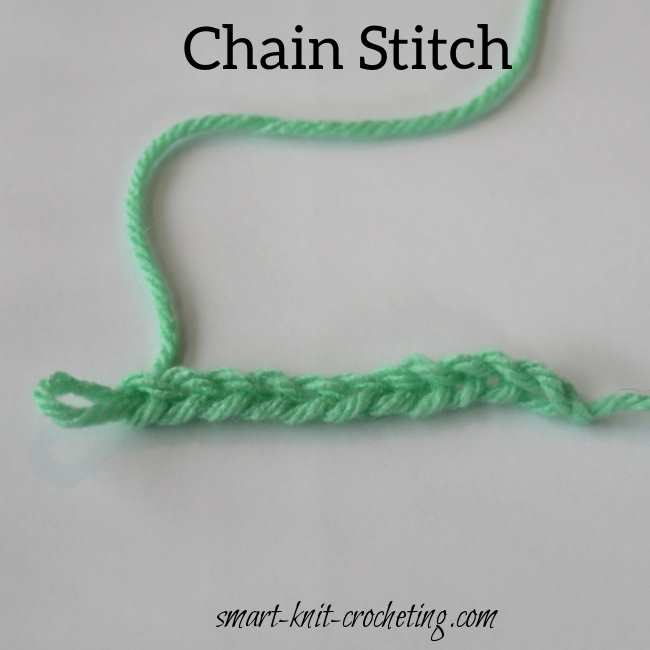 Each chain stitch creates a small v. Count each v as one stitch.
Learn how to make a chain stitch.
Single Crochet (sc)
UK Double Crochet (dc)
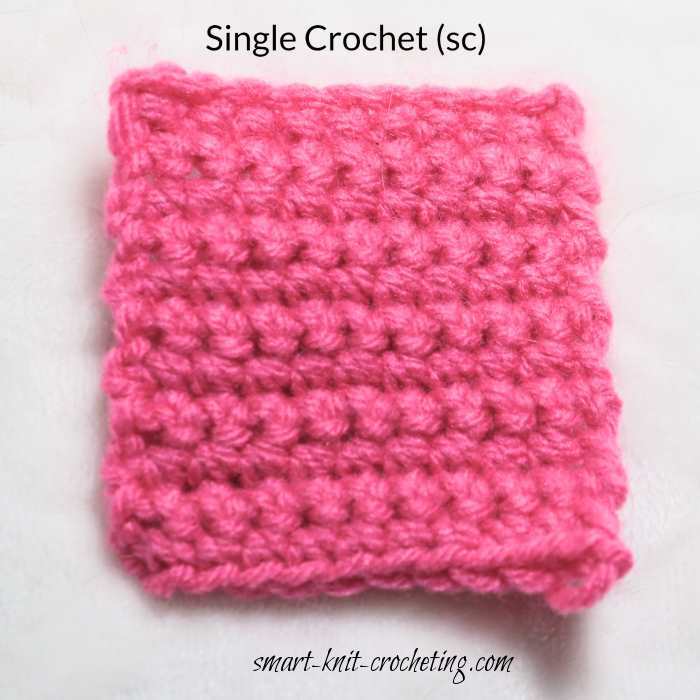
Step 1. Work a length of chain. For instance, 21 chains.(You do
not count the loop on the hook). The number of chains should be equal
the number of stitches required plus one. Your 21 chains will make 20 stitches.
Step 2. Skip the first chain stitch. The single crochet (sc) is placed in the 2nd chain from your hook. Draw the yarn through the chain stitch and up onto the hook. There are now 2 loops on the hook.
Step 3. Bring the yarn over hook from back to front, and draw it
through both loops on the hook. One loop remains on the hook. You have
made one single crochet stitch. Repeat Step 3 to the end of the row. You
will have 20 single crochet stitches.
Step 4. To start the second row, make 1 ch (1 chain) before turning the work. It will be your 1 turning chain.
After turning the work, insert the hook into the next stitch. (Your
first stitch is the turning chain). Continue working 1 single crochet (1
sc) into each stitch of the previous row.
Step 5. Finishing: cut the yarn from the main ball, leaving a
piece approximately 6 in in length. Pull this piece through the loop so
that a little knot is formed.
Learn more about the single crochet stitch
Double Crochet (dc)
UK treble crochet (tr)
Step 1.
Work a length of chain. For instance, 23 chains. (You do not count the
loop on the hook). The number of chains should equal the number of stitches required plus three. Your 23 chains will make 20 stitches.
Step 2. Put the yarn over the hook. Skip the first 3 chain stitches. The double crochet (dc) is placed in the fourth chain from your hook. Draw the yarn through the chain stitch and up onto the hook. There are now 3 loops on the hook.
Step 3. Yarn over, pull through the first 2 loops.
There are 2 loops on the hook now. Yarn over, pull through the
remaining two loops. One double crochet is completed. Repeat Step 2 and 3
to the end of the row. Make sure you have exactly 20 double crochet
stitches at the end of the row.
Step 4. To start the second row, you should chain 3 so all your stitches will be at the same height. These are your 3 turning chains.
They count as the first double crochet (dc) for the second row. This is
why when you start the second row, you go into the 2nd stitch. Continue
placing 1 dc in each stitch to the end. Make sure you have exactly 20
stitches.
Note: If you find there is a hole at the start of the rows, chain
2 instead of 3 to get the needed height. You will have to see what
works best for you. This bit of advice applies to all of the stitches described on this page.
Go to the Double Crochet Stitch Tutorial
Half-Double Crochet (hdc)
UK half treble crochet (htr)
The half-double crochet is a slightly taller stitch than the single crochet (sc) and makes a slightly denser project. It is worked similar to the double crochet, except that you do a yarn over twice.
You will be chaining 2 stitches at the end of the row to turn, so that if you started with 22 chain stitches, you will end up with 20 half-double crochet stitches.
Step 1. To begin a half-double crochet stitch, draw up a loop of yarn around the hook (yarn over).
Step 2. Insert your hook under the top 2 loops of the next stitch. Yarn over.
Step 3. Pull the yarn through the stitch, then draw the yarn over the stitch again. There will be 3 loops on the hook.
Step 4. Pull the yarn over through the 3 loops still on your hook. Work each chain stitch until you reach the end of the row.
Step 5. Chain 2 and Turn your work. You have completed one row of half-double crochet.
NOTE: The chains that you make at the end of the row are normally counted as one half-double crochet stitch
Treble Crochet or Triple Crochet (tr)
UK double treble crochet
The treble crochet stitch (tr) is taller than the double crochet (dc)
Step 1. Make a foundation chain (ch). For practice, I suggest you make a chain of 18 stitches. Allowing for turning using 4 chain stitches, you will end up with 14 treble crochet stitches per row.
Step 2. Start by wrapping your yarn over the hook twice. (YO twice).
Step 3. Insert your hook into the 5th chain from the hook. Turn your hook slightly so it is facing forward, pass the hook under the yarn os it crosses over the hook. Draw the yarn through the stitch. There should be four loops left on the hook.
Step 4. Pull the yarn over and through two loops on the hook.
Step 5. Pull the yarn-over again through the next two loops and yarn over.
Step 6. Pull the yarn over through the last 2 loops.
Step 7. To turn, chain four and begin the next row.
NOTE: Be sure to count the stitches per row. There should be the exact number on each row. If you have less than the correct number, you have forgotten to work every stitch. If you have too many, you are adding stitches where they don't belong.
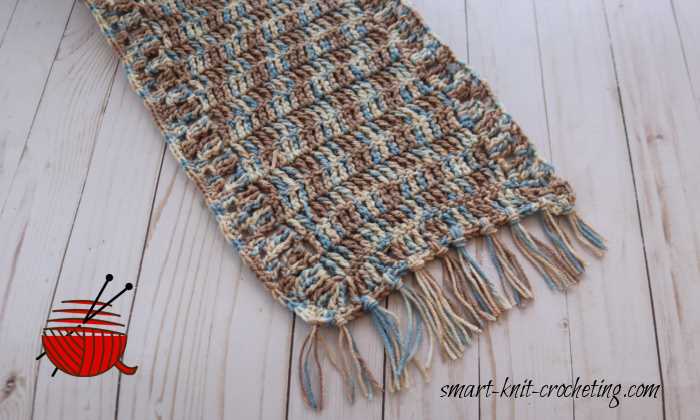
Visit the treble crochet Stitch tutorial
Additional Skills to Know
Now you are ready to make magic of a single strand of yarn. Let's
"assemble" our basic crochet stitches into something more serious. Our
next step is to learn how to crochet patterns in order to form a
complete piece of fabric for your own designs.
How to Change Colors in Crochet
Whether you are changing colors or simply adding a new ball of yarn, there are different ways to do this depending on what feels best for you. To know for sure try all the methods on this page and choose the best method for you.
Learn how to change colors in crocheting
Increasing and Decreasing in Crochet
Unless you want all your projects to be perfect squares or rectangles, you will want to learn how to increase and decrease in crochet.
How to Increase Stitches in Crochet
How to Decrease Stitches in Crochet
How to Count Crochet Stitches
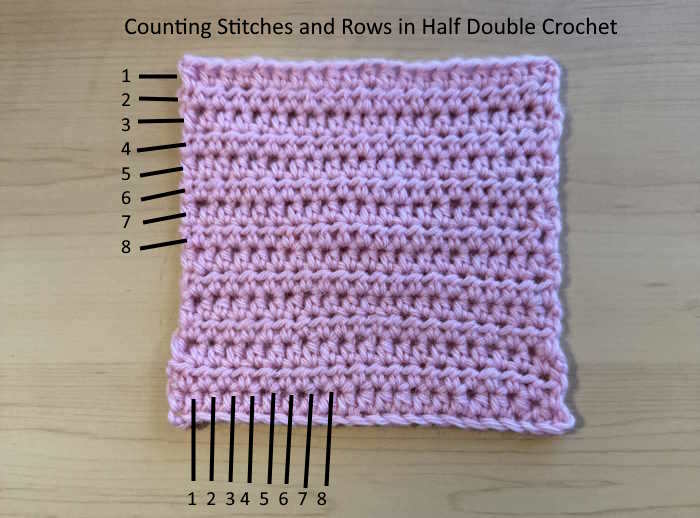
This comprehensive tutorial teaches you how to count stitches and rows or rounds in crochet.
Learn how to count crochet stitches
How to Make a Gauge Swatch
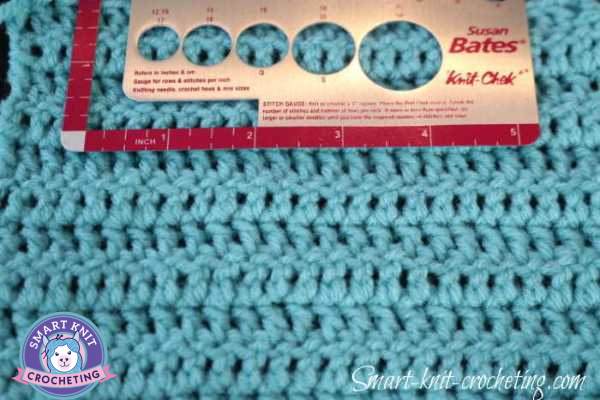
What is a gauge swatch and why would I need one? Good question. For things like scarves where you don't really care if it fits, you probably don't need a gauge swatch. Still, it's a good idea to get into the habit of making one even if the pattern does not specify.
Everyone crochets a little differently, and your stitches may be bigger or smaller than the designers if you tend to crochet loosely or tightly. Even with a scarf, your end result could be much different than you expected.
Learn How to Make and Read a gauge swatch.
How to Block Your Crochet Projects
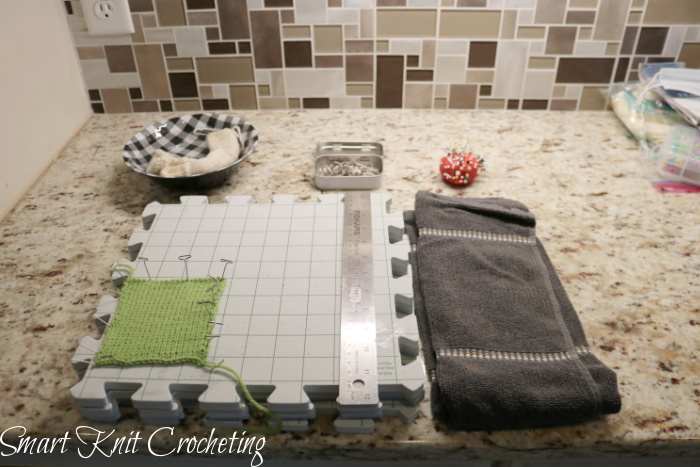
If you want your projects to look professional hand-made, you will want to block them. There are more than one way to block depending on the type of yarn you use and the type of stitches you make. I have created a page on blocking geared to knitting, but the techniques are equally appropriate for crochet.
How to Block Your Crochet Work
How to Read Crochet Patterns
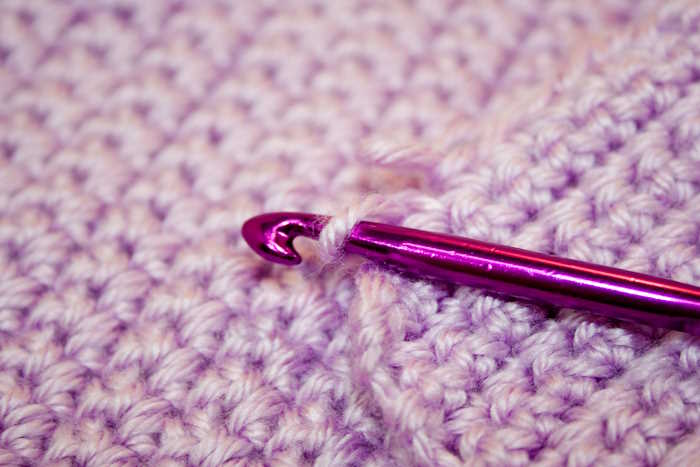
This is an important skill for all beginner crocheters. Patterns can be difficult to decipher, but this detailed guide will help you understand what you need to read and understand any pattern you want to try.
Learn how to read crochet patterns
How to Crochet: Pin for Future Reference
How to Crochet Conclusion
This page is a comprehensive guide to learning how to crochet. It covers the basics of crocheting, such as how to hold your yarn and hook, how to make the slip knot and chain stitch, and how to work the single crochet, double crochet, treble crochet, and half double crochet stitches.
The page also includes tutorials on how to read crochet patterns, how to work in the round, and how to increase and decrease stitches.
