- Home
- Types of Knit Stitches
- Knitting Rib Stitches
Knitting Rib Stitches: How to Knit Rib Stitches and Make Them Pop!
Knitting Rib Stitches by Janice Jones
Rib stitches are everywhere, on sweaters, vests and cardigans, on the cuffs of socks and mittens, and especially on caps and other types of hats. They can also be used as a stand alone stitch for scarves, shawls, and cowls.
Ribs offer a snug fit whether you use them at the base of your garment, on the sleeves or around the neck.
Ribbing Stitch Directory
Characteristics of Rib Stitches
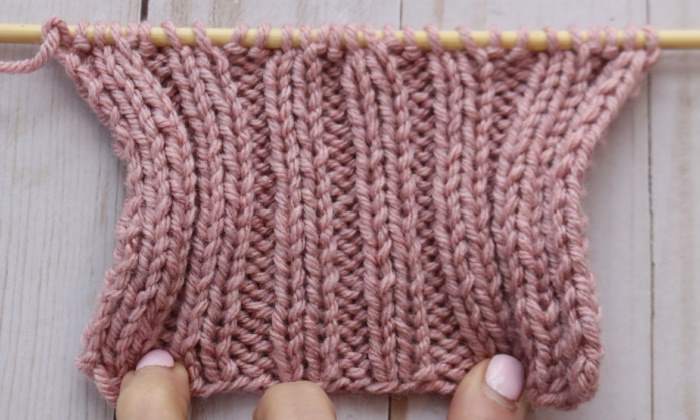
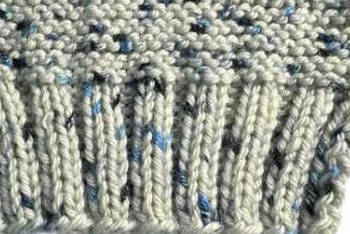
Rib stitches also tend to be very elastic because the knit stitches tend to stick out more and the purl stitches want to recede. When worked on a smaller sized needle from the rest of the garment, the rib stitches are even more elastic.
Finally, knit rib stitches also tend to lie flat, as opposed to stockinette fabric that tends to curl.
Are they hard to make?
Luckily the answer is no, but there are a few tricks for getting it right. But before we get into perfecting our knitted ribbing, lets look at the many types of rib stitches and how to make them.
So Many Different Types of Ribbing Knit Stitches
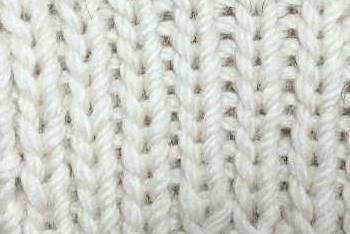
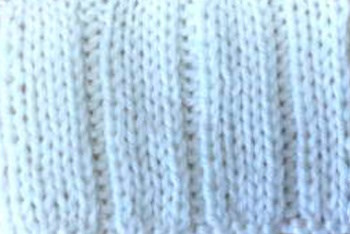
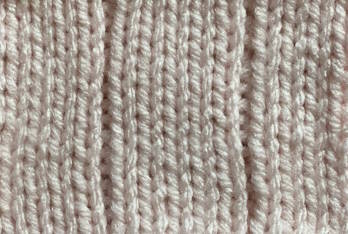
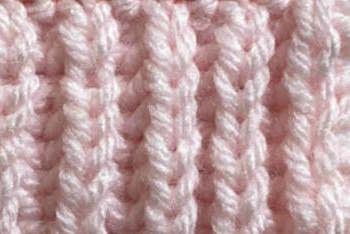
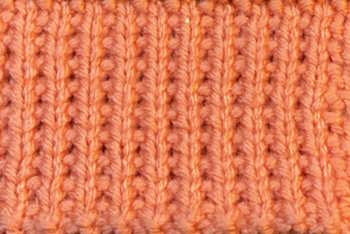
Both the 1 x 1 (single rib) and the 2x2 (double rib) ribs create a lovely textured fabric that is very stretchy. They are also two of the most common rib stiches that one encounters. You might also see them identified as regular or even ribs because they have the same number of knit stitches to purl stitches.
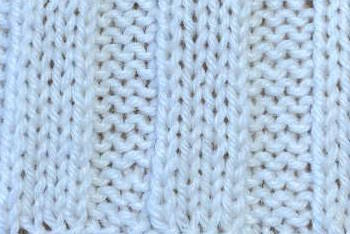
There are also 3x3 and 4x4 rib patterns also call regular.
The few the knit-purl stitch combination, the stretchier the fabric. So, a 1x1 will be more stretchy than a 4x4.
Knitting Rib Stitches: Combining Knits and Purls to Create Basic Ribs
Rib stitches are made by combining knit and purl stitches in a variety of different ways. The two most common rib stitches are the 1x1 and the 2x2.
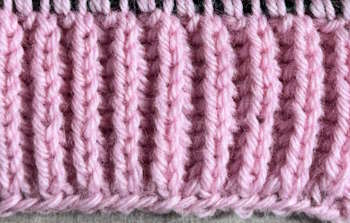
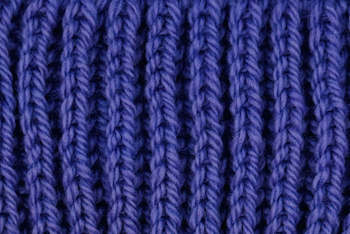
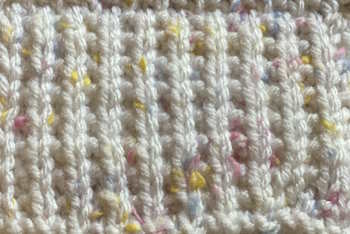
A 1 x 1 knit rib stitch is made by alternating one knit stitch with one purl stitch across the row and repeating the row until you reach the length you want. Normally, the 1 x 1 rib is made on an even number of stitches, but it can also be worked on an odd number of stitches.
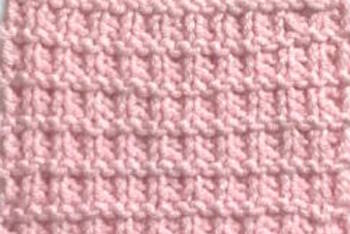
4x4 Rib Stitch
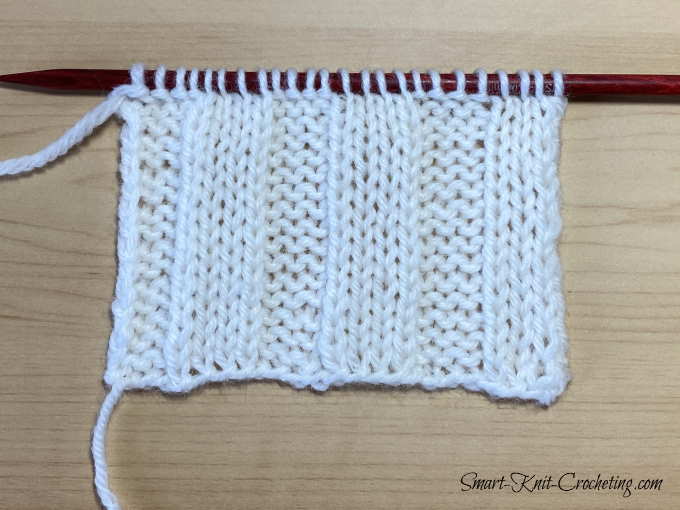

To work this rib, cast on multiples of 8.
Directions:
Row 1: Knit 4, Purl 4 across the row.
Row 2 and all rows: Repeat row 1
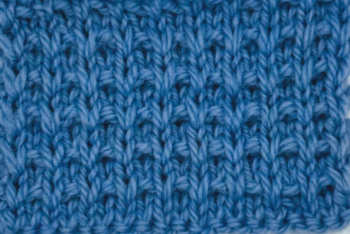
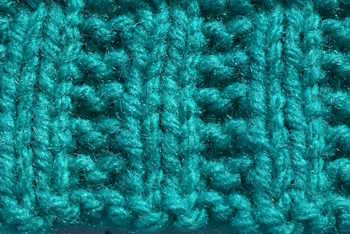
4x2 Rib Stitch
 4 x 2 Rib
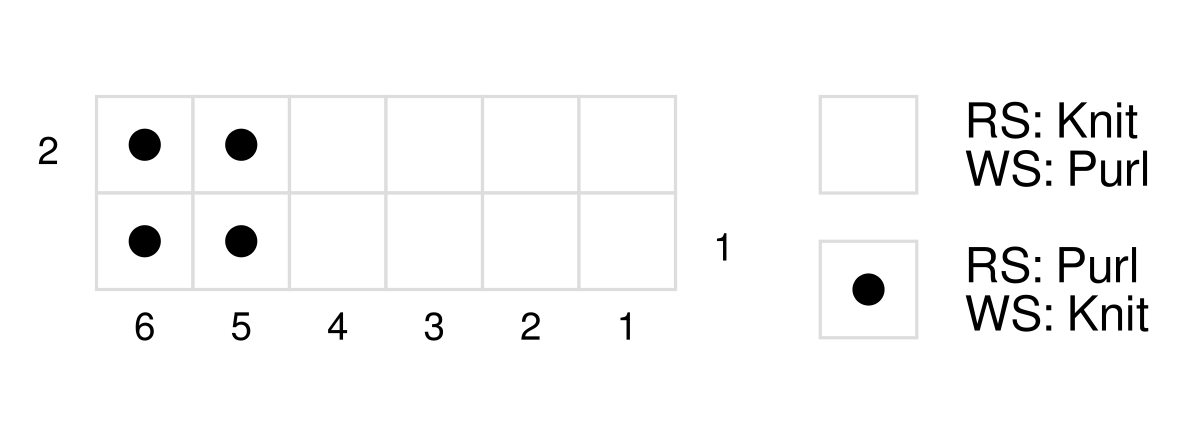
Cast on multiples of 6 stitches.
Directions:
Row 1: Knit 4, Purl 2 across the row.
Row 2: and all rows: Repeat row 1
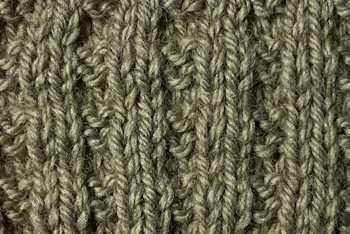
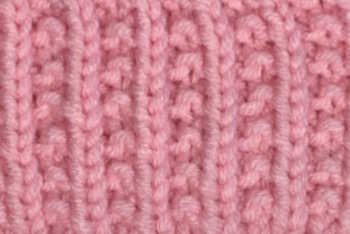
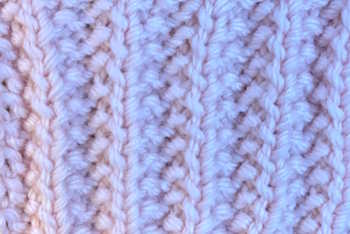
4x3 Rib Stitch
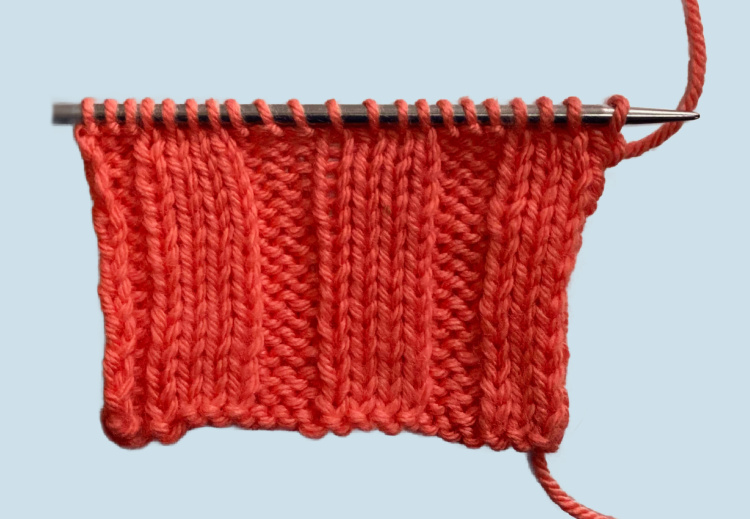 4 x 3 Rib
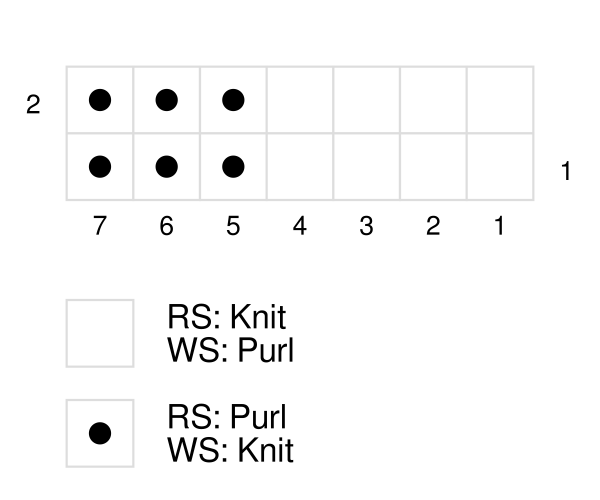
Cast on multiples of 7 stitches.
Directions:
Row 1: *K 4, P 3* across the row.
Row 2: *K3, P4* across the row.
Repeat rows 1 and 2 until you reach your desired length.
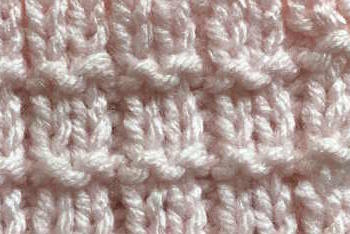
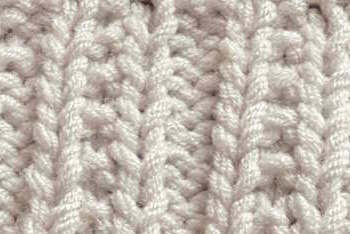
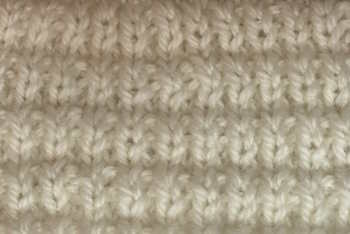
5x1 Rib Stitch

To make this rib, you would want to cast on multiples of 6.
Directions:
Row 1: *K5, P1 repeat from * across to the end of row.
Row 2: *K1, P5, repeat from * across to end of row.
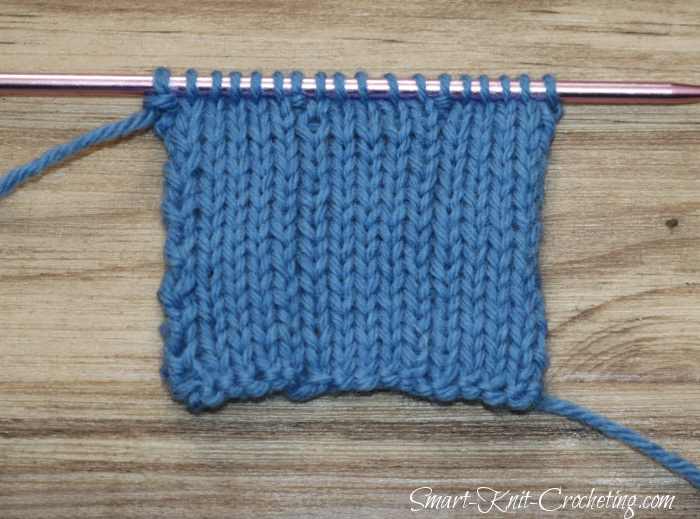 Right Side
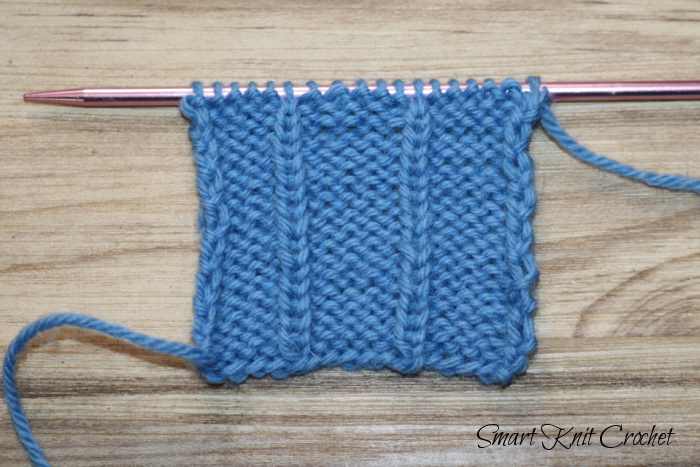 Wrong Side
7 x 3 Rib Stitch

This stitch is worked on multiples of 10.
Directions:
Row 1: Knit 7, Purl 3 across the row.
Row 2 and all rows: Repeat row 1
How do you know which stitch comes next in the rib?
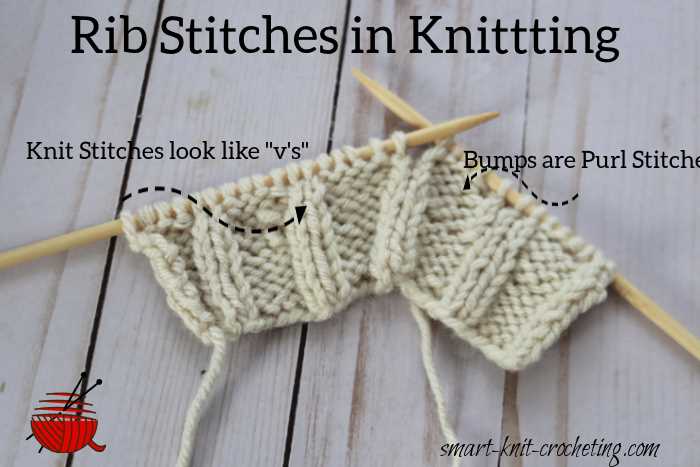
It is easy to get confused if you are just beginning to knit. Should you make a knit stitch or a purl stitch? Luckily you don’t need to memorize where you are in a rib row because the purl stitches and the knit stitches look different.
Purl stitches have a bump and knit stitches look like a little V. If the next stitch you are about to work has a bump, then make a purl stitch. If it looks like a V, make a knit stitch
Knitting Rib Stitches Neatly
Most beginners are very happy to figure out how to read the pattern and create the stitches correctly. But as you become more proficient in your knitting, you start to look at your stitches more and hope they will all look uniform.
Tension is the word knitters use to assure that all of their stitches are the same size. Tension problems can occur when casting on and binding off, in rows and on the edges of the fabric.
They can also occur when you transition from a knit stitch to a purl stitch as you do when knitting rib stitches.
Getting the tension right on rib stitches is not as easy as one might think. Take a look at this swatch of a 2 x 2 rib, paying particular attention to the columns of knit stitches.
The stitches in both columns should be the same size. Some of the stitches on the left column are larger than the right column. Why does this occur?
Tension Problems in Rib Stitches
Over sized knit stitches can appear in ribbing if the tension between purl and knit stitches is uneven. This often occurs not only in ribbing but seed and cables too.
It is caused by the fact that purl stitches require more yarn than knit stitches. This happens because of the way we wrap the yarn.
When making a knit stitch, the yarn is in the back and we wrap the yarn around the needle at about 360 degrees. When we make a purl stitch, not only are we wrapping the yarn about 360 degrees but we are also moving the yarn from the back to the front. That extra yarn can collect in the next stitch making that stitch larger.
One method to fix this problem is to bring the yarn completely towards you, before making the purl stitch. This causes excess yarn to form between the stitches that eventually works itself back to the knit stitch making it larger.
One other way to correct this is to give the yarn a tug after the knit and before the purl stitch. This can be accomplished by bringing the yarn in front, placing the right needle into the stitch as if to purl, and then pulling on the yarn to reduce that slack in the yarn from the previous knit stitch.
Another possibility is to use combination knitting, where you would wrap the yarn in the opposite direction on the purl side when making a purl stitch, followed by working through the back of the loop on the knit side. Twisted stitches can result if this is not done properly.
