- Home
- How to Knit: Basics
How to Knit for Beginners: Step-by-Step Lessons, Tips & Free Patterns
How to Knit by Janice Jones, Certified Knitting Instructor
Learning to knit is easier than you think! In this complete beginner’s guide, I’ll walk you through each step — from choosing the right yarn and needles to making your first stitches and finishing your first small project. You’ll learn the same time-tested methods I teach as a certified knitting instructor, and by the end, you’ll have the confidence to knit scarves, dishcloths, and cozy gifts all on your own.
Quick Start: Learn to Knit in 5 Simple Steps
(Beginner-Friendly)
Never knitted before? Start here.
This quick-start guide walks you through the basics you need to get started on knitting today. You don’t need to understand everything yet, just follow these steps, and you’ll be knitting your first rows in minutes.
Beginner Knitting Quick Start Checklist
Never knitted before? Check these off in order. You don’t need anything else to get started.
- ☐ US size 8 (5 mm) straight knitting needles
- ☐ Light-colored, worsted-weight yarn
- ☐ Scissors
- ☐ Tapestry needle
- ☐ Make a slip knot
- ☐ Cast on 20 stitches
- ☐ Knit every stitch across each row
- ☐ Bind off and weave in ends
✔ If you can complete this list, you’ve learned the core skills every knitter needs.
Step 1: Get the Right Supplies
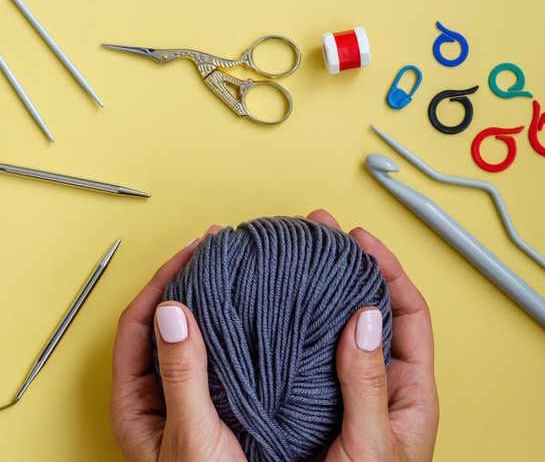
You only need a few basics to start knitting successfully:
- Knitting needles: US size 8 (5 mm), straight needles
- Yarn: Light-colored, worsted-weight yarn (easy to see stitches)
- Extras: Scissors and a tapestry needle
(Avoid dark or fuzzy yarns at first — they make learning harder.)
Step 2: Make a Slip Knot
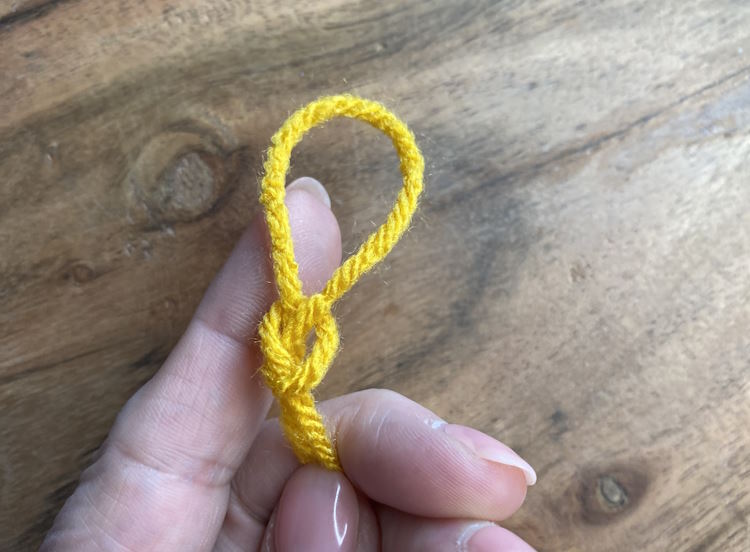
Create a slip knot and place it on one needle.
This is the first loop that anchors your work and allows you to begin casting on stitches.
Don’t worry if it feels awkward — everyone struggles with this step at first.
Step 3: Cast On 20 Stitches
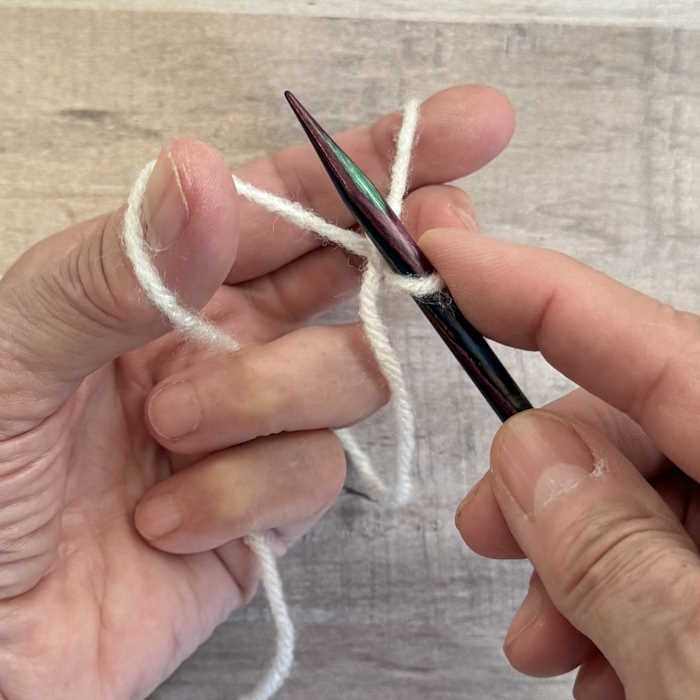
Casting on creates the foundation row of stitches on your needle.
- Use a knitted cast-on or long-tail cast-on
- Aim for 20 stitches — enough to practice without feeling overwhelming
Once finished, all your stitches should sit evenly along the needle, neither too tight nor too loose. Learn how to Cast on Using the Longtail Cast-on Method.
Step 4: Knit Every Stitch (Garter Stitch)
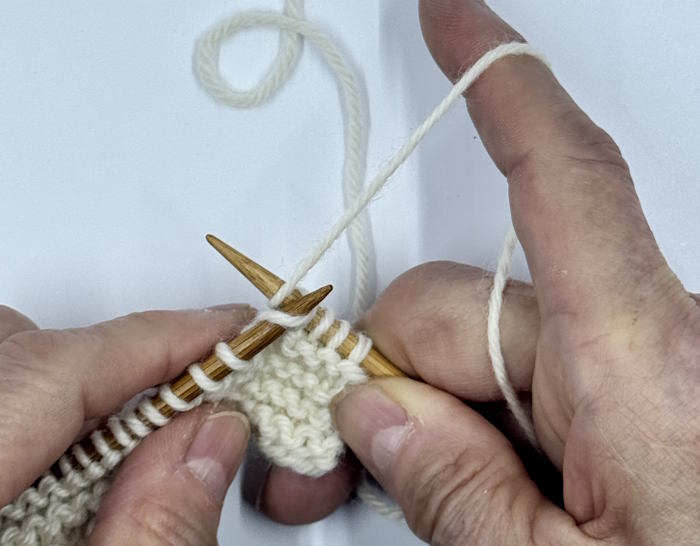
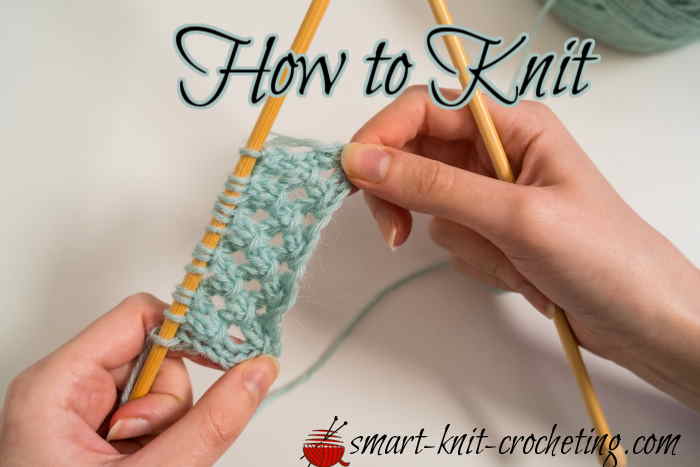
Insert the right needle into the first stitch, wrap the yarn around it, and pull the yarn through — this is the knit stitch.
Knit every stitch across the row
Turn your work and knit every stitch again
Repeat for several rows
🎉 Congratulations — you’re officially knitting!
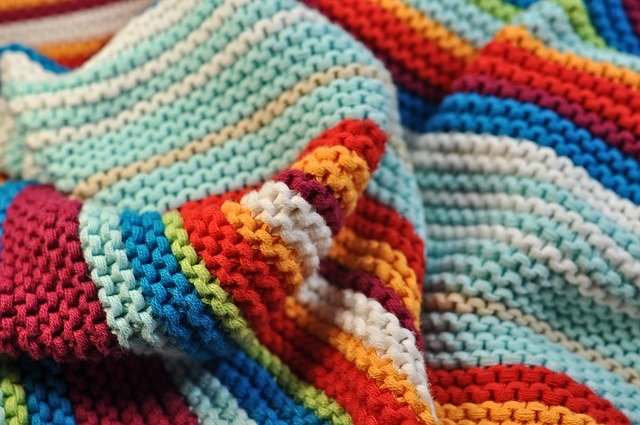
This simple fabric is called garter stitch, and it’s perfect for beginners. Learn more about knitting the garter stitch.
Step 5: Bind Off and Finish
When your piece is a few inches long:
- Bind off to secure the stitches
- Cut the yarn and pull it through the last loop
- Use a tapestry needle to weave in loose ends
You’ve now completed your first knitted piece. Learn how to Bind Off
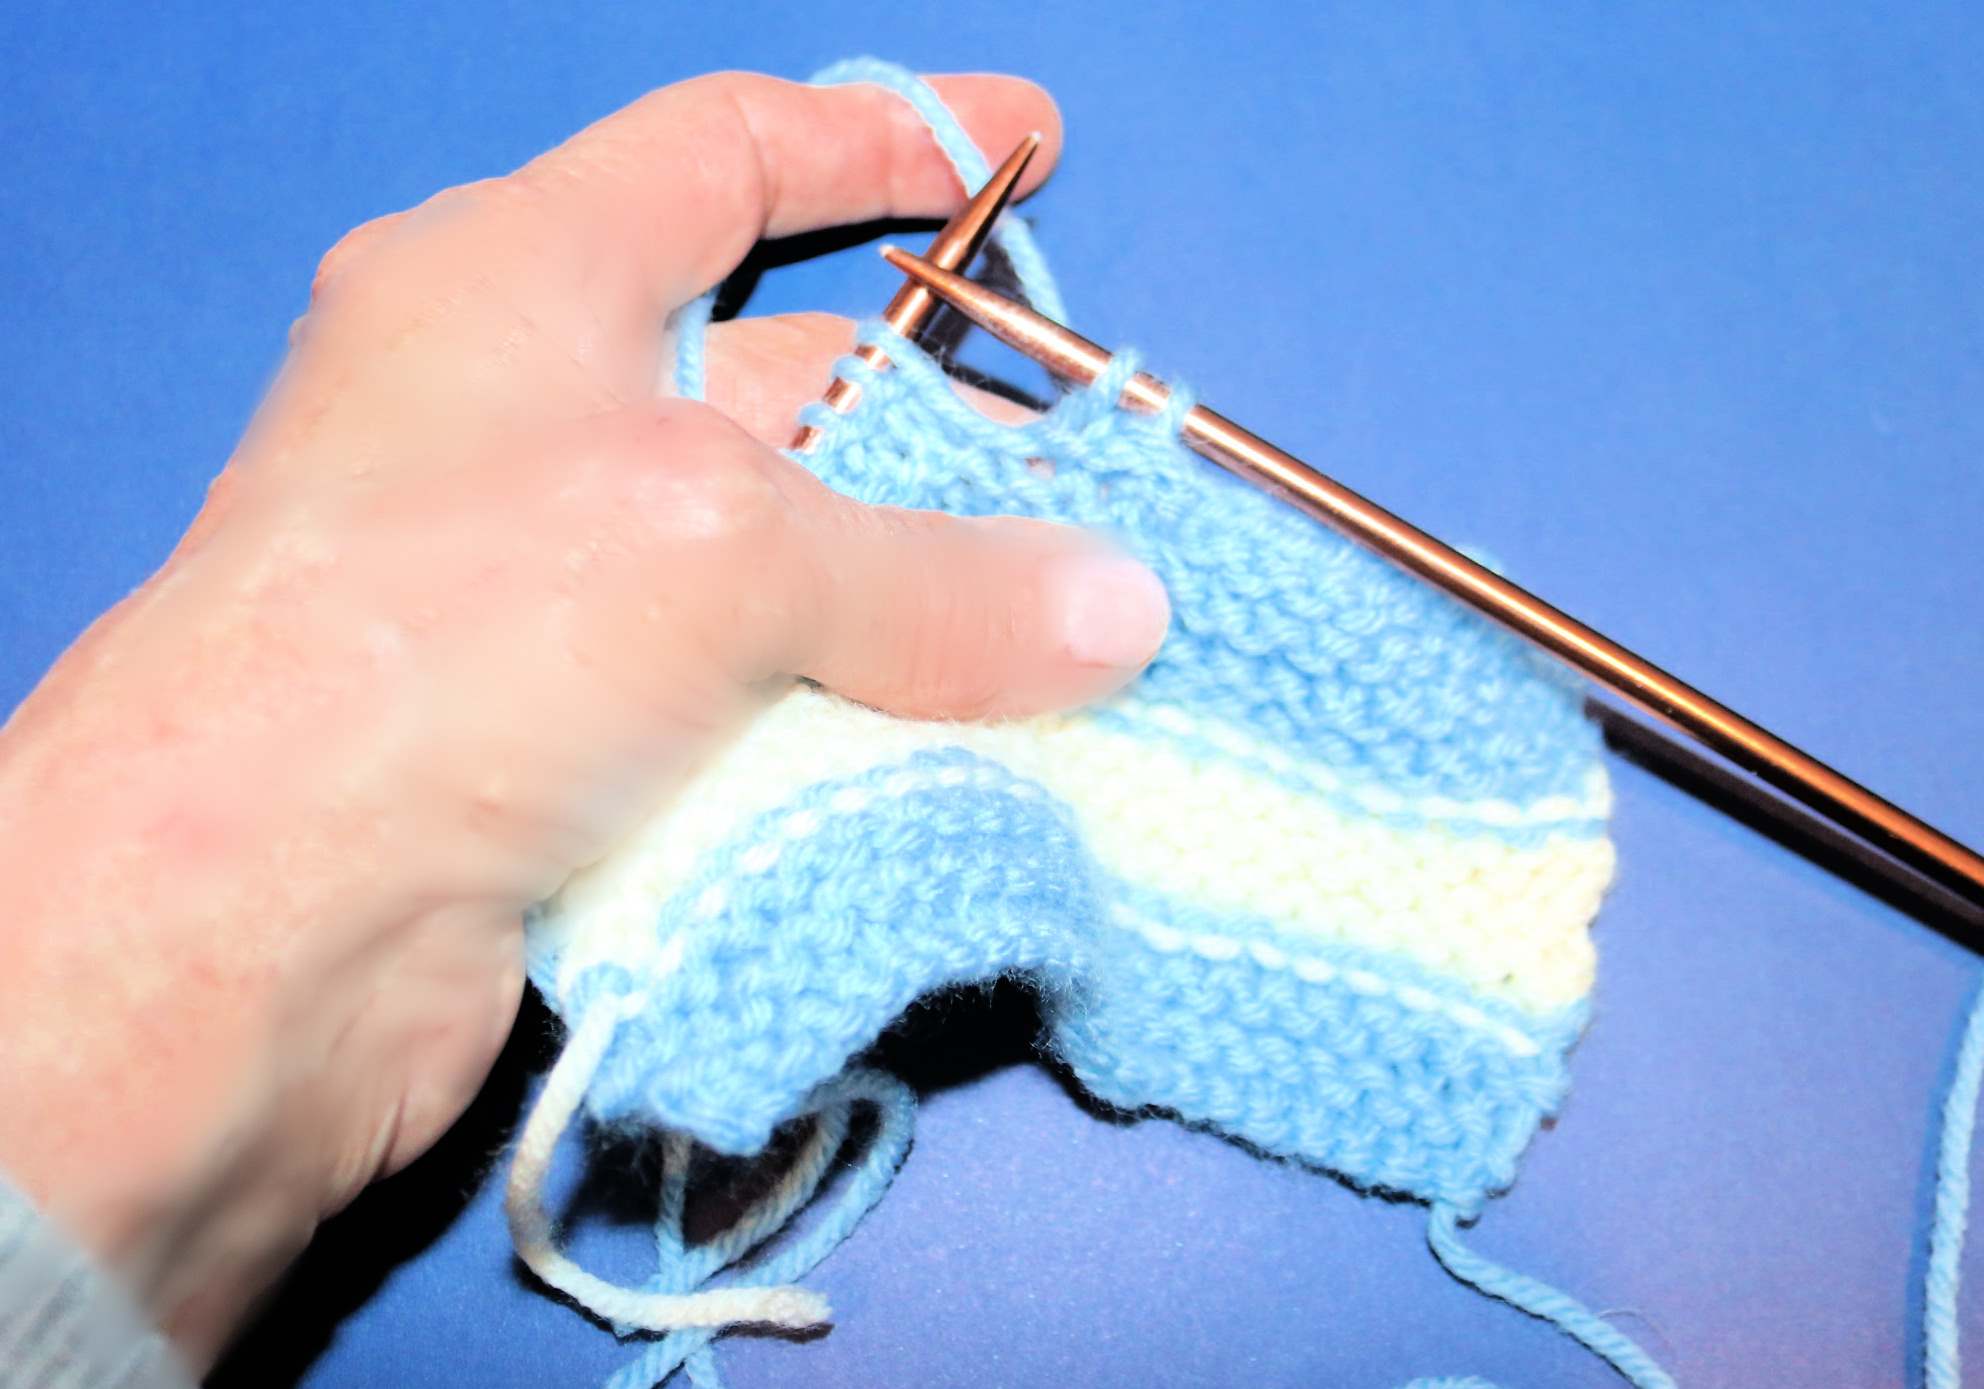
What You’ve Learned Already
By completing this quick start, you’ve practiced:
- Holding needles and yarn
- Casting on
- Making knit stitches
- Turning your work
- Binding off
Everything else in knitting builds on these skills.
Ready to go deeper?
Scroll down to explore detailed photos, step-by-step tutorials, and beginner projects that build confidence fast.
When you learn how to knit, don't try to figure out "everything at once". Knitting techniques are so diversified that even having 20-30 years of experience in knitting, you will still find something you have never heard before about your favorite hobby.
Learn to Knit Step 1 – Gather Your Knitting Supplies
Before you begin, you’ll need a few essentials: a pair of knitting needles, some smooth, medium-weight yarn, and a little patience.
Needles: Start with US size 8 (5 mm) straight needles (Bamboo) or (Wood)
Yarn: Choose a light-colored worsted-weight yarn preferably in wool
Extras: Scissors, tapestry needle, and a ruler or tape measure.
Learn more about Basic Knitting Supplies
How to Knit Step 2 - Learn the Basic Knitting Stitches
There are only two foundational stitches you truly need to master: the knit stitch and the purl stitch. Everything else builds from these.
Knit Stitch (Garter Stitch): Creates a squishy, reversible texture.
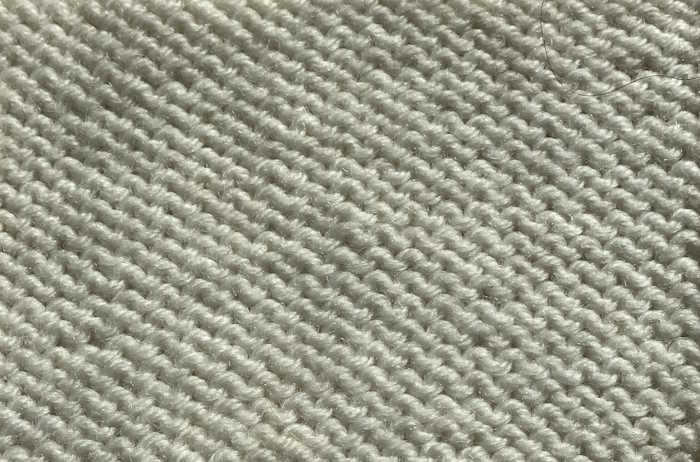
Purl Stitch (Reverse Stockinette): Forms the smooth “v” surface seen in most knits. Once you learn how to make both of these stitches, you can move on to alternating them to create countless pattern variations including ribbing and seed stitch
Knit Stitch
Purl Stitch
Knitting Basics Step 3 – Understand Patterns & Abbreviations
Before you can read knitting patterns, you need to learn some of the lingo and abbreviations. At first, I thought this was like learning a foreign language, but it didn't take long to learn just a few which can give you confidence. I have provided a short chart below, but it is by no means complete. Don't feel like you need to memorize any of them just yet.
Knitting patterns use abbreviations to save space. Here are a few common ones:
| Abbreviation | Meaning | Description |
|---|---|---|
| K | Knit | Insert the right needle into the front of the stitch and knit it. |
| P | Purl | Insert the right needle from right to left and purl the stitch. |
| CO | Cast On | Create the initial stitches on the needle to begin your project. |
| BO | Bind Off | Finish your work by closing the live stitches neatly along the edge. |
| YO | Yarn Over | Wrap the yarn over the right needle to create a decorative hole or increase. |
| K2tog | Knit 2 Together | Knit two stitches together to decrease one stitch and slant to the right. |
| SSK | Slip, Slip, Knit | Slip two stitches and knit them together through the back loops; slants left. |
| St(s) | Stitch(es) | Refers to the number of loops currently on your needle. |
| RS / WS | Right Side / Wrong Side | The front (public) or back (private) side of your knitted fabric. |
| Rep | Repeat | Do the same group of stitches or rows again as directed in the pattern. |
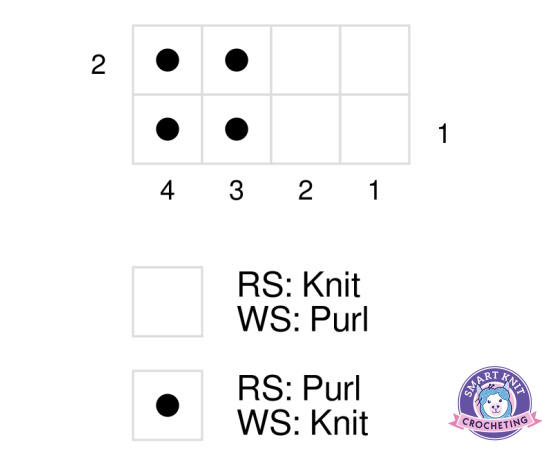
Not to confuse you, but I think every new knitter needs to understand that instructions can be written out using these abbreviations or they can be represented in charts. Most beginning patterns will be written out. As you get more experienced and venture into lace or colorwork, you will discover that knitting charts can be your best friend.
Read more: Knitting Terms & Abbreviations
Knit Instructions
Knitting Charts
Step 4 – Practice Core Techniques
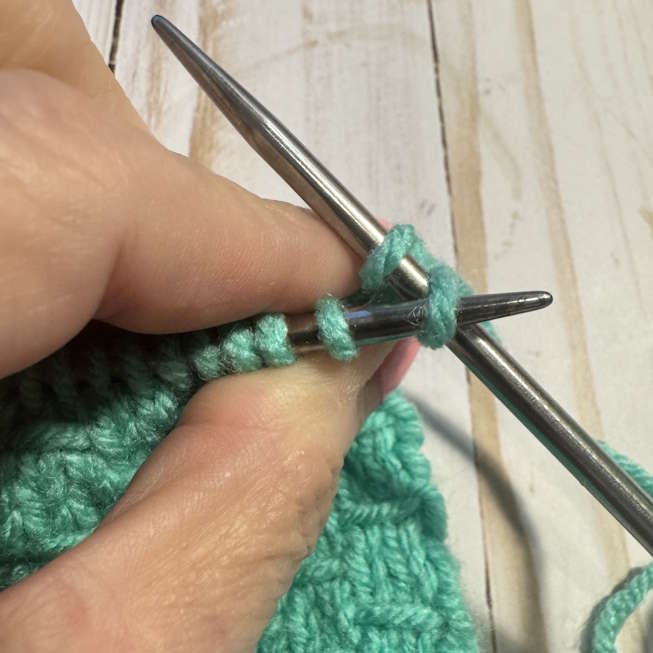
Every project begins with casting on and ends with binding off. Along the way, you’ll shape your fabric with increases and decreases. Before you can even begin, you need to learn how to get the stitches on the needles. Two methods are recommended for beginners: The Knitted Cast-on and the Long-Tail Cast-on.
From there, you will work those knit and purl stitches that we discussed above. When you think you have practiced enough, you will need to get the stitches off of the needle. I recommend the Standard Bind-off Method for finishing your work.
Getting Stitches on Needles
Getting Stitches Off Needles
The next step is to weave in your ends so that they don't ravel out destroy your hard work. You may not think that weaving in ends is necessary if you are just making a small practice square of fabric. It is a good idea to get into the habit of weaving these ends so that you will be a master when it comes time to make your first project.
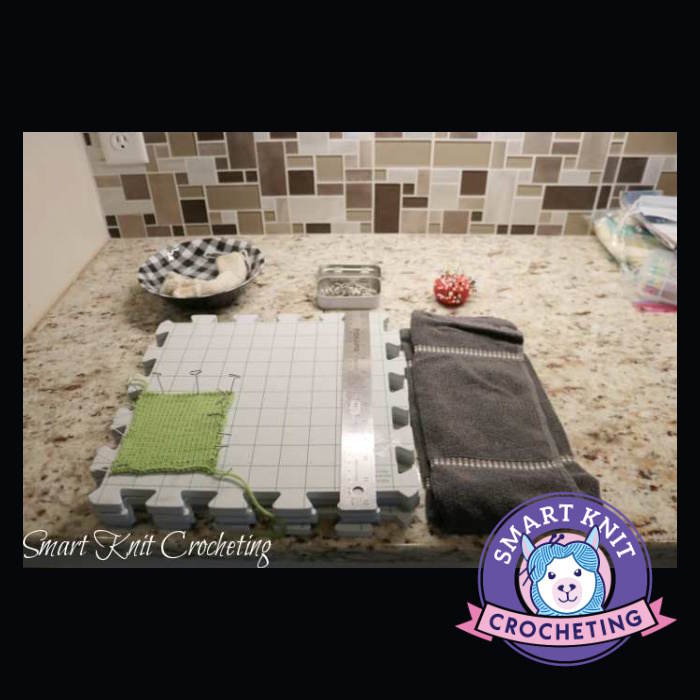
To make your knitting look professiona, blocking is very important. It is the process of shaping your finished work so it lies flat, edges look even, and swatches are the appropriate sizes.
How to Weave in Ends
How to Block Your Work
More Core Techniques Beginners Can Master: Simple Shaping
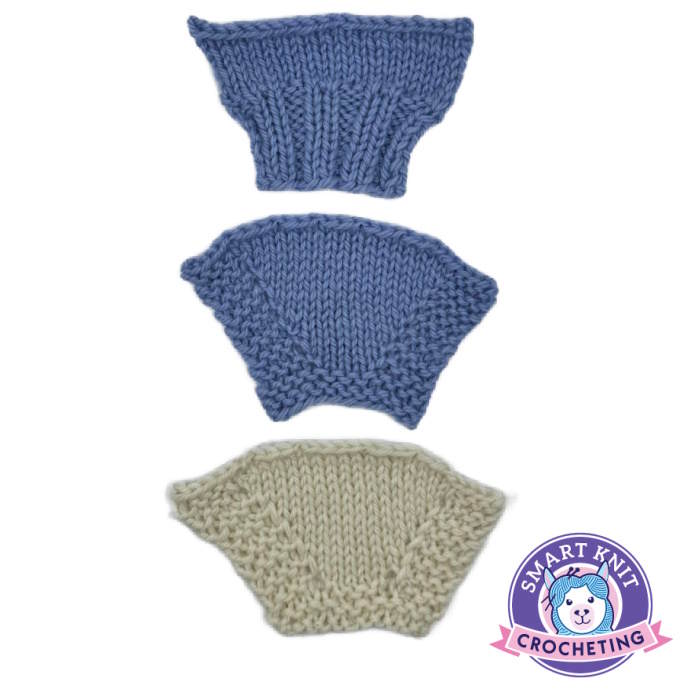
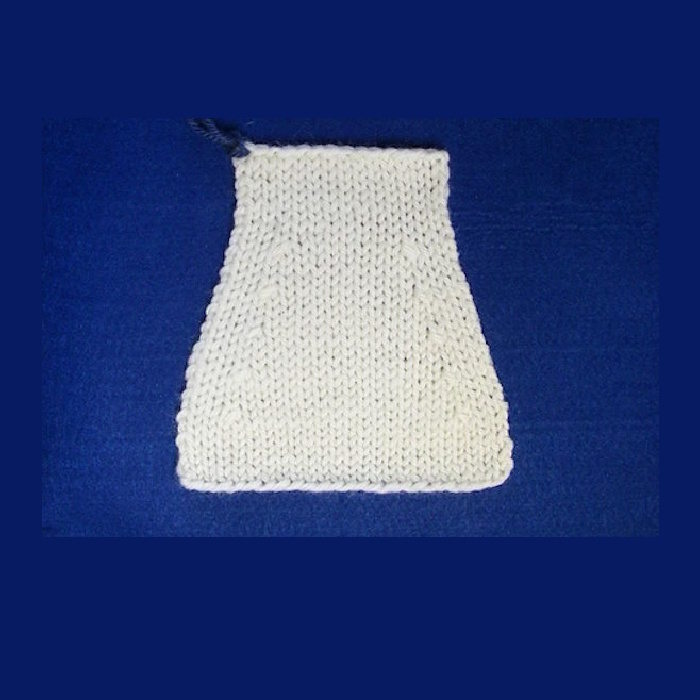
Shaping: You might not want to start with a complicated sweater, but knowing how to increase and decrease will come in handy when you make your first hat or fingerless gloves. When you are ready, I recommend that you check out my articles on:
1. How to increase stitches in knitting
2. How to decrease stitches in knitting
How to Increase Stitches
How to Decrease Stitches
Core Techniques: Learning about Gauge
If you are making your first dishcloth, you probably won't care how big or small it is. But gauge is a very important skill that knitters learn especially when they attempt to make something that they want to fit, such as a hat, sweater, or vest.
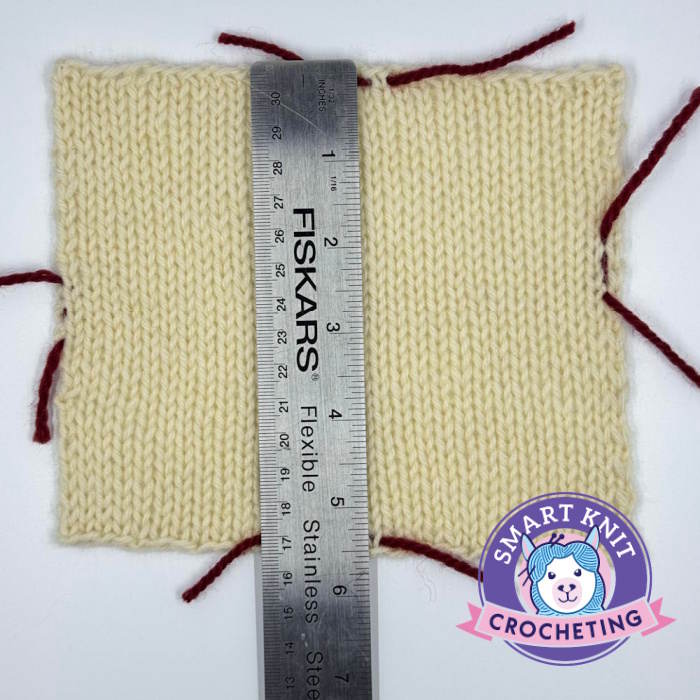
In simpliest terms, gauge is the number of stitches and rows a knitter can make in a 4-inch (or 10-centimeter) square of fabric using a specific type of yarn and working with a specific sized needle.
A pattern might read, Gauge: 14 stitches and 18 rows = 4" x 4" (10 cm x 10 cm) using size 10.5 (6.5 mm) knitting needles. We make a swatch and then measure it using a ruler, counting rows and stitches. I'm sure all of this sounds confusing, but don't worry, there are many resources to help you understand this technique.
How to Calculate Gauge
Core Techniques: Seaming and Joining Yarns
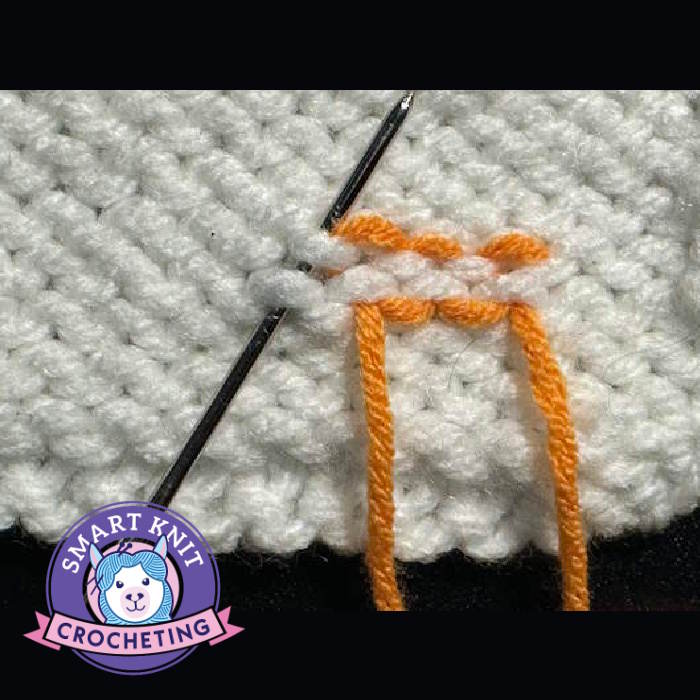
Many beginner level patterns call for you to sew up the sides. A very easy fingerless gloves pattern requires some sewing. So does an easy knitted hat. There are several methods that knitters use to sew up their projects. If you are curious about seaming techniques, start here with basic seaming methods.
If you want to make a striped scarf as your first project, you will want to learn how to join yarns. It's actually very easy. Learn how to join yarns.
Step 5 – Troubleshoot Common Beginner Mistakes
Even experienced knitters drop stitches or end up with uneven rows — it’s part of the process!
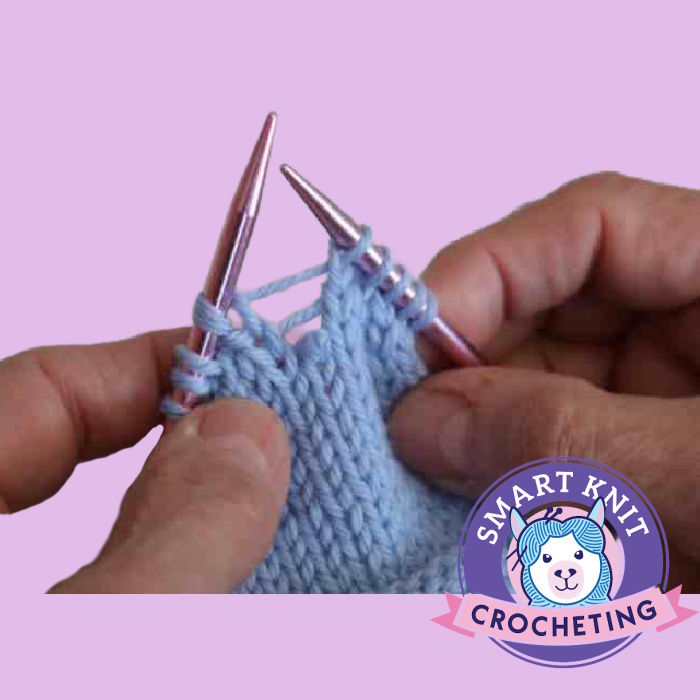
Learn to: Identify common mistakes and how to fix them
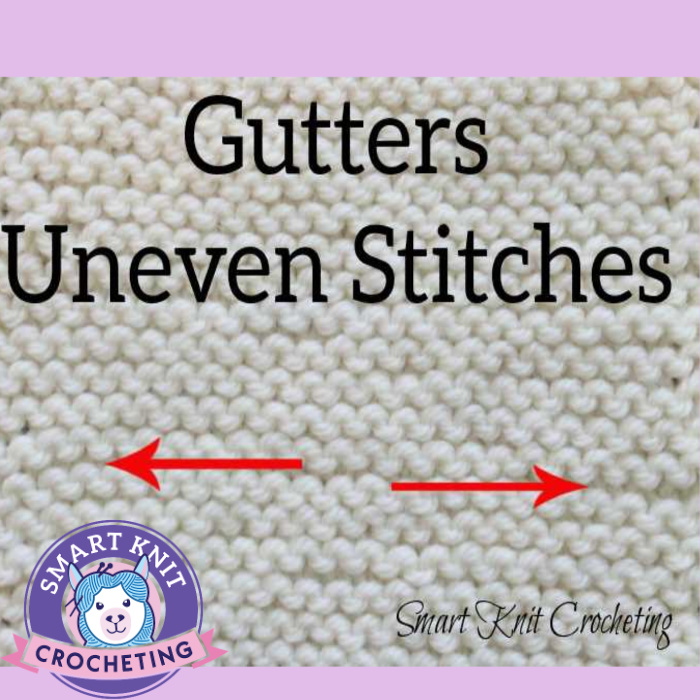
How to make even stitches (improve your tension)
Fixing Mistakes
Fixing Uneven Stitches
Step 6 – Try Your First Simple Project
It’s time to put those stitches to work.
Start with something small and satisfying like a dishcloth, scarf, or coaster.
You’ll gain rhythm, confidence, and a finished piece you can actually use!
Visit my page on easy beginner projects and see if there is one you might like to knit.
Step 7 – Keep Learning
Once you’re comfortable, explore the many creative directions knitting can take you: You will be happy to know that there are only a few basic stiches and everything else you will learn builds on these basic techniques.
Knit and Purl Stitches for Beginners
Learn about Rib Patterns Knitting
You’ll be amazed how quickly your skills grow when you experiment with new textures and patterns.
More Resources
How to Knit for Beginners: Frequently Asked Questions
Is knitting easy to learn for beginners?
Is knitting easy to learn for beginners?
Yes! Knitting is one of the most beginner-friendly crafts. If you start with the basic knit and purl stitches, you can make simple projects like dishcloths, scarves, or blankets within your first week. The key is to take it one step at a time and practice regularly. Every stitch builds confidence and skill.
What do I need to start knitting?
What do I need to start knitting?
All you need are a few basic tools:
A pair of straight knitting needles (US size 8 / 5 mm)
A light-colored, medium-weight (worsted) yarn
Scissors, a tapestry needle, and a ruler
With these simple supplies, you can follow any beginner tutorial and start learning the knit and purl stitches right away.
What’s the easiest thing to knit for beginners?
What’s the easiest thing to knit for beginners?
The easiest project for a beginner is a garter-stitch scarf or dishcloth. These use only the knit stitch, so you can focus on getting even tension and neat edges. Once you’re comfortable, you can try patterns that mix knit and purl stitches to create texture.
How long does it take to learn knitting?
How long does it take to learn knitting?
Most people learn the basics such as casting on, knitting, purling, and binding off within a few hours. After a few small projects, you’ll develop even tension and can move on to more complex stitches and patterns. It may take years to become a master knitter.
