Knit and Purl Stitches by Janice Jones |Updated 12-20-2022
If you are just getting started with knitting, you'll be glad to know that there are truly only two stitches that you must master before you can make beautiful projects for the home or for yourself. What are they?
Knit Stitches and Purl Stitches are the fundamental building blocks of knitting. Once you've master them, there's no stopping you.
In this article, I will be reviewing both the knit and purl stitch and then showing you how to combine them to make interesting textured fabrics such as ribbing, cables, lace and textured stitches.
This is likely the first type of stitch that any beginner learns to make and when it is used by itself, the pattern that results is the garter stitch. Before proceeding if you need a quick refresh or an in depth tutorial on how to make the knit stitch, stop and check out these articles.
The Purl stitch is the other beginner stitch that one must master before moving on to all those beautiful textured stitches that are created using knit and purl stitches.
For a quick review or beginner tutorial, check out these articles:
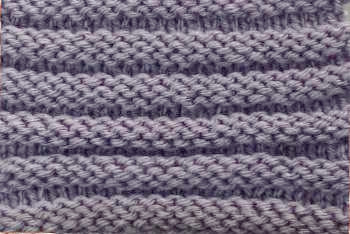
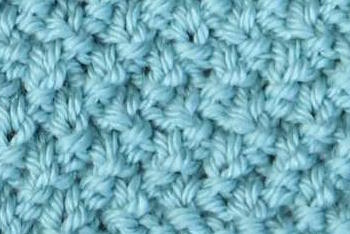
Purl stitches, when used alone, are often referred to as reverse stockinette and look very similar to the garter stitch pictured above.
If one is going to choose between the garter stitch and the reverse stockinette stitch, most people will choose the garter stitch because it is easier to knit. That is why you won't see patterns worked in strictly purl stitches alone.
Once you understand the dynamics of making the knit and purl stitches, you can combine them to make different pattern stitches. The first and easiest stitch is called the stockinette stitch and is created by making one row of knit stitches and the next row is done in purl stitches.
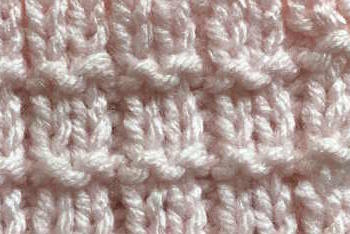
How to Make the Stockinette Stitch
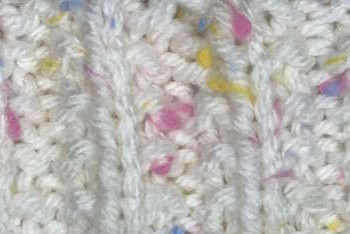
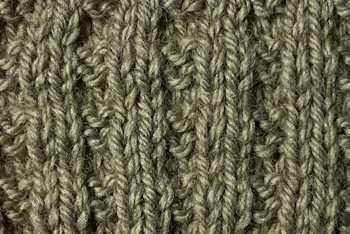
Rib stitches combine both knit and crochet stitches in the same row. The most common types of ribs are used as cuffs around sleeves, at the bottom of sweaters, at the top of socks, mittens, or gloves, or around hats or caps.
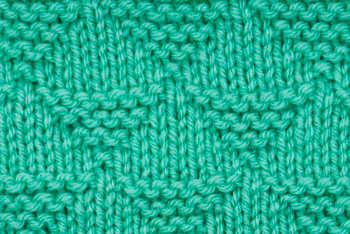
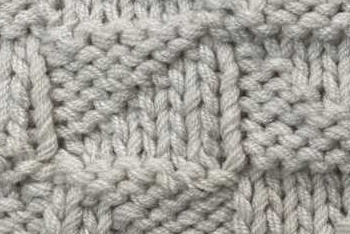
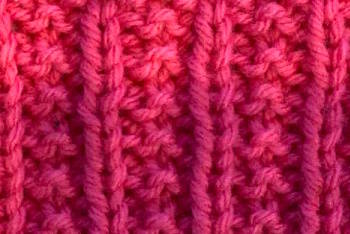
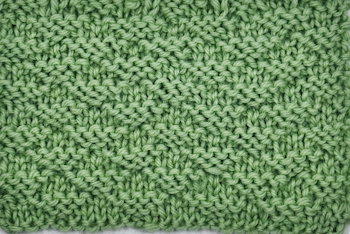
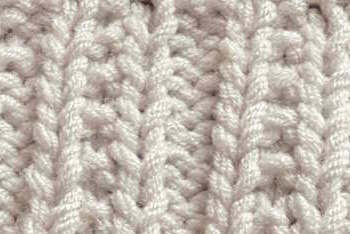
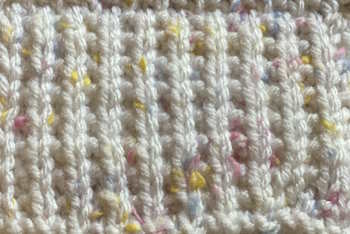
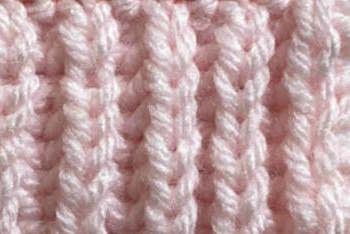
There are endless possibilities for creating a rib stitch. The two most common methods are the 1 x 1 and the 2 x 2 rib stitches.
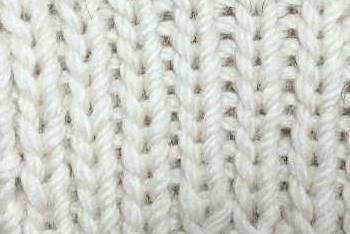
The 1 x 1 or one by one rib is created by knitting one knit stitch followed by one purl stitch across the row.
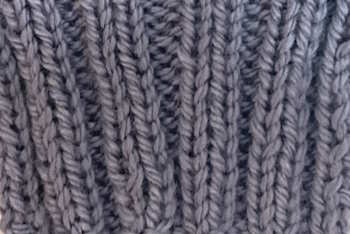
The 2 x 2 or two by two rib is made by knitting two stitches followed by two purl stitches across the row.
More advanced rib stitches can include:
Learn more about the knitting rib stitches.
You can think of patterns of knit and purl stitches by row repeats. Row repeats just refer to the number of rows it takes to make the pattern. For example some stitches call for a simple 2 row repeat and advancing in difficulty to intricate 28 row repeats.
The stockinette stitch would be a classic example of a two row repeat.
Row One: Knit
Row Two: Purl
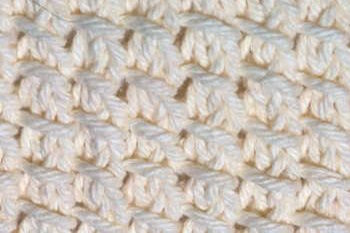
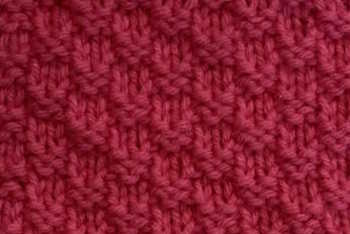
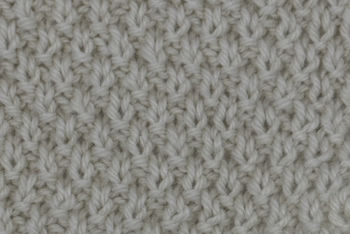
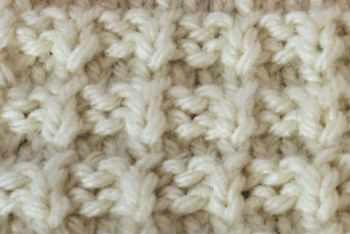
The seed stitch creates a lovely textured fabric that can be used in a wide variety of projects from garments to household projects such as dishcloths or tablemats.
The seed stitch is created by knit and purl stitches in a two row repeat.
This just means that it takes two rows of forming stitches to create the pattern.
To make the seed stitch, the first row is created by making one knit stitch followed by one purl stitch across to the end of the row. For the second row, you would make one purl stitch and then one knit stitch. (Just the opposite of the first row.) In other words, you knit the purl stitches and purl the knit stitches.
K 1 P 1
P1 K 1
Learn more about making the seed stitch.
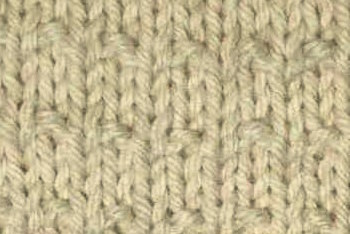
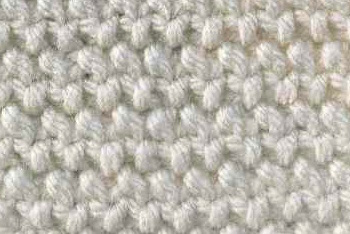
The moss stitch in knitting is very similar to the seed stitch but uses a four row repeat.
The first two rows of the moss stitch is made by knitting one stitch followed by purling one stitch, across to the end of the row.
The third and fourth rows of the moss stitch are just the opposite. You start with a purl stitch, followed by the knit stitch to the end of the row.
Row 1 (RS): *K1, P1. Rep from * to end of row.
Row 2 (WS): *K1, P1. Rep from * to end of row.
Row 3: *P1, K1. Rep from * to end of row.
Row 4: *P1, K1. Rep from * to end of row.
Learn How to Make the Moss Stitch Knitting
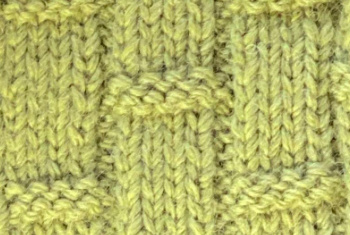
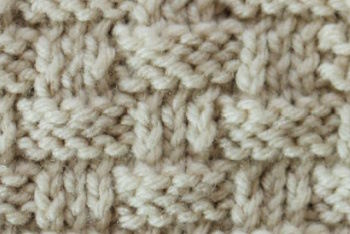
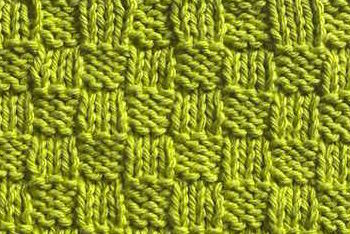
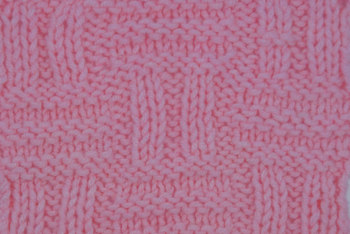
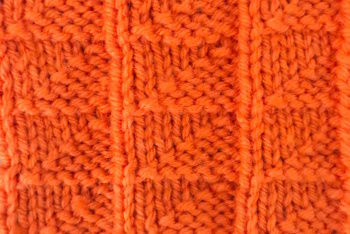
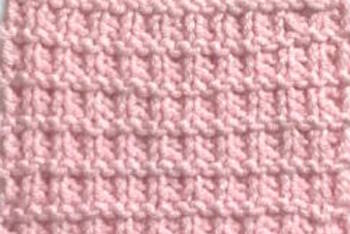
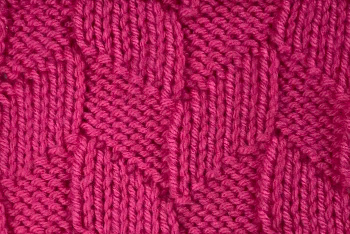
The basketweave stitch in knitting is just one more way to combine purl stitches with knit stitches. There are various ways to make this textured pattern.
One way to make the basketweave pattern is to work it over a multiple of 8 stitches plus five. So, for example you could make a practice swatch by casting on 29 stitches (3x8) + 5 = 29.
To complete this pattern you would need to knit a total of 8 rows.
Rows 1 (RS): Knit.
Rows 2: K5, * p3, k5; rep from * to end of row.
Row 3: P5, * k3, p5; rep from * to end of row.
Row 4: K5, * p3, k5; rep from * to end of row.
Row 5: Knit
Row 6: K1, p3, * k5, p3; rep from * to last st, k1.
Row 7: P1, k3, * p5, k3; rep from * to last st, k1.
Row 8: K1, p3, * k5, p3; rep from * to last st, k1.
Learn How to Make the Basketweave Stitch in Knitting.
There are also many different cable stitches, each with a different name. Unfortunately, depending on where you live, the names of cable patterns may not be all the same. Fortunately if you are using a pattern that calls for a cable, the directions should tell you how to make it.
Cables use knit and purl stitches but they incorporate the use of a cable needle or other tool for holding some of the stitches either in the front or in the back of the stitches on the needle. The manipulation of the stitches in front or in back creates twists or cables in the fabric.
Cables are usually worked on an even number of stitches within a stockinette stitch, but they can also be worked on an odd number of stitches. When it is worked on an even number of stitches, half of the stitches are placed on a cable needle and held in front of the work. The cable in this case is crossed to the left.
If the cable is to be crossed to the right, then half of the stitches are placed on a cable needle and held in the back of the work.
How to Make the Cable Stitch
Even fancy lace patterns use knit and purl stitches with the combinations of other techniques such as yarn overs to create "holes" in the fabric.
There are endless possibilities for lace patterns but the good news is that once you've mastered a few simple techniques, you should be able to pick up a lace pattern and follow it to make a lovely lace doily, or garment.
Lace techniques require the skills of increases and decreases in knitting to make those open weave lacy fabrics. Even so, they still make use of knit and purl stitches.
Common techniques used in lace include increases and decreases. Here are a few of the typical techniques used in lace patterns:
YO: yarn over
K2tog: Knit Two Together
Lace patterns can get complicated especially for beginners. They are worked within a pattern repeat, meaning that a certain number of stitches is worked and then repeated over and over again until you reach the end of the row.
One of the nice things about combining knit and purl stitches is the wide range of textures you can create with these two basic stitches. Some textures are reversible, meaning that the front side is exactly like the wrong side.
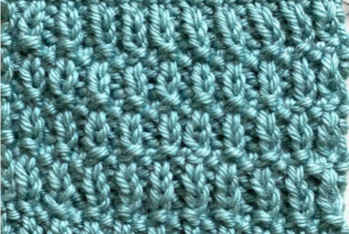
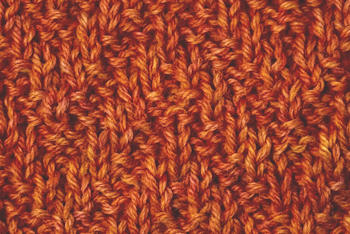
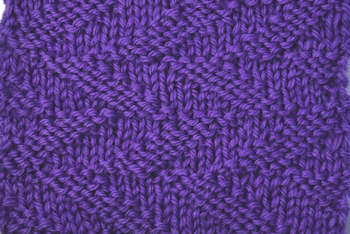
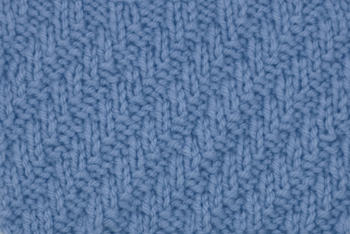
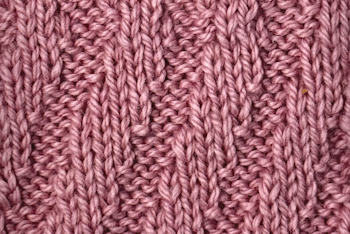
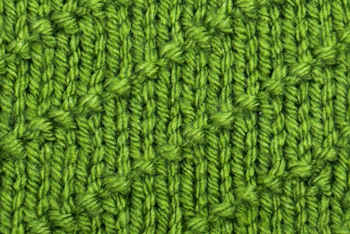
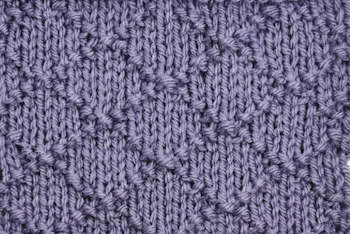
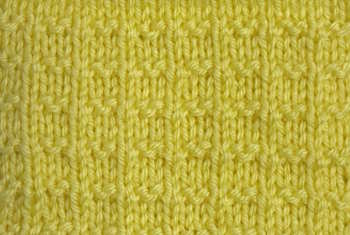
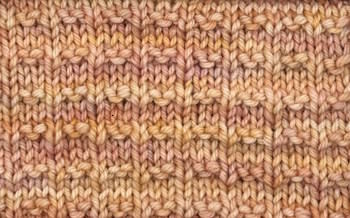
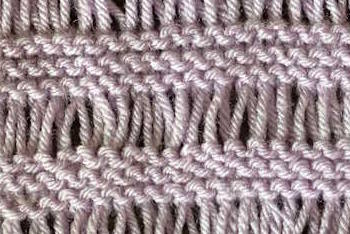
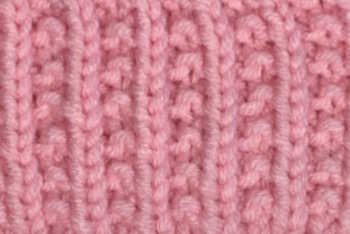
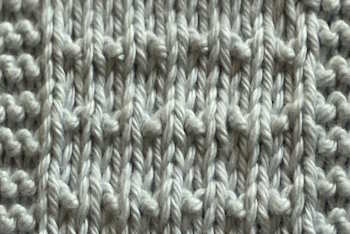
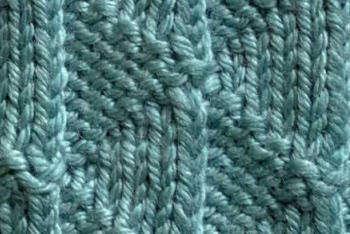
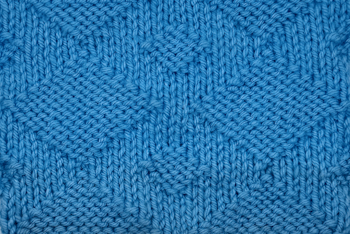
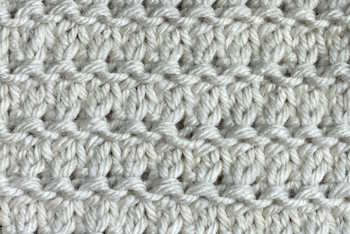
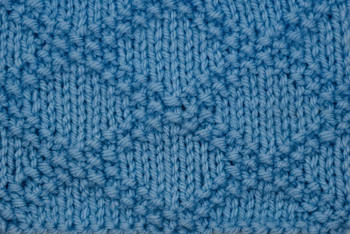
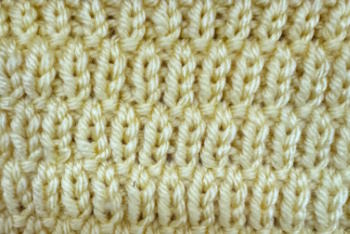
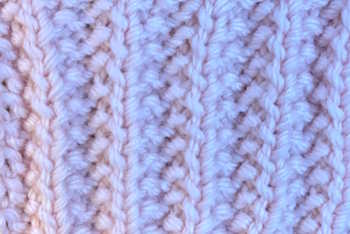
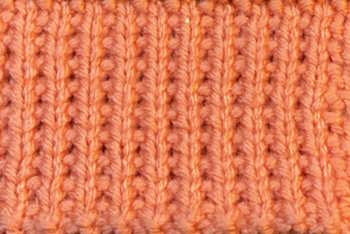
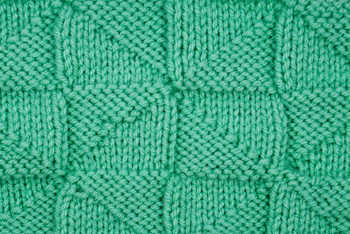
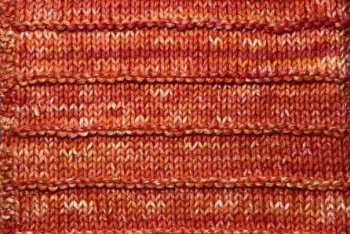
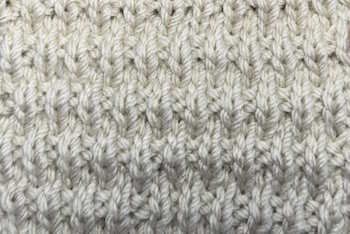
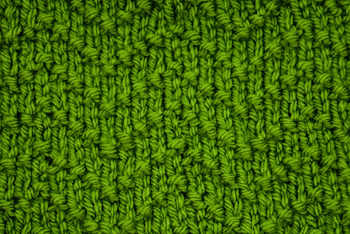
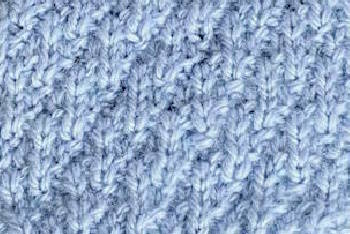
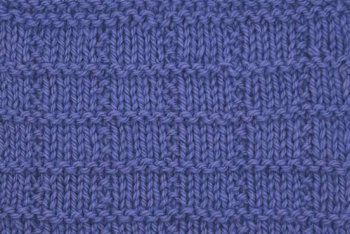
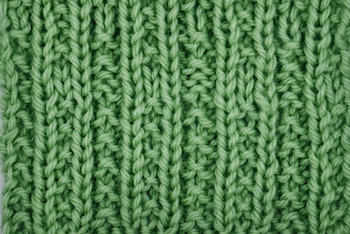
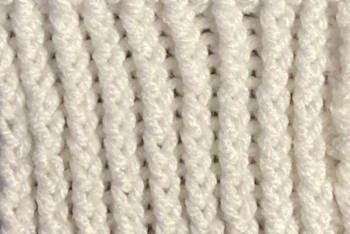
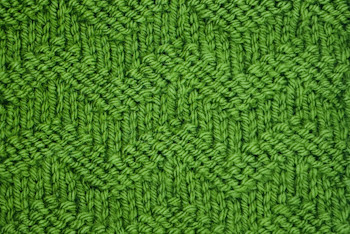
Others are not reversible but create two sides that are each unique and beautiful. Here are some examples of textured fabrics created by using knit and purl stitches.