- Home
- Knit and Purl Stitches
- Broken Rib Knit Stitch
How to Make the Broken Rib Knit Stitch: Beginner-Friendly Tutorial
by Janice Jones |Last Updated 01-04-2026
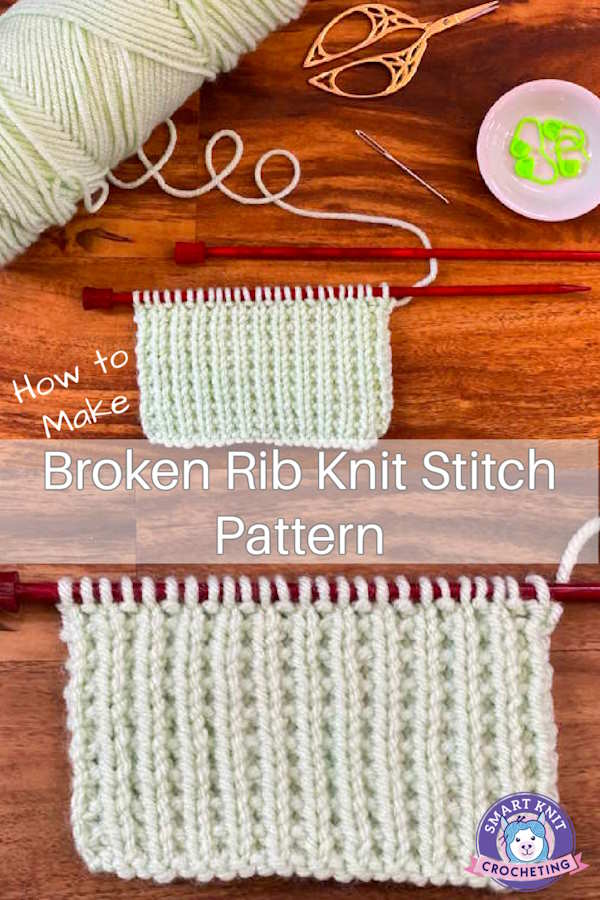
The broken rib knit stitch is a beginner-friendly rib pattern that creates soft, vertical texture with a clean, professional look. It’s made using only knit and purl stitches, making it an excellent choice for new knitters who want more visual interest than basic ribbing without added complexity.
This stitch is worked over a simple two-row repeat and can be knit on either an odd or even number of stitches, giving you flexibility for a wide range of projects. While it resembles a classic 1x1 rib, a broken rib has a slightly softer texture and less elasticity, which helps it lie flat and resist curling.
The broken rib knit stitch is reversible, though the two sides are not identical. Both sides look polished, making it especially well-suited for scarves, cowls, shawls, and other projects where the fabric is visible from all angles. It also works beautifully for sweater hems, cuffs, blankets, dishcloths, and home décor items.
In this tutorial, you’ll learn how to knit the broken rib stitch step by step, including instructions for odd and even stitch counts, helpful photos, a knitting chart, and tips to help you get clean edges and consistent results.
What Is the Broken Rib Knit Stitch?
The broken rib knit stitch is a beginner-friendly rib pattern that alternates a complete knit row with a knit-and-purl row. It creates vertical ribs that resemble 1x1 ribbing, but with a slightly softer texture and less elasticity.
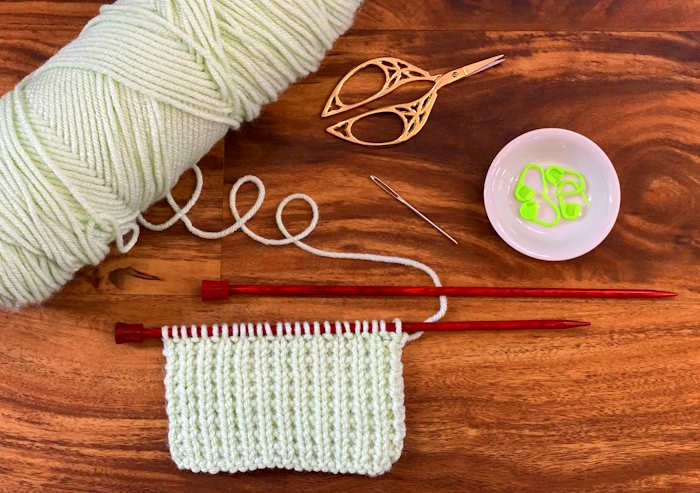
Is Broken Rib the Same as Mistake Rib?
No. While broken rib and mistake rib look similar, they are created differently and behave differently in finished projects.
- Broken rib uses a complete knit row followed by a ribbed row.
- Mistake rib usually uses knit and purl stitches within the same row.
Broken rib tends to lie flatter and has a more uniform appearance, while mistake rib often looks more irregular and textured.
Fabric Behavior: Stretch, Drape, and Curl
- Stretch: Moderate stretch, less elastic than 1x1 rib
- Drape: Soft with good structure
- Curling: Does not curl at edges
- Thickness: Slightly thicker than stockinette
- Reversible but not identical on both sides
Is the Broken Rib Knit Stitch Reversible?
I thought I should explain myself a little better. Both sides of the Broken rib knit stitch pattern look great but they do not look the same.
This makes for an interesting project. For example if you want to make a scarf with this stitch, go for it! Know that you may end up with two scarves in one depending on how you arrange the scarf on your neck.
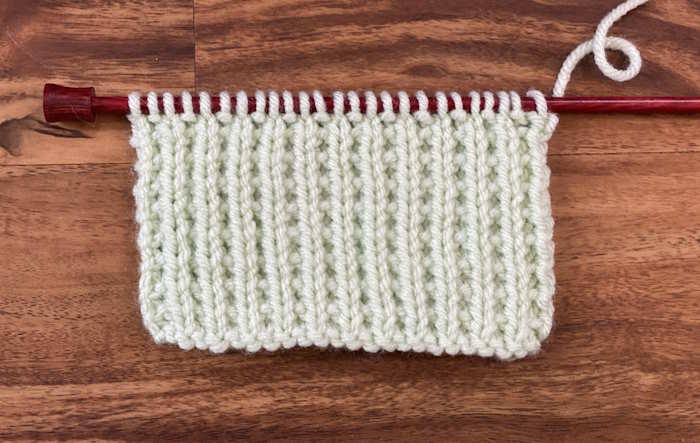 The right side of the broken rib knit stitch pattern. It looks similar to the 1 x 1 rib stitch.
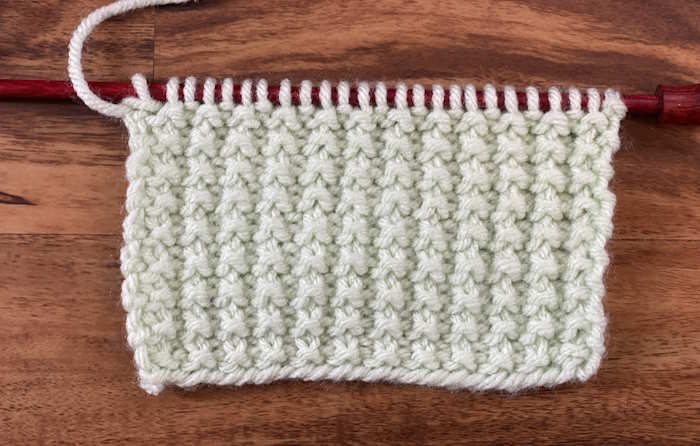 This is the wrong side of the broken rib knit stitch. Does this remind you of anything?
When you examine the wrong side of the pattern, you might wonder if you have seen this before somewhere. If so, you are so right!
Take a look at the swatch below.
Broken Rib Stitch Vs. Sand Stitch
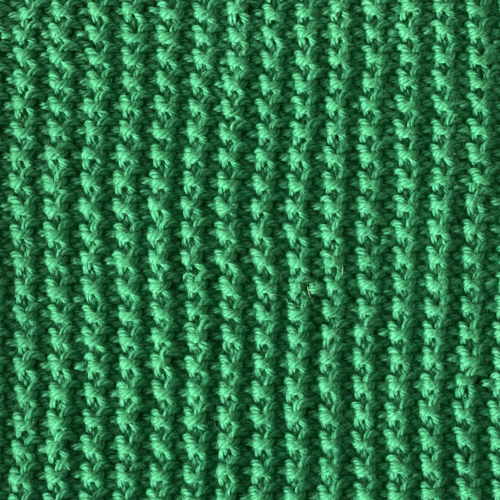 The Knit Sand Stitch is similar to the wrong side of the broken rib pattern
While not identical, the sand stitch is very close. The pattern for the sand stitch is also a two-row repeat.
Row 1: Purl across
Row 2: K1, *P1, K1*
Learn more about the knit sand stitch and take advantage of a free dish or face cloth pattern.
Best Uses for the Broken Rib Knit Stitch
- Scarves and cowls
- Sweater hems and cuffs
- Blankets and dishcloths
- Headbands and hat brims
Knitting Skills Needed
This is one of the easiest stitch pattern to master because it is a two row repeat that is completely made up of knit and purl stitches.
Weave in Ends
Abbreviations Used
K = Knit
P = Purl
CO = Cast on
BO = Bind off
* * = Repeat the instructions between the astricks
RS = Right Side
WS = Wrong Side
You can work this pattern on either an odd or even number of stitches. My preference is to work it on an odd number. I think the edges look more professional this way.
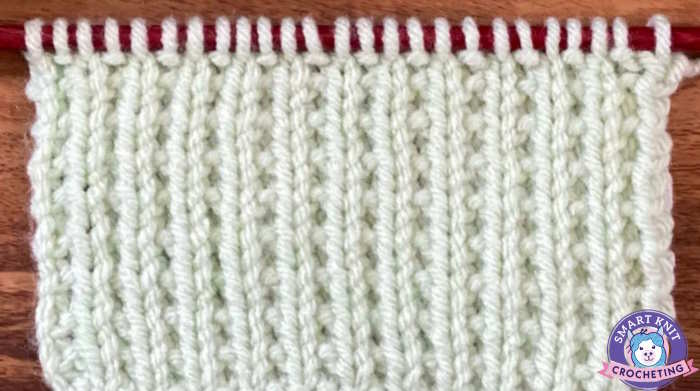
Broken Rib Knit Stitch Worked on an Odd Number of Stitches
Here's the repeat for flat projects worked on an odd number of stitches.
Row 1: (RS) Knit across
Row 2: (WS) *p1, k1*, p1
Repeat these two rows over and over again until you reach your desired length.
Bind off in pattern, weave in ends.
Broken Rib Knit Stitch Worked on an Even Number of Stitches
It's also possible to work the broken rib knit stitch on an even number of stitches.
Row 1: (RS) Knit across
Row 2: (WS) *K1, p1; repeat from * to end of row
Repeat these two rows over and over again until you reach your desired length.
Bind off in pattern, weave in ends.
Learn to Read Knit Charts
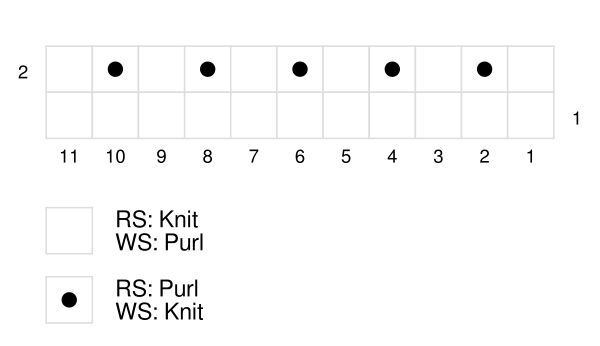
This stitch is very beginner-friendly, but it's never to early to learn how to read knitting charts. This is how the chart would look if worked flat.
Broken Rib Knit Stitch FAQs
Does a broken rib use more yarn?
Does a broken rib use more yarn?
Yes. Broken rib uses slightly more yarn than stockinette but less than deep rib patterns like brioche.
Is a broken rib reversible?
Is a broken rib reversible?
Yes, but the two sides are not identical.
Does a broken rib work in the round?
Does a broken rib work in the round?
Yes. In the round, alternate one round of knit and one round of knit 1, purl 1.
