- Home
- Knitting Stitches for Beginners
- Knit and Purl Stitches
- Flying Geese Knit Stitch Pattern
- Close Check Knitting Stitch Pattern
Close Check Knitting Stitch Pattern: Tips and Tutorial
Close Check Knitting Stitch Pattern by Janice Jones
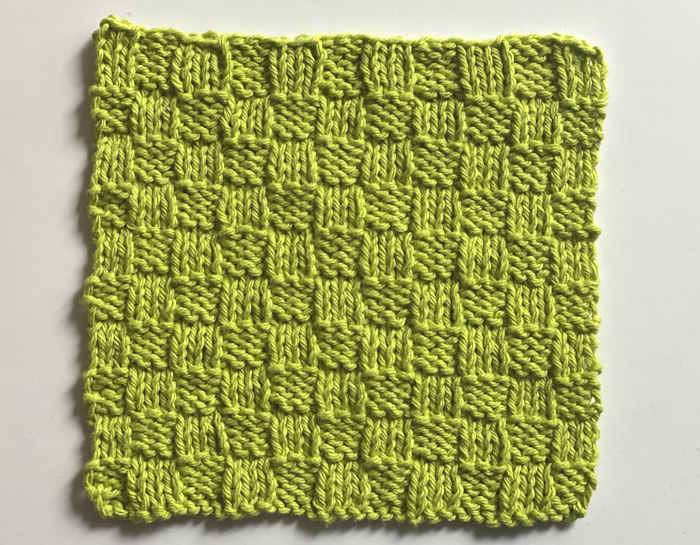
This pattern reminds me a little of the basketweave stitch becuase it consists of little boxes of stitches. Stockinette stitches alternate between reverse stockinette stitches to create a geometric pattern.
The thing I love about this stitch is that it creates a fabric that would be good for making a cowl, scarf, pillow cover or even a blanket.
It is accomplished by working on a multiple of 6 plus 3 and is an 8 row repeat. But, it's still beginner-friendly because all you need to know is knit and purl stitches.
Close Check Knitting Stitch Pattern Directions
 Close Check Knitting Stitch Pattern
To practice this stitch, you will need:
- Yarn of your choice. I am using Lily Sugar'n Cream 100% Cotton Yarn
- Needles to match your favorite yarn. I am using a size US 8 (5.0 mm) needles
- Scissors
- Tapestry needle
Practice Swatch/Useful Washcloth

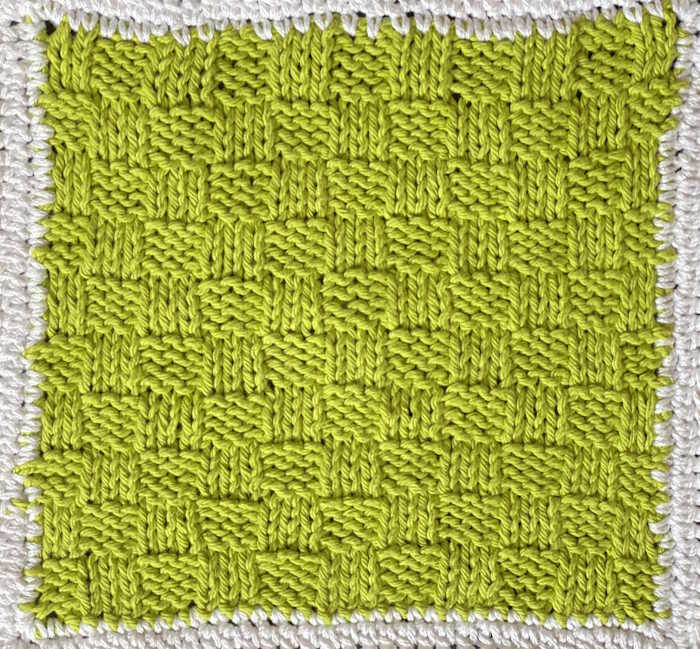
I decided to create a bright green washcloth while practicing this pattern. It's your choice, you can make a small swatch or use the directions below to make a dishcloth/washcloth.
Cast On: Multiples of 6 + 3
Skill Level
Beginner/Easy
Finished Size
7 inches by 7 inches
Directions
For this tutorial, I cast on 33 stitches using the long-tail cast on method (6 x 5) + 3 = 33. This is large enough to create a washcloth, if you want a project to complete while learning this stitch.
Row 1: P3, *k3, p3; rep from * to end of row.
Row 2: K3, *p3, k3; rep from * to end of row.
Row 3: P3, *k3, p3; rep from * to end of row.
Row 4: K3, *p3, k3; rep from * to end of row.
Row 5: K3, *p3, k3; rep from * to end of row.
Row 6: P3, *k3, p3; rep from * to end of row.
Row 7: K3, *p3, k3; rep from * to end of row.
Row 8: P3, *k3, p3; rep from * to end of row.
Continue this pattern until you reach your desired length. Bind off in pattern and weave in ends.
Crochet Border (Optional)
If you would like to add a little border, a simple crochet border using single crochet and half double crochet stitches adds about another inch to the washcloth.
Directions for Crochet Border

To make this border, you will need to know a little about crochet.
How to make the single crochet stitch
How to make the half double crochet stitch
Make a slip stitch using a contrasting cotton yarn. Attach with a 4.5 mm (7) crochet hook in any corner of the washcloth.
Work one single crochet stitch in each knit stitch around the perimeter. When you reach a corner, work two single crochet stitches, one chain and then two more single crochet in the same corner space. Slip stitch to connect last stitch to the first one you made.
You can end there, or add an additional round of half double crochet. To add this round, chain 3. Work one half double crochet stitch, one chain and two more half double crochet stitches into the same corner space. Work one half double crochet in each stitch around working two half double crochet, one chain, two more half double crochet in each corner. Fasten off and work in ends.
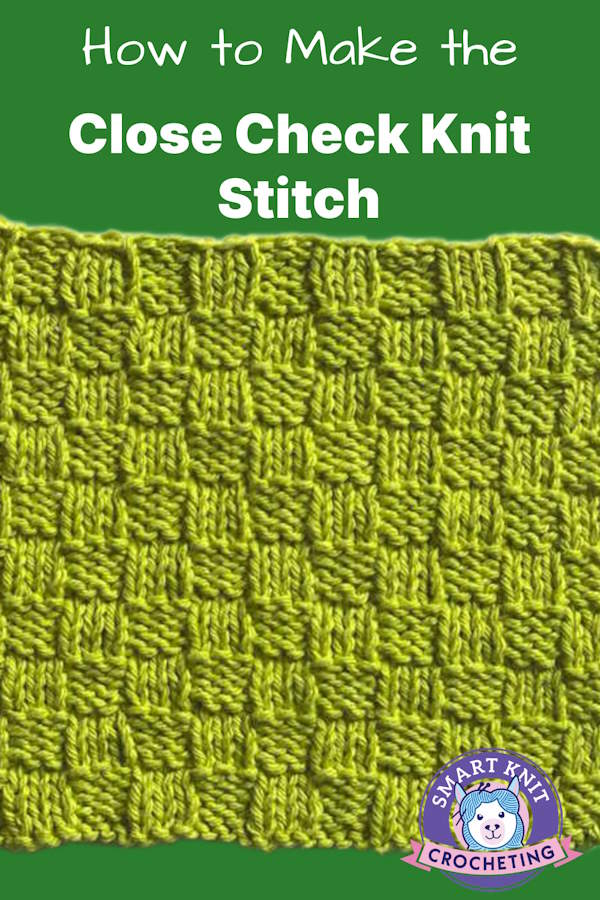
Pin for Future Reference


