- Home
- Crochet Stitches
- Crochet Wattle Stitch
Crochet Wattle Stitch: Tutorial and Free Pattern
Crochet Wattle Stitch
by Janice Jones
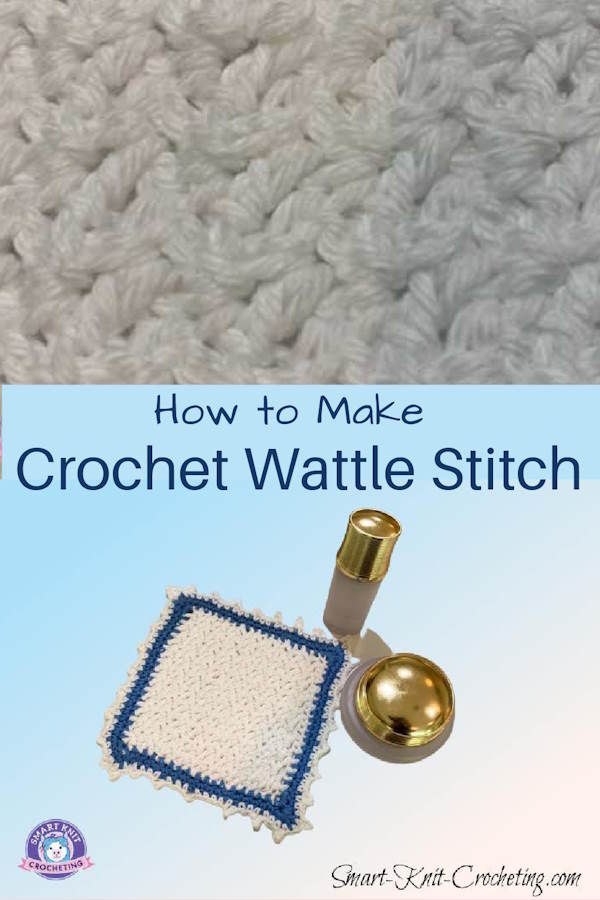
The wattle crochet stitch is an easy/beginner pattern that consists of single and double crochet stitches. So, if you've mastered those two basic stitches, this stitch will be simple for you to do.

The name crochet wattle stitch intrigued me so I went on a hunt for it's origin. Sadly I couldn't locate any information as of this writing, but I'm still on the hunt.
If whoever created the name, thought the stitch looked like the wattle on certain bird species, they have more of an imagination than I do.
Still it is a very textured stitch that creates a thick fabric perfect for a wide variety of items. Blankets of all sizes as well as scarves, washcloths, dishcloths or even just simple coasters that one can create while learning this simple pattern.
 Roasters are one species of birds that sport a bright red wattle. Does his wattle remind you of the wattle stitch?
Uses
The crochet wattle stitch is useful for a wide range of project ideas
- Blankets
- Pillow covers
- Washcloths, dishcloths, scrubbies
- Shawls and Scarves
- Cowls
Is the Crochet Wattle Stitch Reversible?
Yes, both sides look the same.
 Crochet Wattle Stitch: Right Side
 Crochet Wattle Stitch: Wrong Side
Instructions
You will need some yarn and the corresponding hook that is recommended on the yarn ball. A pair of scissors and a tapestry needle for weaving in yarn ends is also helpful. That's it.
To make the wattle stitch, work one single crochet, one chain stitch and one double crochet stitch all in the same space. It is abbreviated [sc, ch, dc].

Abbreviations
These instructions are written in US terms.
ch = chain stitch
sc = single crochet
dc = double crochet
hdc = half double crochet
rep = repeat
ch sp= chain space
[ ] = work all the instructions contained within the brackets in the same space.
Directions
In US Terms,
Foundation Chain: Multiples of 3 plus 2, plus 1 for the chain.
My swatch was made using 15 chains.
Row 1: Skip the first 2 chains. *work [1sc, 1ch, 1dc] into next ch, skip 2ch; rep from * ending 1hdc into last ch, turn.
Row 2: Ch 1. [sc, ch1, dc] into every ch1 space of the previous row. End with 1 hdc in turning chain.
Repeat 2nd row until you have reached your desired length.
Sound easy? It really is. Ready to make a project?
Practice the Crochet Wattle Stitch with these Free Patterns
If you are creating one or both projects below as a way to practice the crochet wattle stitch, may I suggest that you begin with the dishcloth using a light colored yarn especially if you are new to crochet.
It is not always easy to see stitches using a scrubby yarn and you might miss the chain space (ch sp). Once you are familiar with seeing stitches and spaces, the scrubby yarn is much more easy to use.
Hostess Gift Dish Cloth or Dish Scrubby

Handmade dish cloths are always welcome and easy and quick to make. Choose colors based on the season or holiday to make them extra special.
Or, if you know your host/hostess' color preferences, create a couple to compliment the kitchen décor.
Small Crochet Dish Scrubby
Skill Level: Easy

Materials
- Yarn: Yarn Bee Scrub-ology Scrub it! 3 oz ball #5 Bulky Yarn
- Hook: Size J-10 / 6 mm / UK size 4
- Scissors
- Tapestry Needle
Pattern Notes
- Pattern uses US Terms.
- Wattle Stitch: [1 sc, 1 ch 1 dc] worked in the same chain or chain space.
- The wattle stitch creates a reversible fabric.
Instructions
In US Terms,
Foundation Chain: Multiples of 3 plus 2, plus 1 for the chain.
Ch 18
Row 1: Skip the first 2 chains. *work [1sc, 1ch, 1dc] into next ch, skip 2ch; rep from * ending 1hdc into last ch, turn.
Row 2: Ch 2. [sc, ch1, dc] into every ch1 space of the previous row. End with 1 hdc in turning chain.
Repeat 2nd row until you have reached your desired length.
Dish Cloth Using the Crochet Wattle Stitch
Instructions:
Chain 24
Row 1: Sc in each chain across.
Row 1: Skip the first 2 chains. *work [1sc, 1ch, 1dc] into next ch, skip 2ch; rep from * ending 1hdc into last ch, turn.
Row 2: Ch 2. [sc, ch1, dc] into every ch1 space of the previous row. End with 1 hdc in turning chain.
Repeat 2nd row until you have reached your desired length or until your project is square. Make one more row of single crochet stitches and then fasten off.
Edging Options: Single
Single Crochet Edging (Easy)
Sc around edge of the square until you reach the corner. Two single crochets in same ch. Ch1. 2 sc in next two ch. Repeat at each corner.
Edging Options: Picot
If you'd like an edging that is a bit more fancy after you do a single crochet around your fabric, consider a picot edging which is very easy to do. There are two ways to make this decorative edge stitch
Picot Edge: Into Back Bump Slip Stitch
Chain 3. Insert your hook into the first chain through the back bump. Yarn over and pull through loop (slip stitch). One picot stitch.
Make several single crochet stitches in between picot stitches.
Picot Edge: Into Back Bump Single Crochet
Chain 3. Insert hook into back bump and create a single chain into the back bump (as opposed to the slip stitch.)
I found this YouTube Video that demonstrates both types of Picot Edge.


