- Home
- Easy Beginner Knit Projects
- Free Hat Knit Pattern
Free Hat Knit Pattern
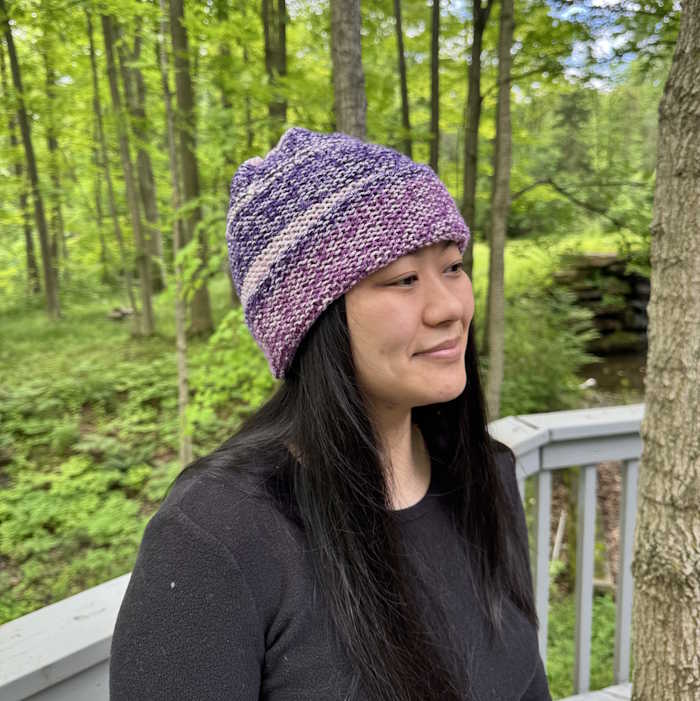
This is an incredibly easy hat knitting pattern. In fact it is so fast and easy that you’ll want to make more than one.
So gather up some of your favorite yarns and get started. I'm sure you'll want to make one for all your family and friends.
This simple, easy to knit hat with just one stitch, is the perfect project for the absolute beginner. All you need to know is how to make the knit stitch, or garter stitch pattern worked with two straight needles. This beanie is worked flat and then seamed to create a snug hat that doesn't require that you need to know how to decrease stitches. It works up fast, so make several for gifts, or even to donate.
They are warm and cozy and fit any size with just a small adjustment.
They're perfect for making with scraps and ends from other projects, making a colorful and unique accessory. The directions will work fine for a ladies hat, but if you prefer, you can add a few extra stitches to your cast on if you're making one to fit a man's head.
Free Hat Knit Pattern
Skills Level
Beginner
Skills Needed
Seaming
Finished Size
Finished Circumference: Approx 19 – 20 inches (very stretchy)
Materials
- 1 Skein worsted weight yarn, (CKC #4) For this project, I used Lion Brand Mandala Ombre, (1 cake) 5.3 oz (150 g) and is 344 yd. (315 m) long.
- Knitting needles size US 9 (5.5 mm)
- Tapestry needle
- Scissors
Pattern Notes
This hat can be a cute slouchy hat or you can have it fit your head snugly by folding up the brim some more.
And just a reminder that garter stitch stretches a lot so this hat will fit most adult sizes.
Instructions
Cast on 76 stitches.
Knit garter stitch for approximately 12 inches.
Bind off leaving a long tail. (The long yarn tail is for closing the top of the hat).
Finishing
Thread tapestry needle and beginning at brim, sew up side seam creating a tube.
At the top of the hat and with tapestry needle weave in and out of bound off stitches pulling tightly to close the hole.
Weave in ends securely. You can leave it like this or add a pompom to give it more character.
How to Seam Garter Stitch
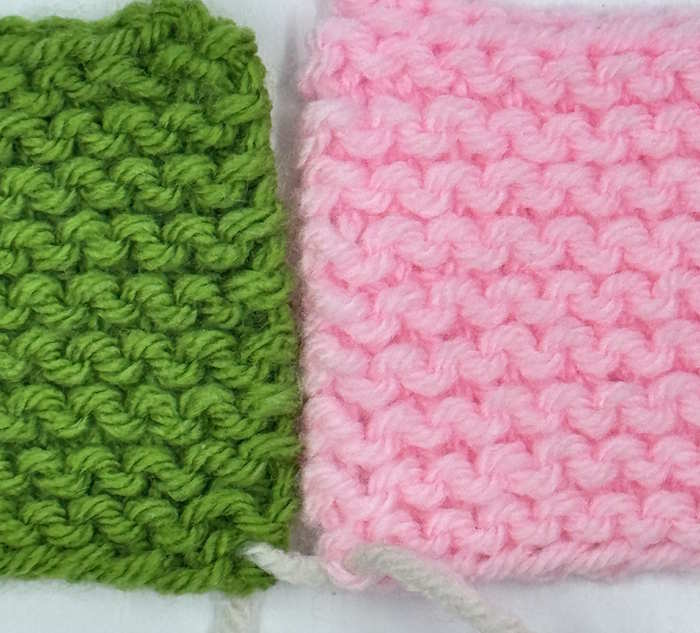
To help you understand how to sew up the side of your hat, I have knit two small swatches in colors that will make the seam and stitches easier to see.
Fold your hat in half on a flat surface right side facing and line up the sides so they are facing. You may want to pin or use stitch markers at the top, bottom, and spaced in between.
I am attaching a new piece of yarn, but you can ignore this step because your yarn is already attached. We will be working from the bottom to the top.

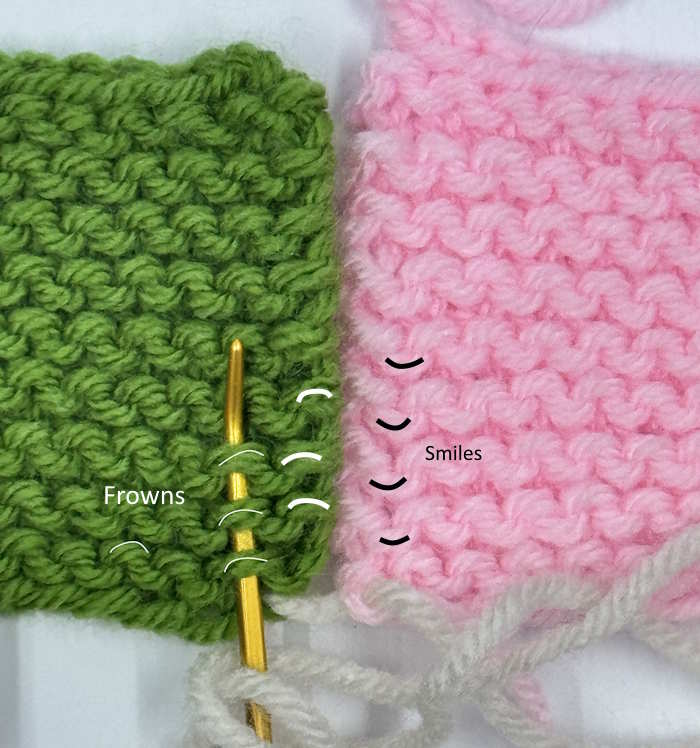
Before beginning to sew, look at your garter stitches. Each garter ridge consists of two rows of knitting. If you look closely, the ridge consists of little bumps that resemble upside down U's, I'll call frowns, and bumps that resemble right side U's, I'll call smiles.
If your yarn is attached, go to the first stitch on the other side and go under that stitch. If you are practicing this without yarn attached, leave a tail for weaving in later, go into the first stitch on the left side and then under the first stitch on the right side. Do not tighten.
Next, find the next garter ridge on the left side and go under and through the first "frown. Draw the yarn through.

Go across to the right side and go under and through the first "smile, that you can see easily." Draw the yarn through, but don't tighten.
Go back to the left side and go through the frown, then back to the right side and go under and through the smile. Keep your yarn loose.
Continue going back and forth from the left side (picking up frowns) and then the right side and picking up smiles.
Continue loosely picking up frowns on the left and smiles on the right. If you don't miss any garter ridges, the right side seam should be almost invisible and the wrong side will have a little ridge which is totally normal.
Continue until you reach the top. Make one more stitch in the last smile and frown before you weave in your ends.
Ways to Customize
Like stripes? This is a perfect hat to experiment with stripes.
- Work the entire hat in two, three, or more stripes. Choose your favorite colors or learn a little bit about color theory for recomendations.
- Vary the width of the stripes, or work each stripe the same width as the one before.
- Use a self striping yarn such as Red Heart Super Saver Jumbo Sutherland Stripe Yarn if you want an acrylic hat, or choose a wool blend that is washable. NICEEC 1 Skein Rainbow Wool Blend Yarn
To Add a Pompom or Not?
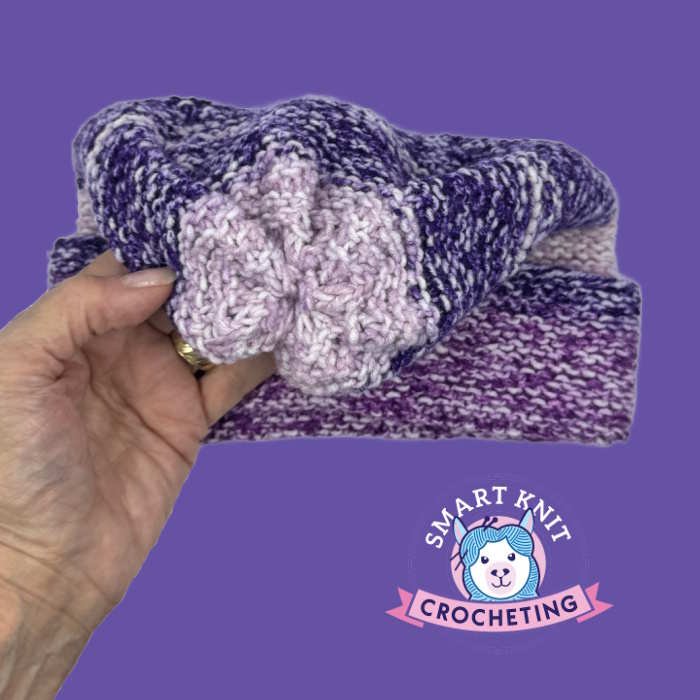
 After sewing and cinching up the top, it will look like this.
Working Easy Hat Patterns in the Round
If you hate seaming, you might want to consider working a beanie in the round. There are thousand's of free patterns on the internet to create a hat, or you can consider designing your own hat, which is not as difficult as you think.
Just remember that when working the garter stitch in the round, the stitch pattern is a bit different:
Row 1: Knit all stitches
Row 2: Purl all stitches
Repeat rows one and two until you reach your desired length.
Last Words
If you are an absolute beginner, and you want to try your hands making a hat, this pattern is about as easy as it gets. It is a perfect "practice" project if you are trying to improve your tension in garter stitch. Since it works up faster than a scarf, for example,


