- Home
- Types of Knit Stitches
- Reversible Knit Stitch Patterns
- Knit Cut Diagonals
Knit Cut Diagonals Stitch Pattern – Easy Textured Diagonal Knit Design
The Knit Cut Diagonals stitch is a textured pattern created with knit and purl combinations that form bold, slanted lines across the fabric.
The diagonal “cuts” add a modern, geometric feel that works well for dishcloths, scarves, or blankets. It’s an easy stitch that lies flat, giving your knitting a clean, professional look while remaining fun to knit.
 Knit Cut Diagonals
Skill Level

Skills Needed
How to read written knitting instructions or in chart form
Abbreviations Used
K = knit
P = Purl
CO = Cast on
BO = Bind off
* * Work the instruction within the two asterisks for the number of times indicated.
RS = Right Side
WS = Wrong Side
Notes About the Knit Cut Diagonals
This pattern uses only basic knit and purl stitches, but because the texture shifts gradually across 12 rows, it helps to have some experience reading your stitches or following a chart. Once you’ve worked through the first full repeat, you should be able to see the pattern.
- Reversible
- 12-row repeat
- 8-stitch multiples
- The fabric lies flat and has a clean, structured drape.
- For best results, use smooth, light-colored yarns that show off the diagonals.
- You can add a 3–4 stitch garter border on each side if you prefer perfectly straight edges.
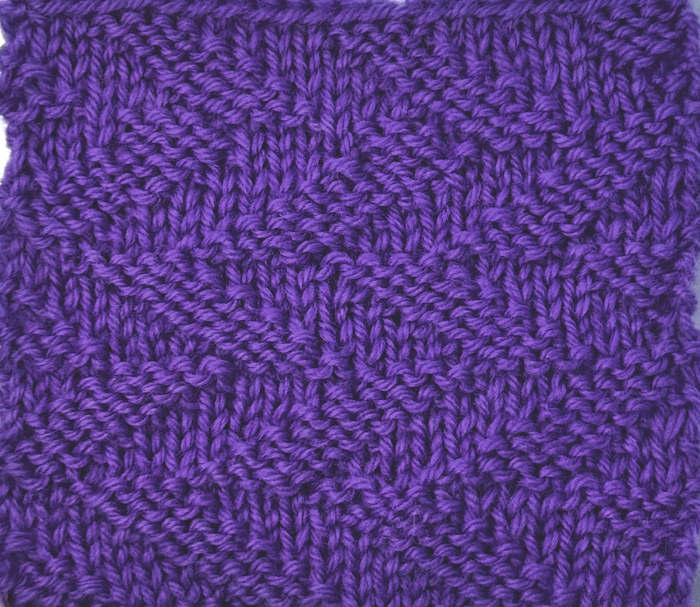
 Cut Diagonals Right Side
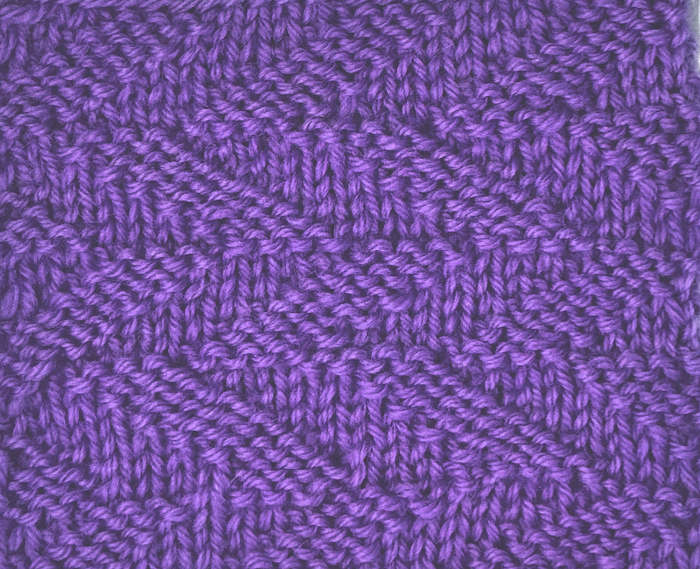
 Cut Diagonals Wrong Side
Written Instructions for Working Flat
Cast on multiples of 8 stitches.
Row 1 (Right Side): * K4, P4; rep from * to end.
Row 2 (Wrong Side): * K3, P4, K1; rep from * to end.
Row 3: * P2, K4, P2; rep from * to end.
Row 4: * K1, P4, K3; rep from * to end.
Row 5: * P4, K4; rep from * to end.
Row 6: * P3, K4, P1; rep from * to end.
Row 7: * P1, K4, P3; rep from * to end.
Row 8: * K4, P4; rep from * to end.
Row 9: * K3, P4, K1; rep from * to end.
Row 10: * P2, K4, P2; rep from * to end.
Row 11: * K1, P4, K3; rep from * to end.
Row 12: * P4, K4; rep from * to end.
Written Instructions for Working in the Round
Cast on a multiple of 8 stitches.
Work in the round, always knitting on the right side.
Round 1: K4, P4; rep from * around.
Round 2: P3, K4, P1; rep from * around.
Round 3: K2, P4, K2; rep from * around.
Round 4: P1, K4, P3; rep from * around.
Round 5: K4, P4; rep from * around.
Round 6: K3, P4, K1; rep from * around.
Round 7: K1, P4, K3; rep from * around.
Round 8: P4, K4; rep from * around.
Round 9: P3, K4, P1; rep from * around.
Round 10: K2, P4, K2; rep from * around.
Round 11: P1, K4, P3; rep from * around.
Round 12: K4, P4; rep from * around.
Repeat Rounds 1–12 for the pattern.
Instructions for Working Flat in Chart Form

Frequently Asked Questions
Is the Knit Cut Diagonals stitch reversible?
Is the Knit Cut Diagonals stitch reversible?
Yes, this pattern is reversible
What type of projects work best with this stitch?
What type of projects work best with this stitch?
It’s perfect for dishcloths, scarves, blankets, or any project where you want a modern textured surface that lies flat.
Does the fabric curl at the edges?
Does the fabric curl at the edges?
Not much, but adding a few stitches of garter or seed stitch at each edge will keep it perfectly flat, if you are making a project that needs to lie flat.
What yarn shows the stitch best?
What yarn shows the stitch best?
Solid or slightly heathered yarns highlight the diagonal texture best. Avoid highly variegated colors that can hide the pattern.
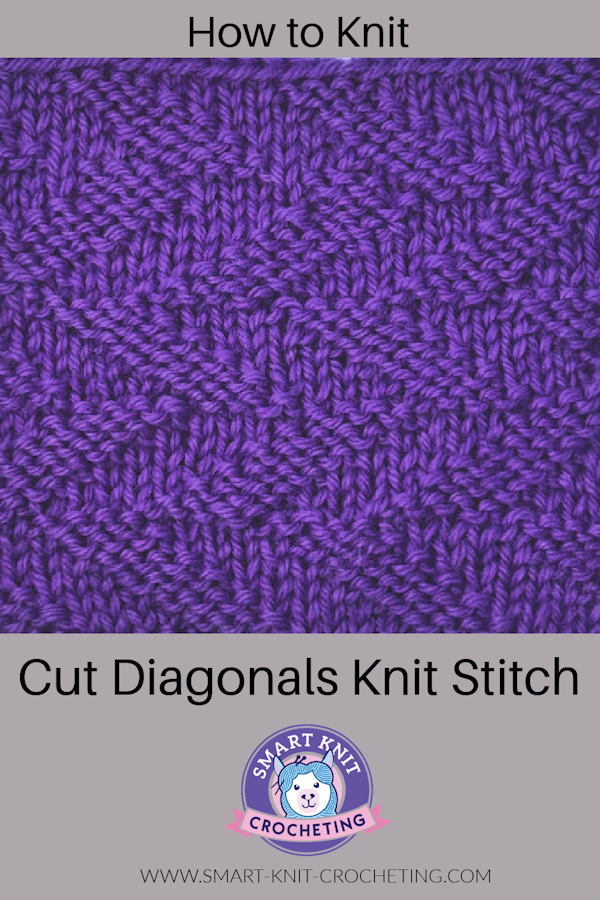
The Knit Cut Diagonals Stitch Pattern: Pin for Future Reference
Conclusion
The Knit Cut Diagonals stitch is a great choice when you want a fabric that looks more advanced than it really is. Once you memorize the 12-row repeat, the pattern becomes rhythmic and satisfying to knit. Try it in solid or slightly tonal yarns to make those diagonal lines pop, and don’t forget to block at the end to define the texture.
Happy Knitting


