- Home
- Easy Beginner Knit Projects
- Beanie Knitting Pattern for Beginners
Beanie Knitting Pattern for Beginners
by Janice Jones, Certified Knitting Instructor CKC; last updated November 2025
A beanie is one of the best first knitting projects you can make. It’s small, practical, and quick — and it teaches you all the essentials: knitting, purling, shaping the crown, and finishing neatly. Whether you’re a total beginner or just want an easy, relaxing project, this beanie knitting pattern for beginners is a perfect choice.
In this tutorial, you’ll learn two easy ways to knit a beanie:
- Flat on straight needles (then seamed with mattress stitch)
- In the round on circular needles (seamless finish)
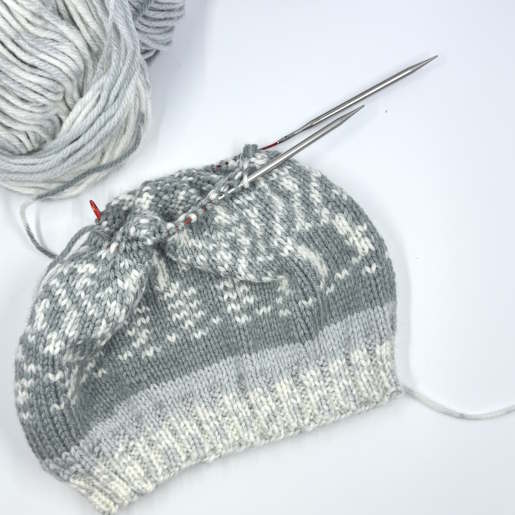
Both patterns use basic stitches and simple decreases, and they’re written for multiple sizes — from baby to adult. You’ll also get a printable hat sizing chart, gauge tips, and ideas for customizing your beanie with new stitch patterns, ribbings, or colorwork. Once you knit your first one, you’ll be amazed at how quickly you can make cozy, gift-worthy hats for everyone in the family.
Pattern 1: Worked flat on straight needles (seamed at the end).
Pattern 2: Worked in the round on circular needles (no seaming needed).
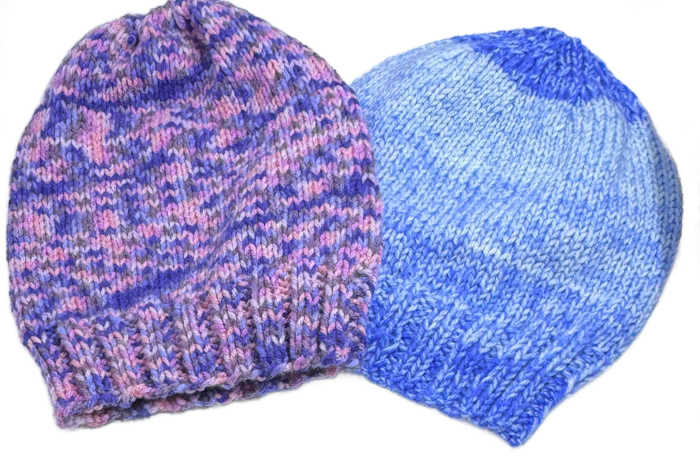
Before You Begin
Time to Make: About 1–3 evenings for most beginners (depending on your knitting speed and hat size).
Yarn Recommendation: Choose a soft, medium-weight (worsted) yarn that feels comfortable next to the skin — wool or a wool-blend for warmth, or acrylic for easy care. I'll discuss that more later.
Needles: Use US 8 (5 mm) straight or 16″ circular needles (plus DPNs for the crown). Wooden or bamboo needles can help beginners control slippery yarns.
Tip: Knit a quick gauge swatch first to make sure your hat fits properly. A little time here saves unraveling later!
Patterns: Each pattern includes instructions for multiple sizes, so you can knit a cozy hat for anyone in the family.
A Note to Those Smart, Adventureous Beginners: I've provided a couple of ideas to help you customize your very own pattern. See the Callout Boxes Below for ideas.
Pattern 1: Instructions for Beginner Beannie Working Flat
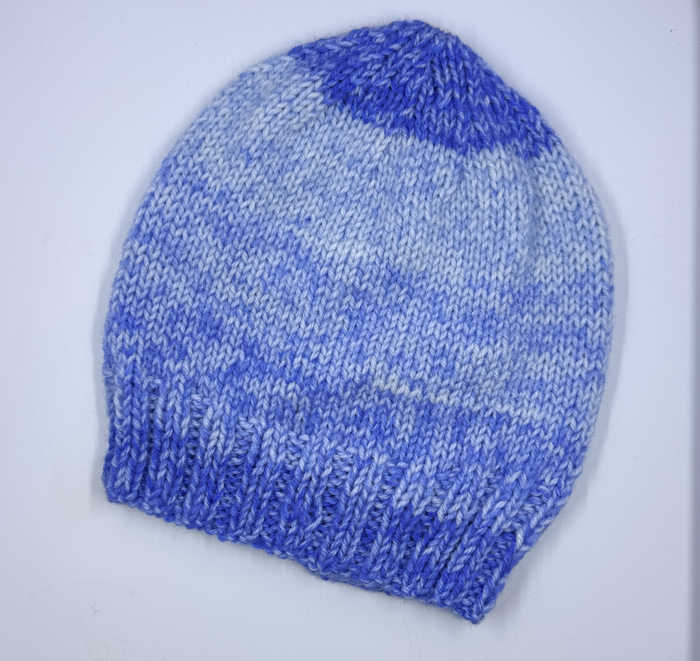
Supplies
- Yarn: Worsted-weight yarn (medium / #4). About 100–150 yds for adult size.
- US 7 to 8 (4.5 to 5 mm) straight needles (for flat version).
- US 7 to 8 (4.5 to 5 mm) 16″ circular needles + DPNs (for in-the-round version).
- Tapestry needle
- Scissors
- Optional pom-pom maker or ready-made pompom
Skills Needed
- How to Knit
- How to Purl
- How to make the Stockinette Stitch
- How to Cast On
- How to Bind Off
- How to Decrease: K2tog (knit two together)
- In the Round: How to work on circular needles and double-pointed-needles (dpn)
- Flat: How to make the Mattress stitch
Skill Level

Gauge
18 stitches and 24 rows = 4″ (10 cm) in stockinette stitch on US 8 (5 mm) needles.
Measured after light blocking.
Tip: If your gauge is tighter (more stitches per 4″), the hat will come out smaller. If looser (fewer stitches), it will be bigger. Adjust needle size if needed: If too tight, try US 9 (5.5 mm) or if too loose, use U.S. 7 (4.5 mm) to match the chart measurements.
Finished Sizes (after blocking, unstretched)
Baby: ~12″ (30.5 cm) circumference, 6.5–7″ (16.5–18 cm) height
Child: ~14–15″ (35.5–38 cm) circumference, 7.5–8″ (19–20 cm) height
Teen/Adult Small: ~16–17″ (40.5–43 cm) circumference, 8–8.5″ (20–21.5 cm) height
Adult Medium/Large: ~18–19″ (45.5–48 cm) circumference, 8.5–9″ (21.5–23 cm) height
Hat Sizing Chart
| Size | Head Circumference | Finished Hat Circumference* | Finished Height | Height to Crown |
|---|---|---|---|---|
| Baby | 14–16″ (35.5–40.5 cm) | ~12″ (30.5 cm) | 6.5–7″ (16.5–18 cm) | 5.5″ (14 cm) |
| Child | 17–19″ (43–48 cm) | ~14–15″ (35.5–38 cm) | 7.5–8″ (19–20 cm) | 6.5–7″ (16.5–18 cm) |
| Teen / Adult Small | 20–21″ (51–53.5 cm) | ~16–17″ (40.5–43 cm) | 8–8.5″ (20–21.5 cm) | 7″ (18 cm) |
| Adult Medium / Large | 22–23″ (56–58.5 cm) | ~18–19″ (45.5–48 cm) | 8.5–9″ (21.5–23 cm) | 7.5–8″ (19–20 cm) |
*Finished hat circumference: measured unstretched. Each size will stretch 2–3″ (5–7.5 cm) to fit snugly with negative ease.
Height to Crown: measure from the cast-on edge up to where crown decreases begin.
Instructions
- Cast On: Use long-tail cast-on.
- Baby: 56 sts | Child: 64 sts | Adult Small: 72 sts | Adult Large: 80 sts
- Brim (Ribbing):
- Row 1: K2, P2 across.
- Repeat Row 1 until ribbing measures 2″.
- Body:
- Row 1: Knit.
- Row 2: Purl.
- Repeat these two rows (stockinette stitch) until the hat measures the specified length from the cast-on edge, as indicated in the chart.
- Baby: 6.7 - 7 inches |Child: 7.5 - 9 inches | Sm Adult: 8 - 8.5 inches | Lg Adult 8.5 - 9 inches
- Crown Shaping: Decrease
- Row 1: (K6, K2tog); repeat across.
- Row 2: Purl.
- Row 3: (K5, K2tog); repeat across.
- Row 4: Purl.
- Continue decreasing every RS row (K4, K2tog → K3, K2tog → etc.) until ~10–12 sts remain.
- Finish:
- Cut the yarn, thread it through the remaining stitches, and pull tight.
- Seam the side using mattress stitch. Weave in Ends.
More Options
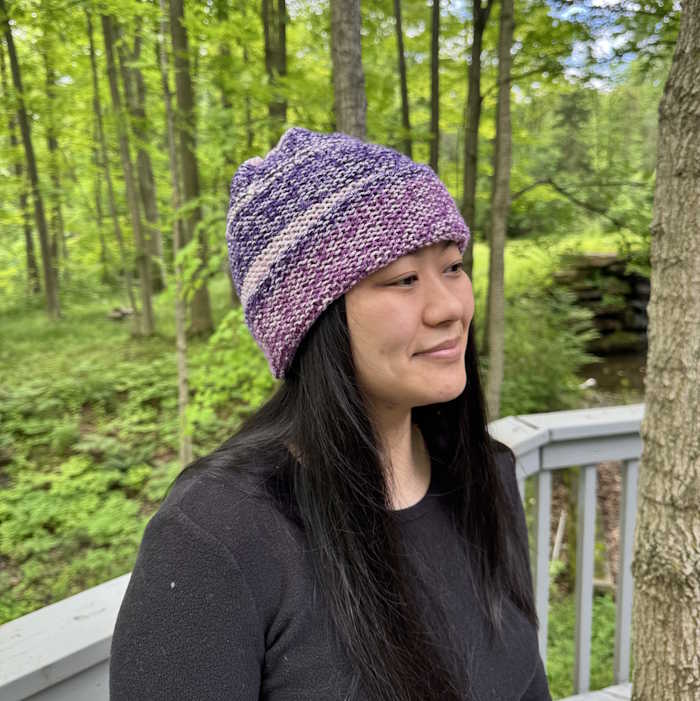
Here is a slouchy hat that uses only knit stitches on straight needles.
Pattern 2: Beginner Beanie (Worked in the Round)
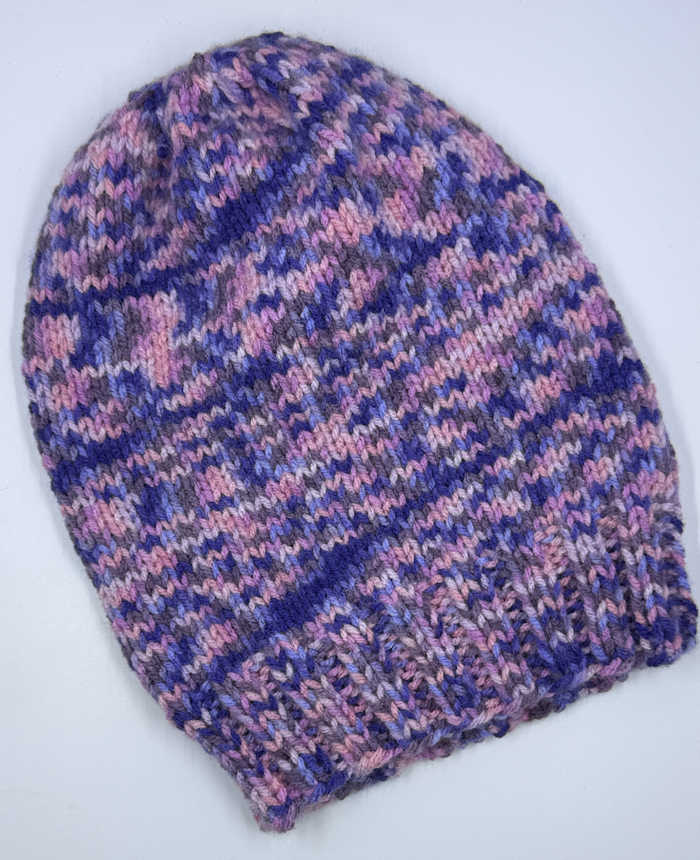
Instructions
- Cast On: Use long-tail cast-on.
- Baby: 64 sts | Child: 72 sts | Adult Small: 80 sts | Adult Large: 88 sts
- Join to work in the round, place a stitch marker.
- Brim (Ribbing):
- Round 1: K2, P2 around.
- Repeat until the brim measures 2″ (If you want your brim to fold over, continue the K2, P2 for about 4.25 to 4.5 inches)
- Body:
- Knit all rounds (stockinette in the round).
- Continue until the length matches the sizing chart. (See the column marked "Height to Crown" for the length to knit until you begin the crown shaping decrease rows below.
- Crown Shaping: Decrease Rows
- Round 1: (K6, K2tog); repeat around.
- Round 2: Knit.
- Round 3: (K5, K2tog); repeat around.
- Round 4: Knit.
- Round 5: (K4, K2tog); repeat around.
- Round 6: Knit
- Continue decreasing every other round until ~8–12 sts remain. Switch to DPNs if needed.
- Finish:
- Cut the yarn, thread it through the remaining stitches, and pull tight to close. Weave in Ends.
Customization Ideas
The patterns above are fundamental and can be customized to create your own unique design.
- You could choose a new rib stitch
- You can change the beanie into a slouchy beanie
- You can double the width of the brim so you can fold it up
- Add some color
- Pick a new stitch pattern
- Add a pompom
For the Ribbing:
Substitute the 2x2 stitch for one of the following:
Sizing: Turn it Into a Slouchy Hat
Make it longer for a slouchy fit or shorter for a snug cap. A couple of additional inches will create a slouchy look. Reduce the number of rows for a shorter beanie.
Colorwork
Add stripes or use self-striping yarn or variegated yarn for an interesting look.
Substitute the Stockinette Stitch for a New Stitch Pattern:
You could customize your beanie in several different ways:
Try making the entire hat using the same rib stitch you began with.
Pick a New Stitch Pattern
- To pick a new stitch pattern, start by visiting my page on knit and purl stitches.
- Next, determine the number of stitches you cast on for your project. Working Flat: Baby: 56 sts | Child: 64 sts | Adult Small: 72 sts | Adult Large: 80 sts. Working in the Round: Baby: 64 sts | Child: 72 sts | Adult Small: 80 sts | Adult Large: 88 sts
- Check the Multiple
- Every stitch pattern has a multiple (e.g., multiple of 4 + 2).
- Make sure your cast-on stitch count matches the multiple.
- Example: If you want to use seed stitch (multiple of 2), you’re fine with any of the charted counts. If you use a pattern with a multiple of 4, you should be fine, at least when working flat.
4. Work your stitch pattern until you reach the crown, then change to stockinette, to avoid having to do the math involved.
Here are a few stitch pattern ideas that will work with all sizes:
Toppers:
Add a pom-pom for a playful touch.
Frequently Asked Questions
How long does it take to knit a beanie?
How long does it take to knit a beanie?
Most beginners can finish in 1–3 evenings.
Do I need circular needles?
Do I need circular needles?
No. that’s why the flat version is included. You can make a beanie with straight needles.
How many stitches do I cast on for an adult hat?
How many stitches do I cast on for an adult hat?
Usually 72–80 for flat knitting, 80–88 for circular knitting with worsted-weight yarn.
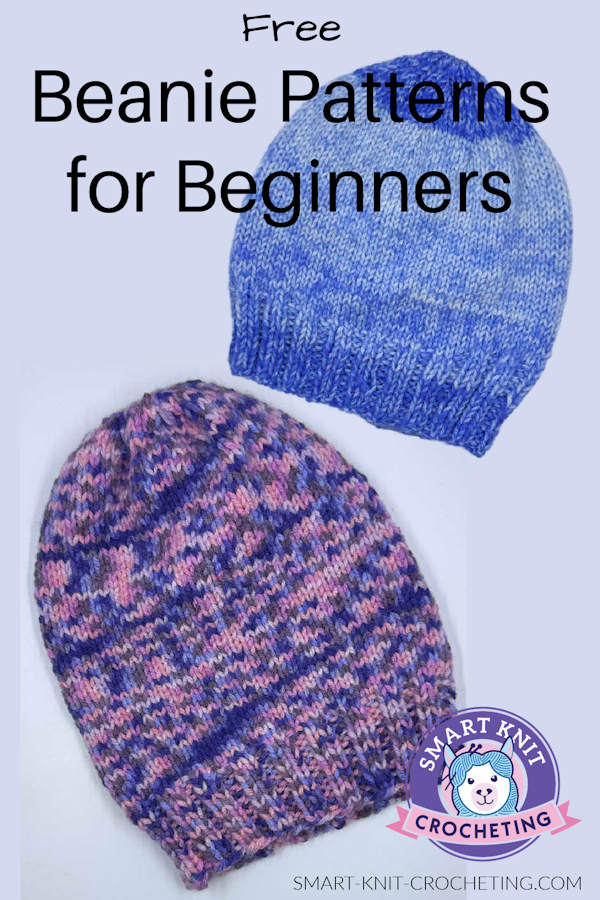
Beannie Knitting Pattern for Beginners: Pin for Future Reference
Conclusion
This easy beanie knitting pattern for beginners gives you two simple paths to success, one with straight needles and one in the round. With just a few stitches and some practice, you’ll have a snug, handmade hat that looks and feels terrific.
Once you’ve finished, try experimenting with rib variations, textured stitches, or stripes to make each hat your own. Knitting a beanie is more than just a project; it’s a chance to build confidence and create something valuable and beautiful with your hands.
When you’re done, don’t forget to share a photo of your finished hat on Pinterest or Instagram and tag @smart_knit_crocheting — I’d love to see what you make!
