Basic Knitting Stitches for Beginners: Beginner-Friendly-Tutorial

Basic Knitting Stitches for Beginners    by Janice Jones
|Updated 04-01-2024.

Mastering basic knitting stitches is the first step towards becoming a proficient knitter.

The good news is that knitting requires learning two basic stitches: the knit and the purl stitch. From there, the beginner knitter can combine these two stitches to create a huge variety of knitting stitch patterns that each look different and serve a different purpose.

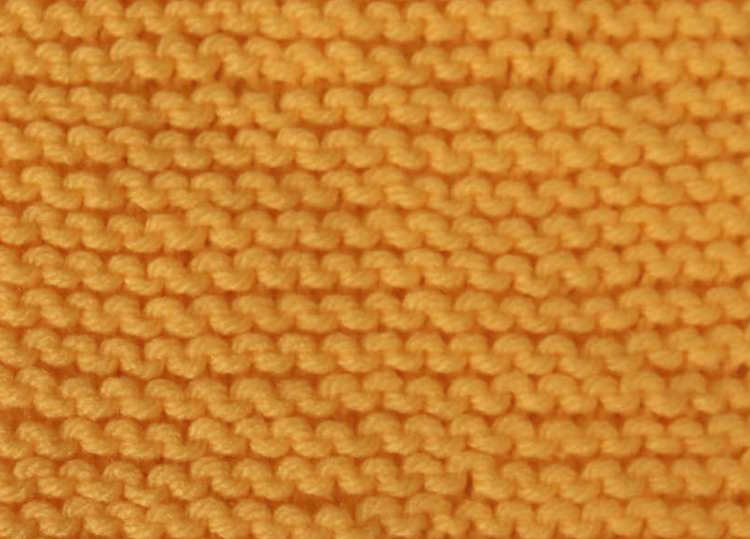
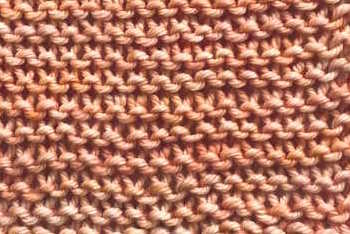
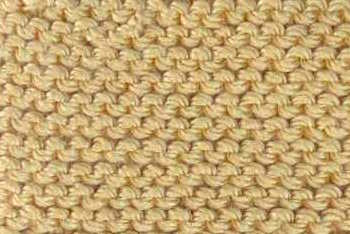
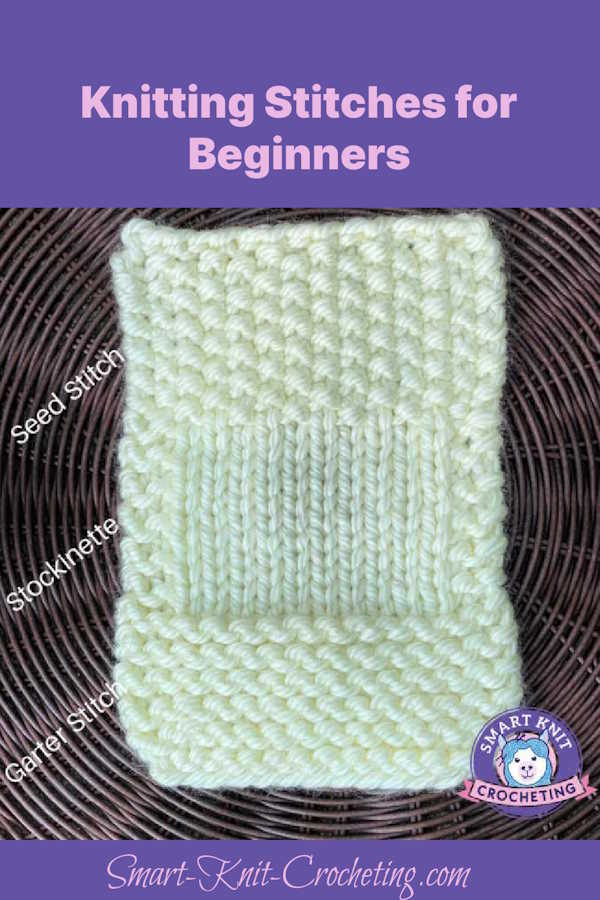
Garter knit stitch worked in beige yarnThe Garter Stitch Pattern is created by working only knit stitches.
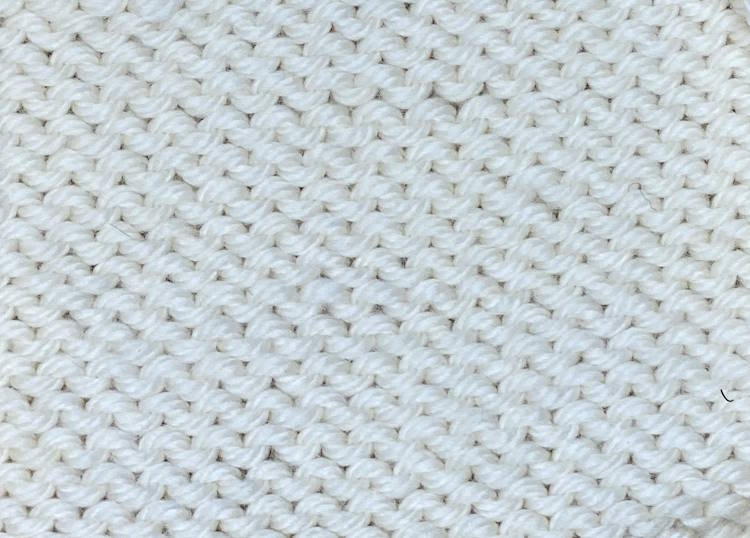
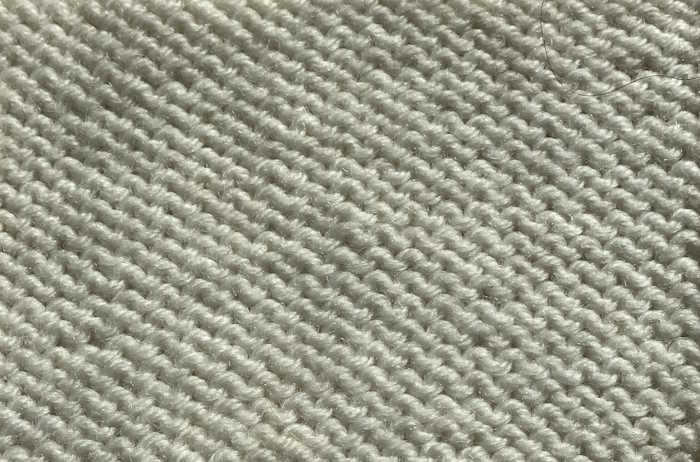
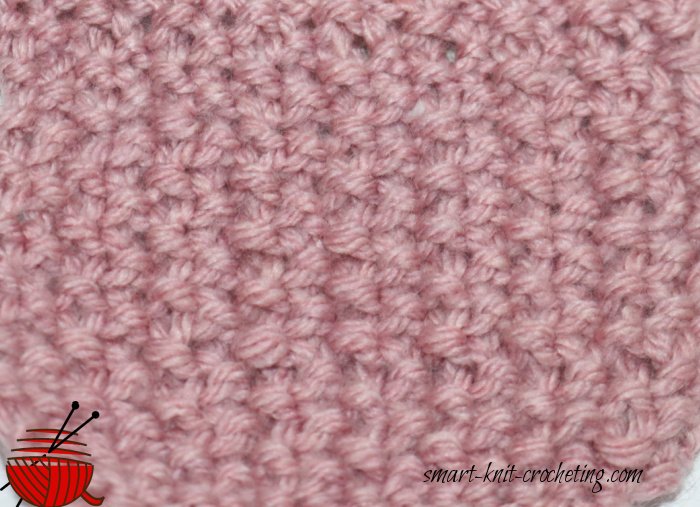
Purl stitch swatch also known as reverse stockinette worked in white yarnThe Purl Stitch (Also called reverse Stockinette) is worked by making only purl stitches.
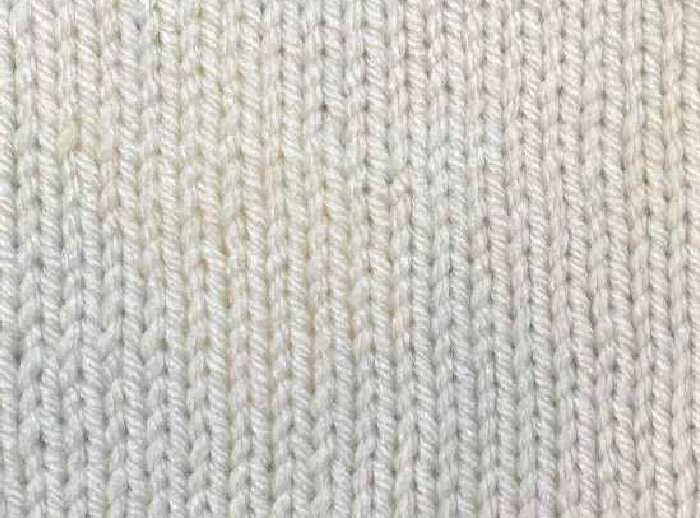
A swatch of stockinette pattern worked in white woolThe Stockinette Stitch was created by working one row of knit and one row of purl stitches.

These fundamental stitches form the backbone of nearly all knitting patterns and designs.

Understanding, learning, and practicing these stitching techniques will provide the foundational knowledge needed to unlock countless creative possibilities and substantially improve your confidence and skill as a knitter.

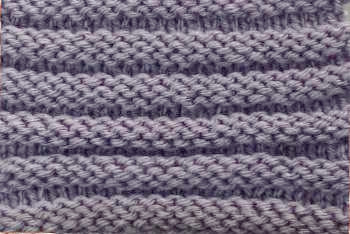
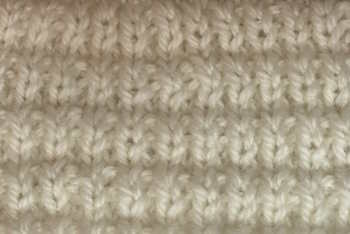
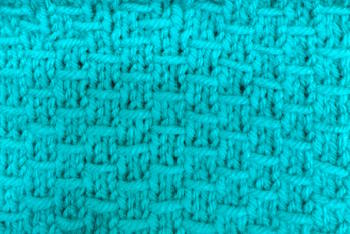
Knit & Purl Stitches

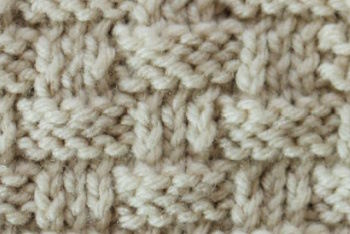
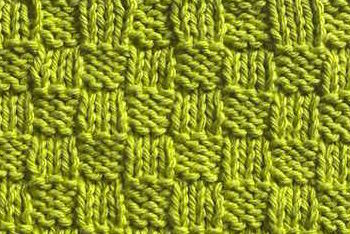
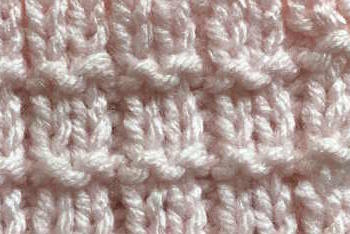
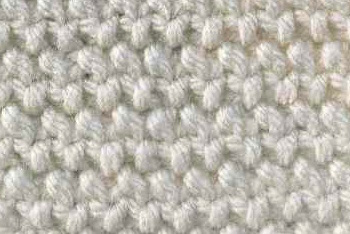
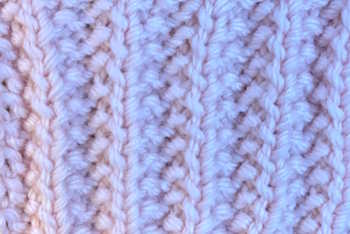
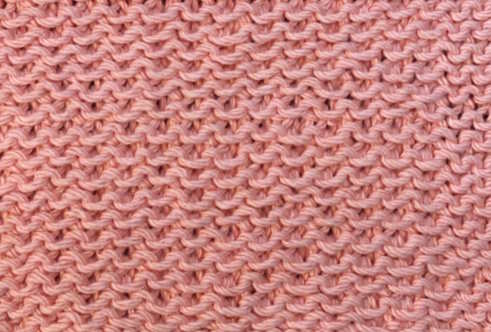
Reversible Stitches

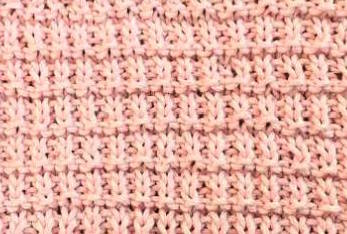
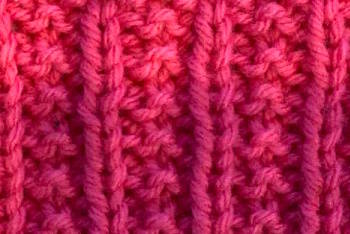
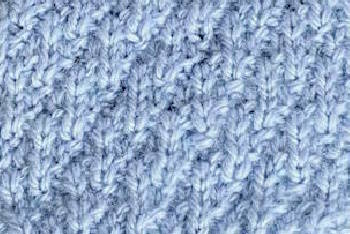
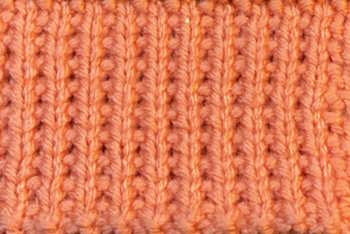
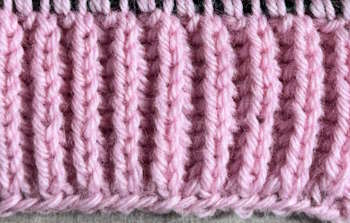
Rib Knit Stitches

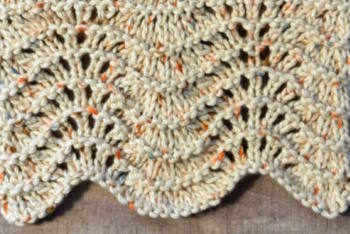
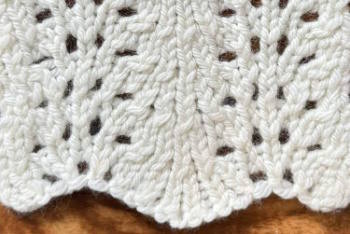
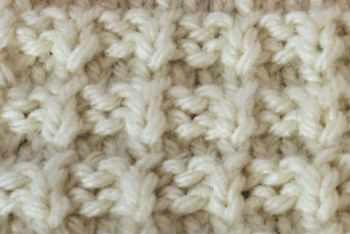
Eyelet and Lace

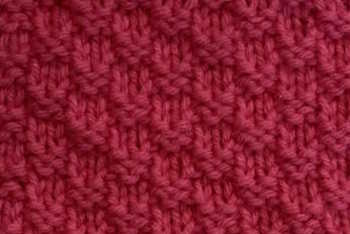
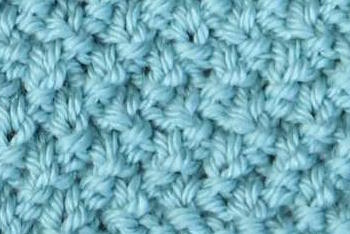
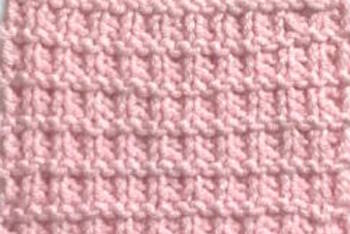
Slip Stitches

Cable Stitches

Getting started with knitting can seem rather complicated from the outside. Multiple knitting needles, seemingly complex stitches, and intricate patterns can sometimes be intimidating for a beginner.

Just the language of knitting itself can be intimidating. However, once you grasp the basic stitches and understand the rhythm of the work, knitting becomes a vastly simple and enjoyable pastime.

The power to create beautiful, warm, and heartfelt items from a single thread and two needles - that's the distilled beauty of knitting for beginners.

Essential Knitting Supplies for Beginners

Supplies needed for knitting is shown including yarn, three pairs of needles, three yarn needles and a pair of scissors

When starting your knitting journey, having the right tools can make all the difference. The best part? You don’t need a lot to get going.

The critical supplies include knitting needles suitable for beginners; typically, US size 7 (4.5 mm) 8 (5mm) or 9 (5.5mm) are good starts.

You'll need some yarn, preferably medium weight like worsted or Aran since they are easier to handle. But don't worry about all those yarn terms yet. We'll get into that later.

A tapestry or yarn needle is needed for sewing ends and joining pieces, and a pair of sharp scissors will be necessary for cutting the yarn.

Lastly, having a crochet hook can be handy for picking up dropped stitches, and stitch markers will be useful for tracking your progress in a pattern. If purchasing only one hook, chose a US G (4.0), 4.5mm, or H (5.0) which should work well for 

Supply Checklist for Beginners

  • Yarn:  Choose a worsted weight yarn in a light color
  • Needles:  Choose a Size 7 (4.5 mm) or 8 (5.0 mm) needle
  • Yarn Needle
  • Scissors
  • Crochet hook H or (5.0 mm) optional

Choosing the Right Type of Yarn & Knitting Needles

Two balls of white yarn and a  pair of white needles on a blue background

Choosing the correct type of yarn and needles is vital to successful knitting. For beginners, it's best to start with a medium-weight yarn as it's easier to handle, see, and correct mistakes.

As for color, avoid black or very dark colors, as it can be challenging to see individual stitches. Opt instead for light or brightly colored yarns.

Regarding knitting needles, beginners often find bamboo or wooden needles to be the most manageable. Aluminum needles allow the yarn to slide smoothly, while wooden needles offer more grip, preventing the yarn from slipping off too quickly.  Bamboo is similar to wooden and has a warm feel in your hands. The needle size should match the chosen yarn.

The thicker the yarn, the larger the needle you will need. Most yarn packaging will recommend a needle size, and it's best to start there. The right yarn and needles will pave the path for a fulfilling knitting experience.

Basic Knitting Terms

Before diving into the practical elements of knitting, it's vital to familiarize yourself with the language of this craft, as any knitting pattern you come across will be written in this special shorthand.

This section will cover standard knitting terms, which, at first glance, may seem like a secret code. From 'cast on' to 'bind off', 'knit' to 'purl', and 'gauge' to 'yarn over', we will decode this cryptic language and make it simple for you.

Additionally, we'll guide you on how to read knitting patterns effectively. It's essentially learning a new language, but instead of words forming sentences, these knitting terms and techniques come together to create beautiful, tangible items.

So, let's unravel this knitting lingo together and set you on your path to becoming a versed knitter.  Is is a short list.  For more information on terms and abbreviations, check out my guide.

  • Working Yarn: The yarn that is coming from the ball or skein of yarn you have chosen
  • English Method: A form of knitting where you hold the working yarn in your right hand
  • Continental Method: A form of knitting where you hold the working yarn in your left hand.
  • Basic Knit Stitches: The two basic knit stitches are called the knit stitch and the purl stitch
  • Right-hand needle: When holding needles in both hands, the right-hand needle is the one you hold in your right hand. The stitches on the right-hand needle are those that you just worked on.
  • Left-hand needle: When holding needles in both hands, the left-hand needle is the one you hold in your left hand. The stitches on the left-hand needle are the ones to be worked.
  • The right side of work: The public side or right side that shows. When knitting the front of the work is facing you.
  • Wrong side of work: The other side of the work or the side that is hidden from the public. The back of the work is facing when you are working on the wrong side of the work.
  • Slip Knot: The first skill required before casting on their first row of stitches.
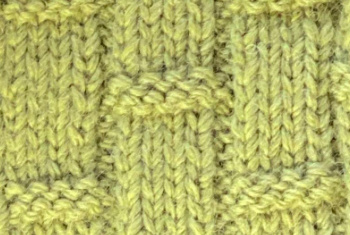
  • Various patterns: the term pattern refers to the numerous ways stitches can be combined to create different types of fabrics. Knit patterns include the stockinette or stocking stitch, double moss stitch, basketweave stitch, linen stitch, hurdle stitch, purl ridge stitch, and many others.
  • Slip knot:  A knot that is made and placed on the needle before adding more stitches called cast on.
  • Skein, ball, hank, cake:  These are terms used to describe how yarn is wound and made available to us.

Introduction to Basic Knitting Stitches for Beginners

In this section, I am limiting the stitches I introduce to the very basic ones that all beginners master first.  There are many ways to create fabric with knitting including cable stitches, lace knitting, color work, just to name a few.  These more advanced stitches will be a topic for another article.  Here are the basics:

Basic Knitting Stitches for Beginners:  The Knit Stitch

Known as the foundation of knitting, the knit stitch is one of the two basic stitches from which all knitting patterns are made.

This technique involves slipping the right needle into a stitch on the left needle, wrapping the yarn around it, and pulling it through to create a new loop on the right needle.

This is considered to be the most basic stitch. When you work only knit stitches for row after row, you create the garter stitch pattern.

Step-by-step Instructions for Making the Knit Stitch

Basic Knitting Stitches for Beginners:  The Purl Stitch

The purl stitch is the second core stitch in knitting. It is essentially the opposite of a knit stitch and adds texture to your knitting.

When you purl, you bring the yarn to the front of your work and slip the right needle into the front of a stitch on the left needle, wrapping the yarn over and around the right needle and pulling it through. If all you make is purl stitches, the stitch pattern is called reverse stockinette. (See the Photo above)

  1. After casting on the number of stitches needed, hold the needle with the stitches in your left hand.
  2. Hold the empty needle in your right hand.
Step-by-step instructions for making the knit stitchStep 1: With the yarn held in the back behind the needles, Insert the tip of the right needle into the front of the first stitch on the left needle. The right needle tip is under and behind your left needle.
Step two of making the knit stitch Step 2: Wrap the working yarn from back to front between the tips of both needles.
Step 3 of the step by step instructions for making the knit stitchStep 3: Pull the tip of the right-hand needle back through so the new stitch is on the right needle. Keep the wrapped yarn on your right needle. (The wrapped yarn is now a new stitch on your right needle)
Step four of the step-by-step instructions for making the knit stitch.Step 4: Slip the old stitch off of the left-hand needle. One stitch was completed. You will repeat these steps for each stitch on the left needle.

Step by Step instructions for making the Purl Stitch

  1. Cast on the required number of stitches or continue on with the next row (purl row) from the directions above.
  2. Hold the needle with the stitches in your left hand.
  3. Hold the empty needle in your right hand
Step-by-step tutorial on making the purl stitch.  Step one is shownPurl Stitch Step 1: Holding the yarn in front of the needles, insert the tip of the right needle from right to left. The right needle should be in front of and above the left needle.
Step-by-step tutorial on making the purl stitch.  This is step 2Purl Stitch Step 2: Wrap your working yarn from right to left (counterclockwise) around the tip of the right needle.
Step-by-step tutorial on making the purl stitch.  This is step 3Purl Stitch, Step 3: With the yarn held downward behind the stitch, slide the right needle back until the tip is against the left needle. Slip through the loop on your left needle with the right need tip. The wrapped yarn will become a new stitch.
Step-by-step tutorial for making the purl stitch.  This is the fourth and last step for making the purl stitch.Purl Stitch Step 4: Slide the right needle to the left, slip the loop onto the tip of the left needle, and then off the needle. You have completed one stitch. Repeat these steps until you reach the end of the row.

At this point, your stitches may appear uneven.  Don't worry about that now.  As you gain practice, they will improve.

Basic Knitting Stitches for Beginners:  Stockinette Stitch (Knit One Row, Purl One Row)

stockinette-stitch-natural.jpg

This stitch is probably the most recognized knit fabric, characterized by its smooth, flat side (known as the "right" side) filled with V-shaped stitches, and a bumpy back ("wrong" side), covered with purl stitches.

It is created by working one row of knit stitches, followed by one row of purl stitches.

This stitch is delicate and curl-prone, ideal for clothing and other lightweight projects.

The Stockinette Stitch and Practicing the Stockinette Stitch While Making a Dishcloth.

Basic Knitting Stitches for Beginners:  Rib Stitches (A combination of knit and purl stitches)

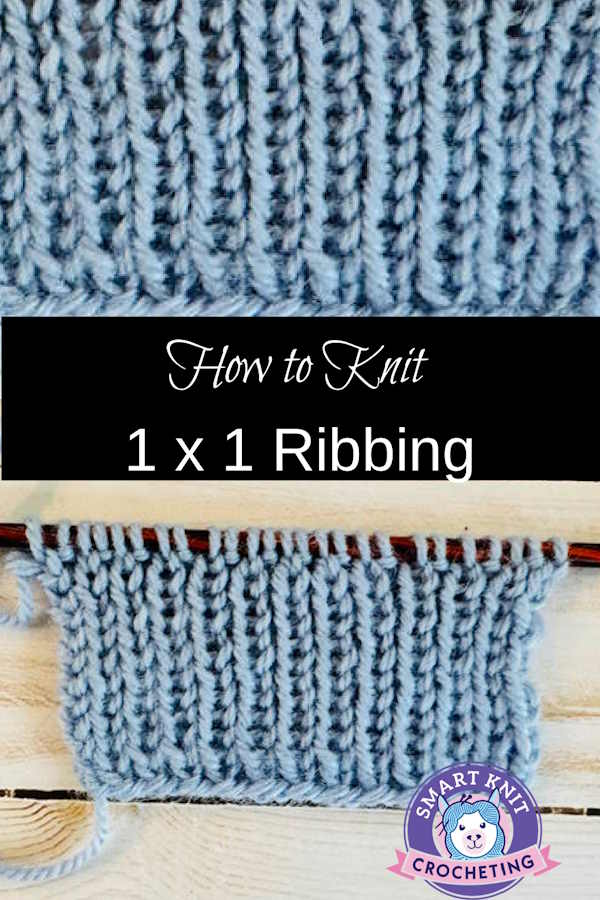
A swatch worked in white yarn showing a knit one, purl one rib pattern

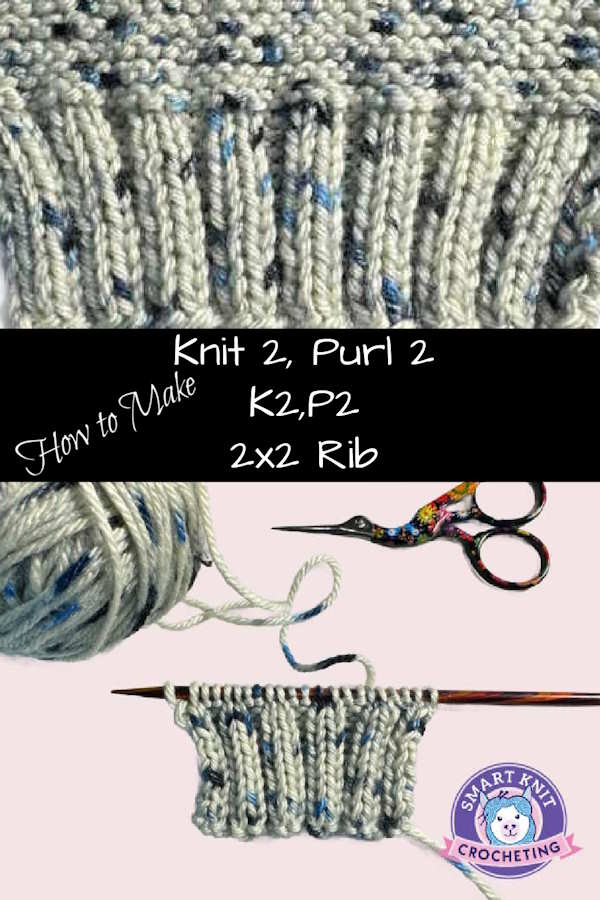
This stitch combines alternating knit and purl stitches to create a stretchy fabric often used in cuffs and necklines.

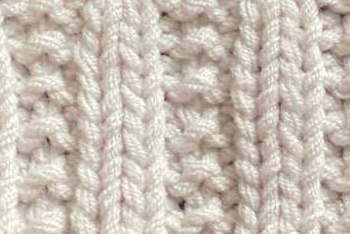
The hallmark of the rib stitch is its versatility - because of its elasticity and denseness, it can shape garments and add textured interest. There is a wide variety of rib stitch patterns that can produce vertical columns on any fabric.

Discover a treasury of  Knit Rib Stitch Patterns.

Basic Knitting Stitches for Beginners: Slip Stitch

The Mock ribbing slip stitch pattern on the needles worked in an orange acrylic yarn

Slip stitches aren't knit but slipped from one needle to the other. This is a technique rather than a stitch pattern. Slipping stitches can create patterns and textures, resulting in diverse effects and a dense, warm fabric. 

There are many different types of slip stitches.  Some worked in one color add texture and some are worked with two or more colors creating an interesting color design.

Learn more about Slip Stitch Knitting Designs.

Creating Fabric Using Knit and Purl Stitches

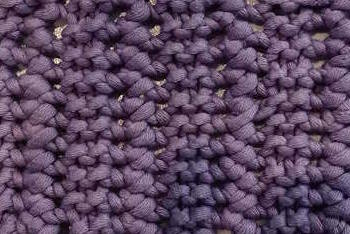
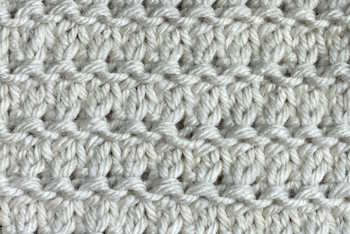
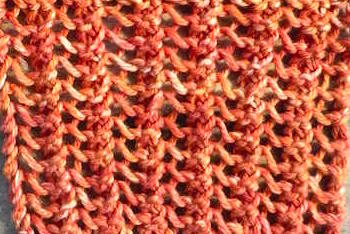
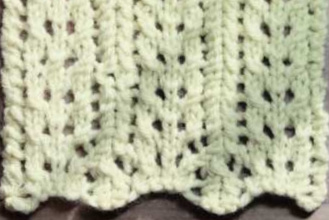
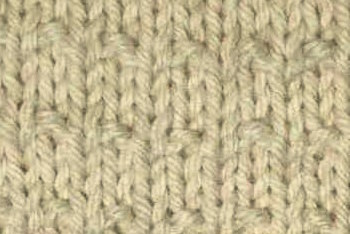
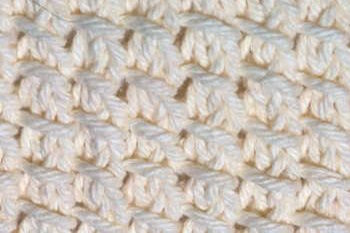
The stockinette stitch, ribbing, and slip stitches are only a fraction of the type of stitches you can create with knits and purls.  Most of these knit and purl stitches are very beginner friendly and add interest to your knitting.  

An ever-growing directory with links to free tutorials can be found on my knit and purl stitches page.

A screen shot of knit and purl stitches found on this website.

Explanation of the Most Common Mistakes Beginners Make When Learning the Basic Knitting Stitches for Beginners

As a beginner in knitting, it’s natural to experience a few hurdles. Everyone is different, and how fast one masters knitting basics is very personal.

Some very lucky individuals will enter the knitting world with all the dexterity and muscle memory needed to proceed quickly. For others, and that includes the majority of us, it might take a long time to "get it right."

First, one of the most common mistakes is not holding the yarn and needles properly. A too-loose grip may lead to dropped stitches, while a too-tight hold could result in uneven stitches that are difficult to work into.

Second, beginners often struggle with tension inconsistencies, leading to irregular knitwork with loose and tight stitches.

Another common mistake is mixing a knit stitch with a purl stitch, leading to an unintended pattern. Many beginners also find it difficult to count rows or stitches accurately, which can alter the outcome of their project.

Finally, not correctly joining a new ball of yarn or inserting the needle into the wrong part of the stitch can also create issues in the knitting project.  

For an comprehensive guide to knitting mistakes, check out my article about fixing knitting mistakes.  You might also like to browse, 16 Knitting Mistakes Beginners Make.

Step-by-Step Guide on Fixing These Mistakes

Fixing knitting mistakes depends largely on the specific problem. If you're dropping stitches, hold the yarn and needles correctly and maintain consistent tension.

Dropped stitches can be retrieved by utilizing a crochet hook to pull the loop back up to the place on the needle where it belongs.

For mixed-up knit and purl stitches, you'll need to unravel your work until you reach the point of the mistake and redo the row with the correct stitch. Learning to “read” your knitting can help identify the knit and purl stitches by their appearances.

If you have issues with row count, consider using a row counter or making physical tally marks as you complete each row.

For incorrect yarn joining, it’s usually best to join the new yarn at the start of a new row to maintain the uniformity of the project.

And finally, for incorrectly inserted needles, practicing the correct way to insert the needle in each stitch will help; remember that for knit stitches, the needle is inserted from left to right under the old stitch, and for purl stitches, the needle is inserted from right to left with the yarn in front.

Understanding and practicing these fixes can lead to smoother, more enjoyable knitting experiences.

Tactics for Improving Skills Consistently

When it comes to knitting, like any other craft, consistent improvement comes from a combination of regularly applying learned techniques, exploring new ones, and seeking feedback.

Setting aside time for regular practice, challenging yourself with increasingly complex patterns, and correcting mistakes instead of ignoring them are all essential strategies for enhancing your knitting skills.

It's also beneficial to immerse yourself in the knitting community in person or online, as you can learn immensely from the shared experiences and tips of other knitters of all levels.

Basic Knitting Stitches for Beginners:  Practice, Patience, Learn 

Patience and practice— these two qualities are arguably the most important in learning to knit. Knitting isn't a skill that's mastered overnight; it takes practice, persistence, and patience.

When starting out, patterns may seem complicated, and hands might not move as quickly or accurately as desired, but with time and patience, these aspects will improve.

It's essential to remember that all accomplished knitters started as beginners, making messed-up stitches and unraveled yarn balls.

Every mistake made is a new lesson learned, and these lessons cumulatively build the wisdom and skills of a seasoned knitter.

Thus, patience with oneself and the process, along with consistent practice, transforms a novice into a skilled knitter. This website is about helping you learn all the basics to help you become a more confident knitter.
Basic Knitting Stitches for Beginners:  Last Words

In conclusion, knitting is not just about creating tangible goods; it's a journey of creativity, patience, and skill-building that offers immense enjoyment and psychological benefits, like stress relief and a sense of accomplishment.

Whether picked up as a hobby or a passion, knitting brings a sense of fulfillment that grows with each finished piece.

Yes, the starting may seem daunting, but with each stitch, the process becomes more familiar, manageable, and, ultimately, more enjoyable.

So pick up those needles, choose a vibrant ball of yarn, and step into the beautiful, creative world of knitting. Remember, every stitch counts because every stitch brings you closer to the harbingers of coziness - your very own hand-knitted creations.

Happy Knitting!

Basic Knitting Stitches for Beginners:  Pin for Future Reference

Pin Image of the Basic Knit Stitch Step-by-Step TutorialBasic Knitting Stitches for Beginners: Pin for Future Reference
References and Further Reading

The Knitting Answer Book, 2nd Edition: Solutions to Every Problem You’ll Ever Face; Answers to Every Question You’ll Ever Ask Paperback

Vogue® Knitting The Ultimate Knitting Book: Completely Revised & Updated Hardcover

If you found basic knitting stitches for beginners, helpful, here are some more resources for you.